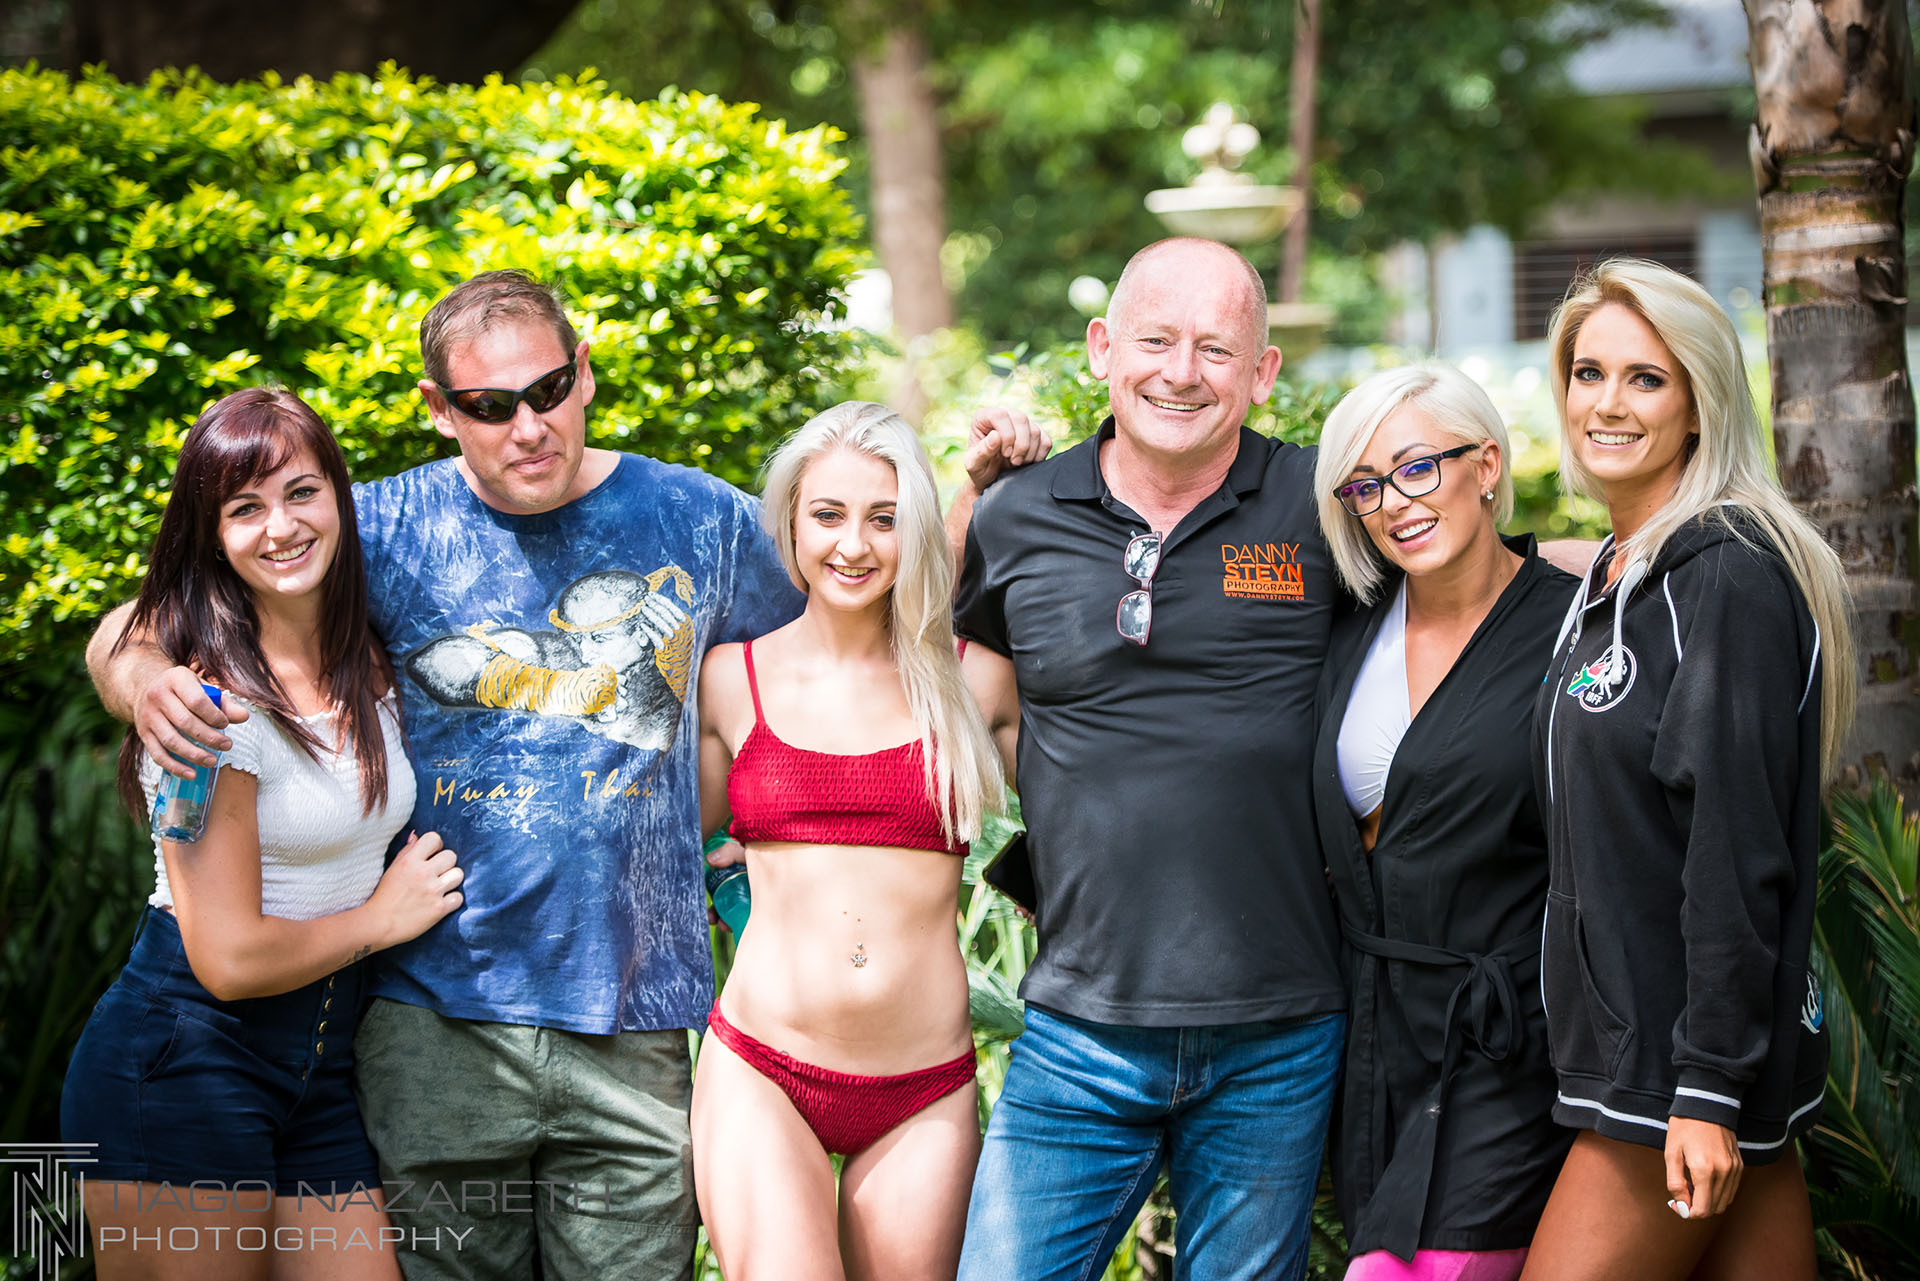
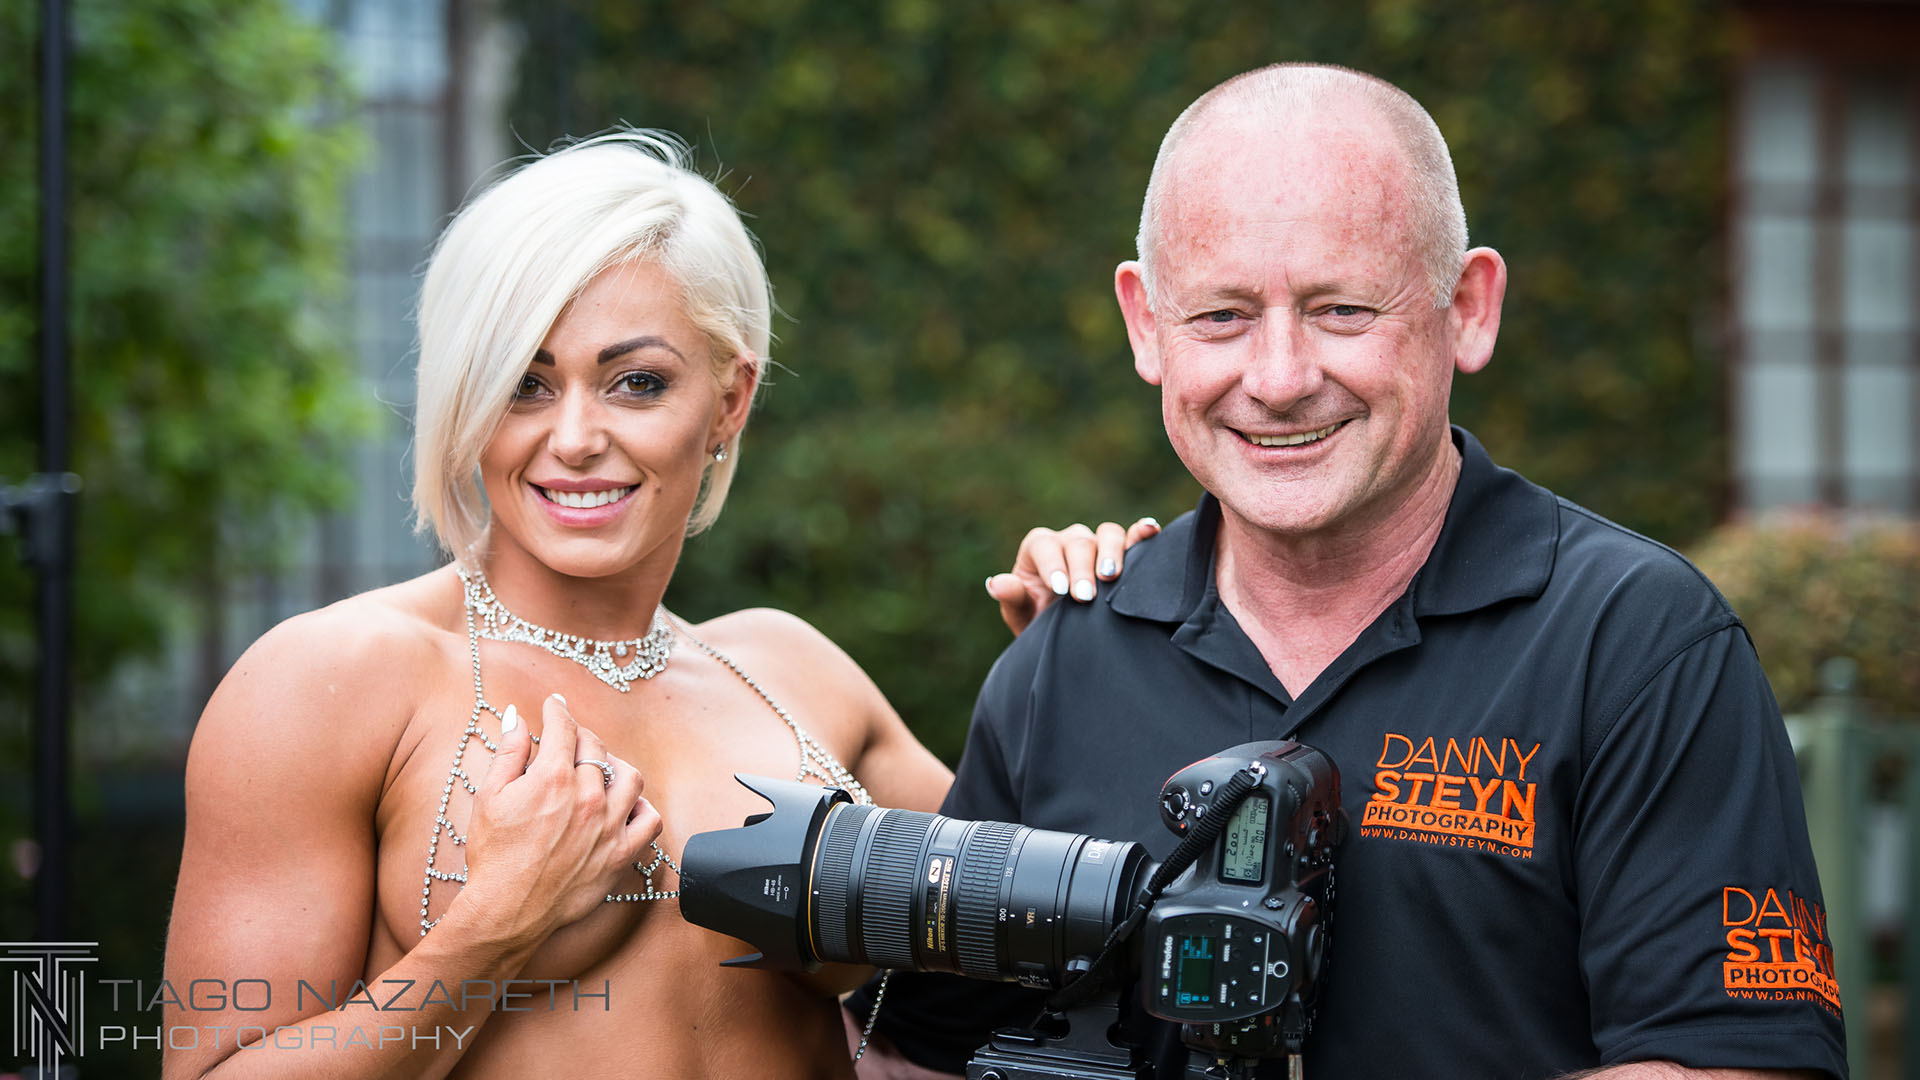
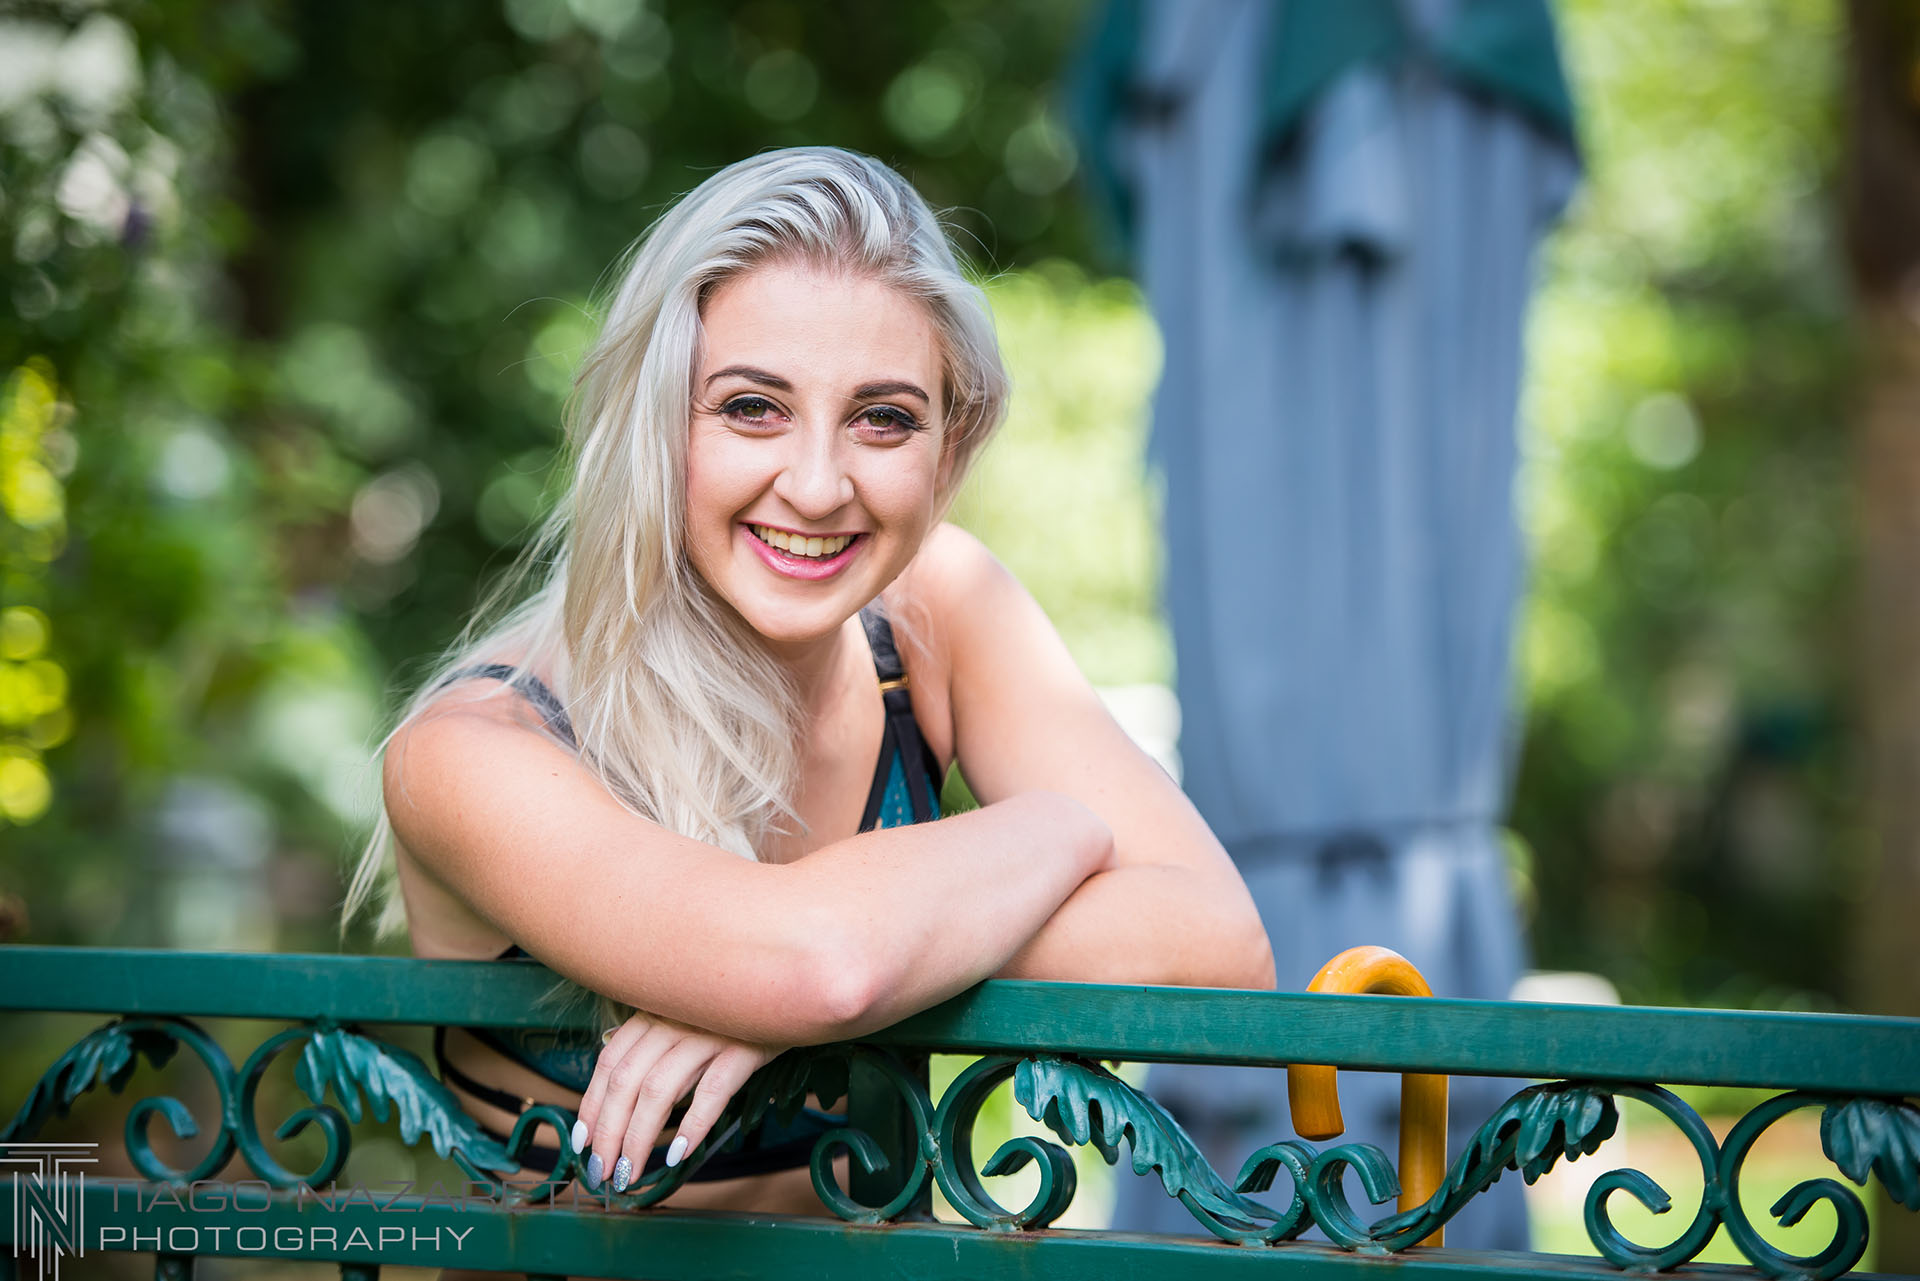
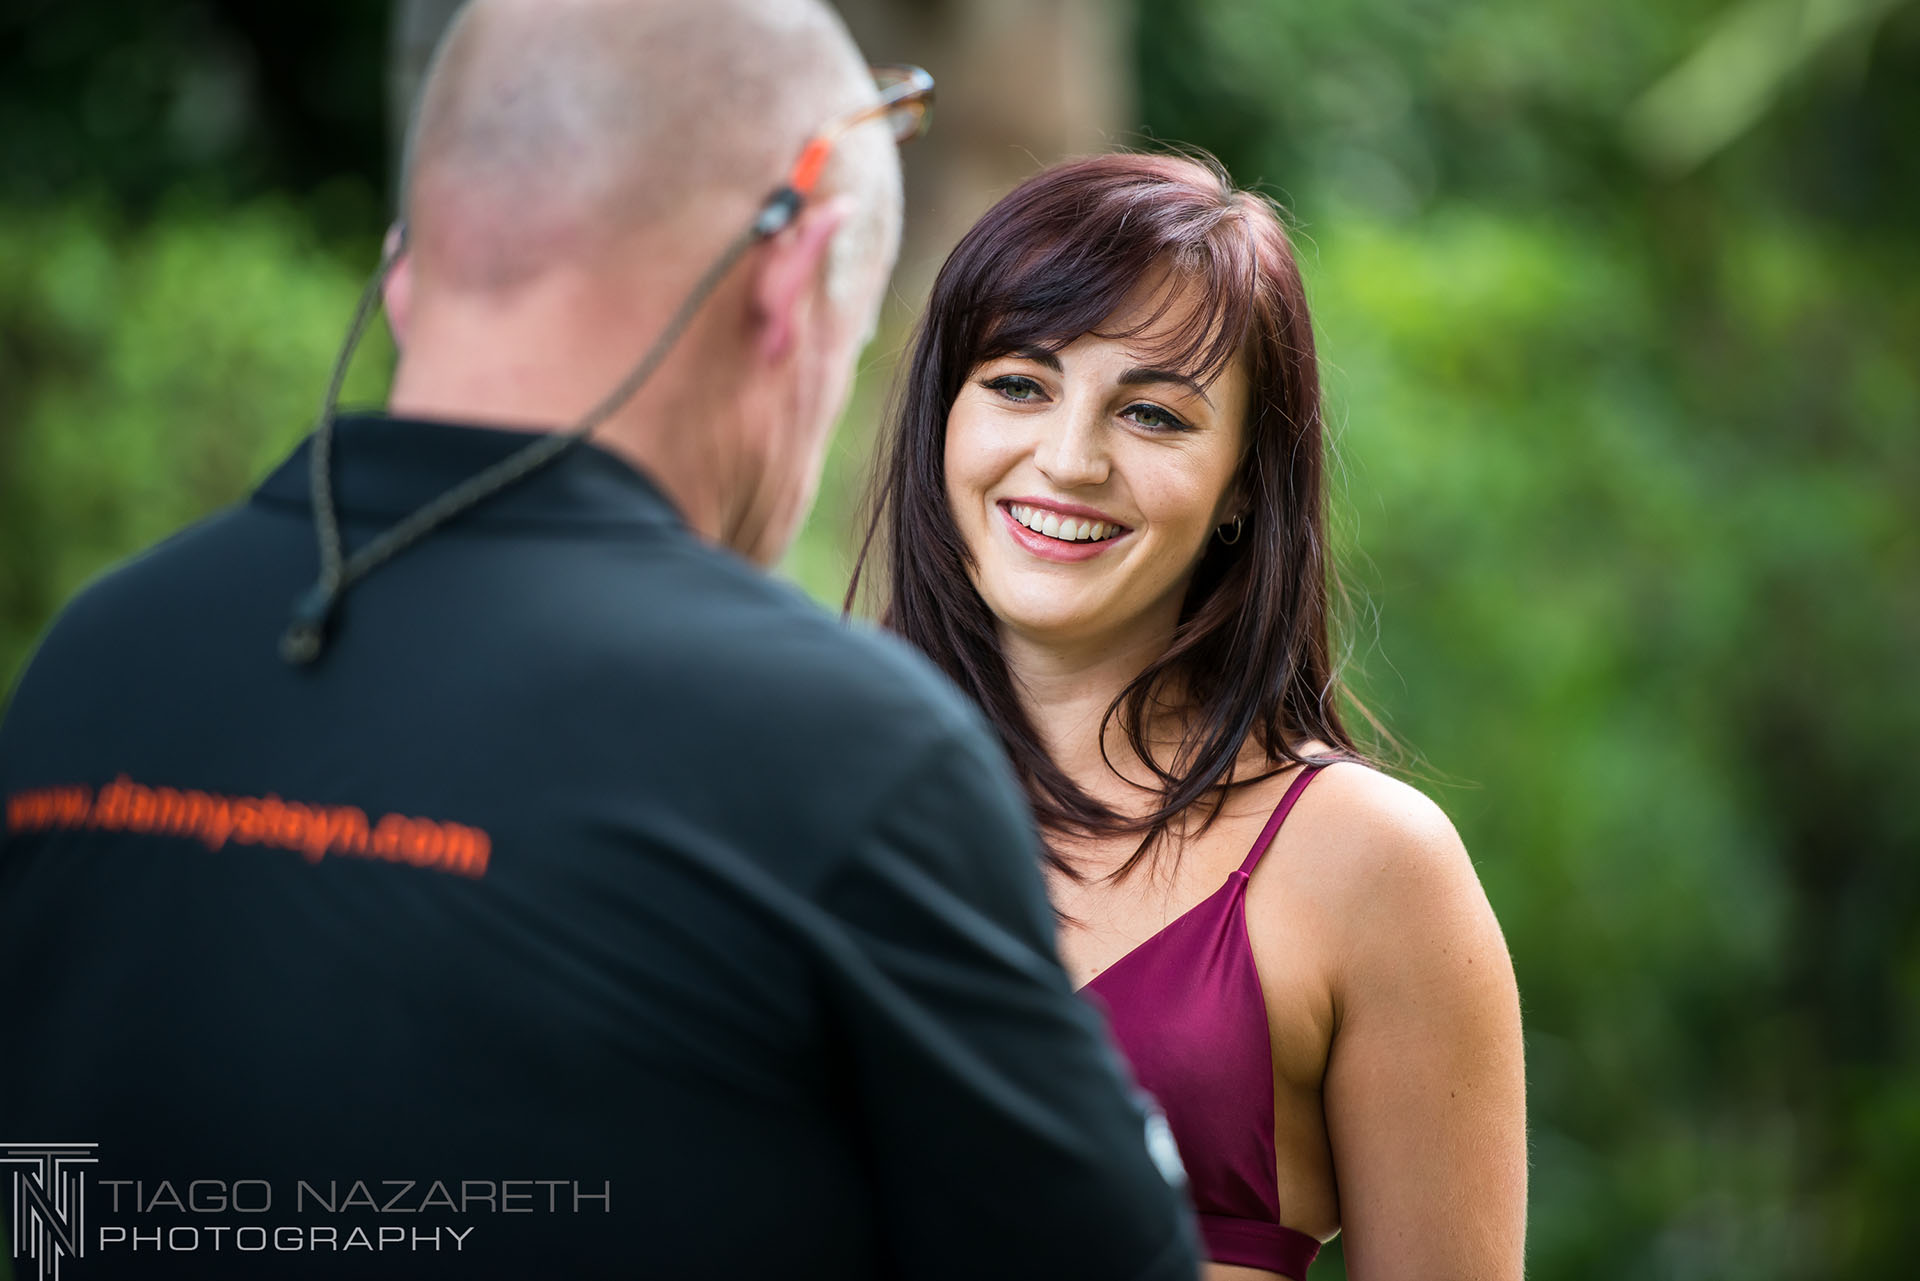
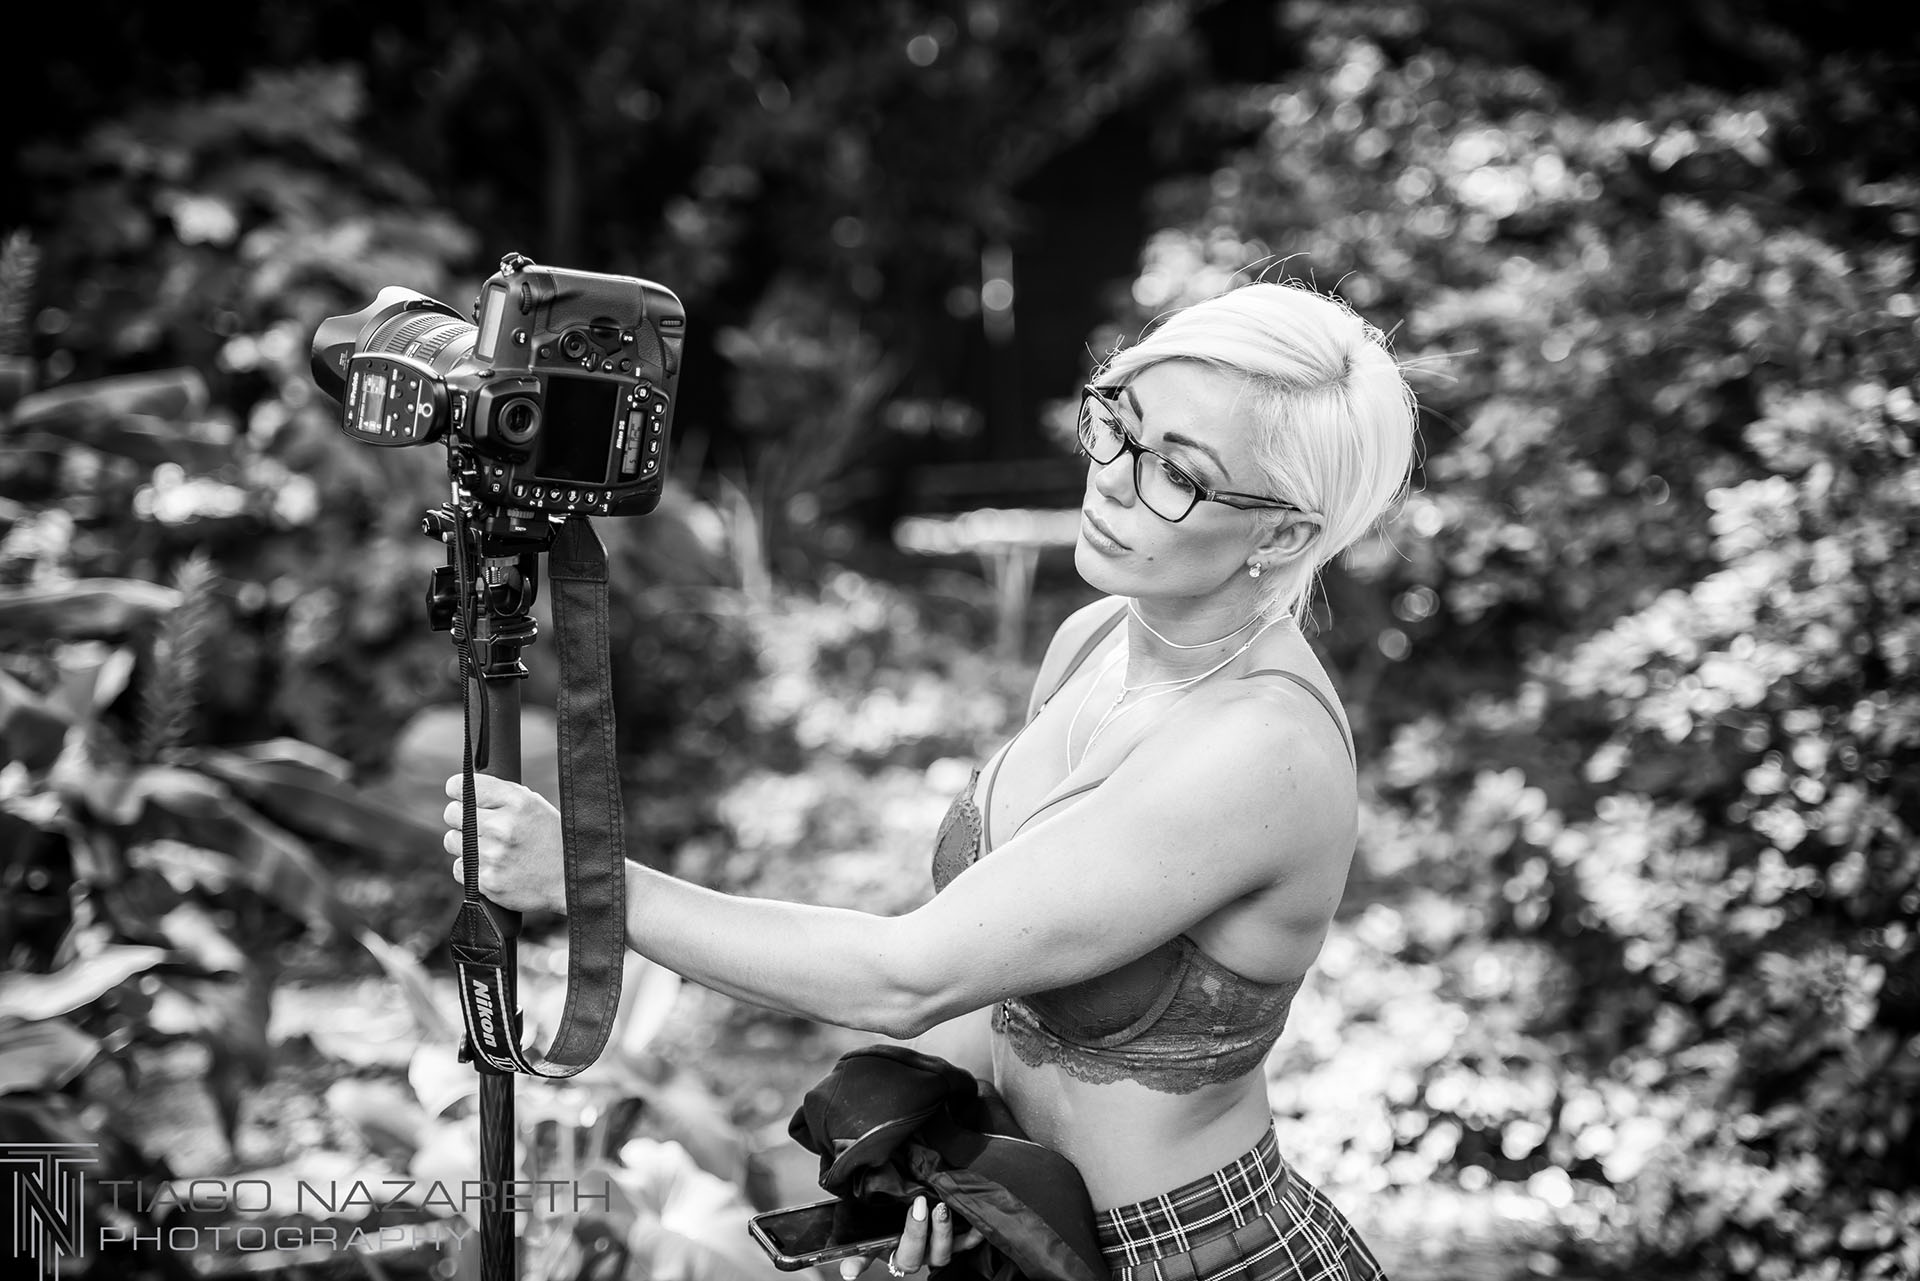
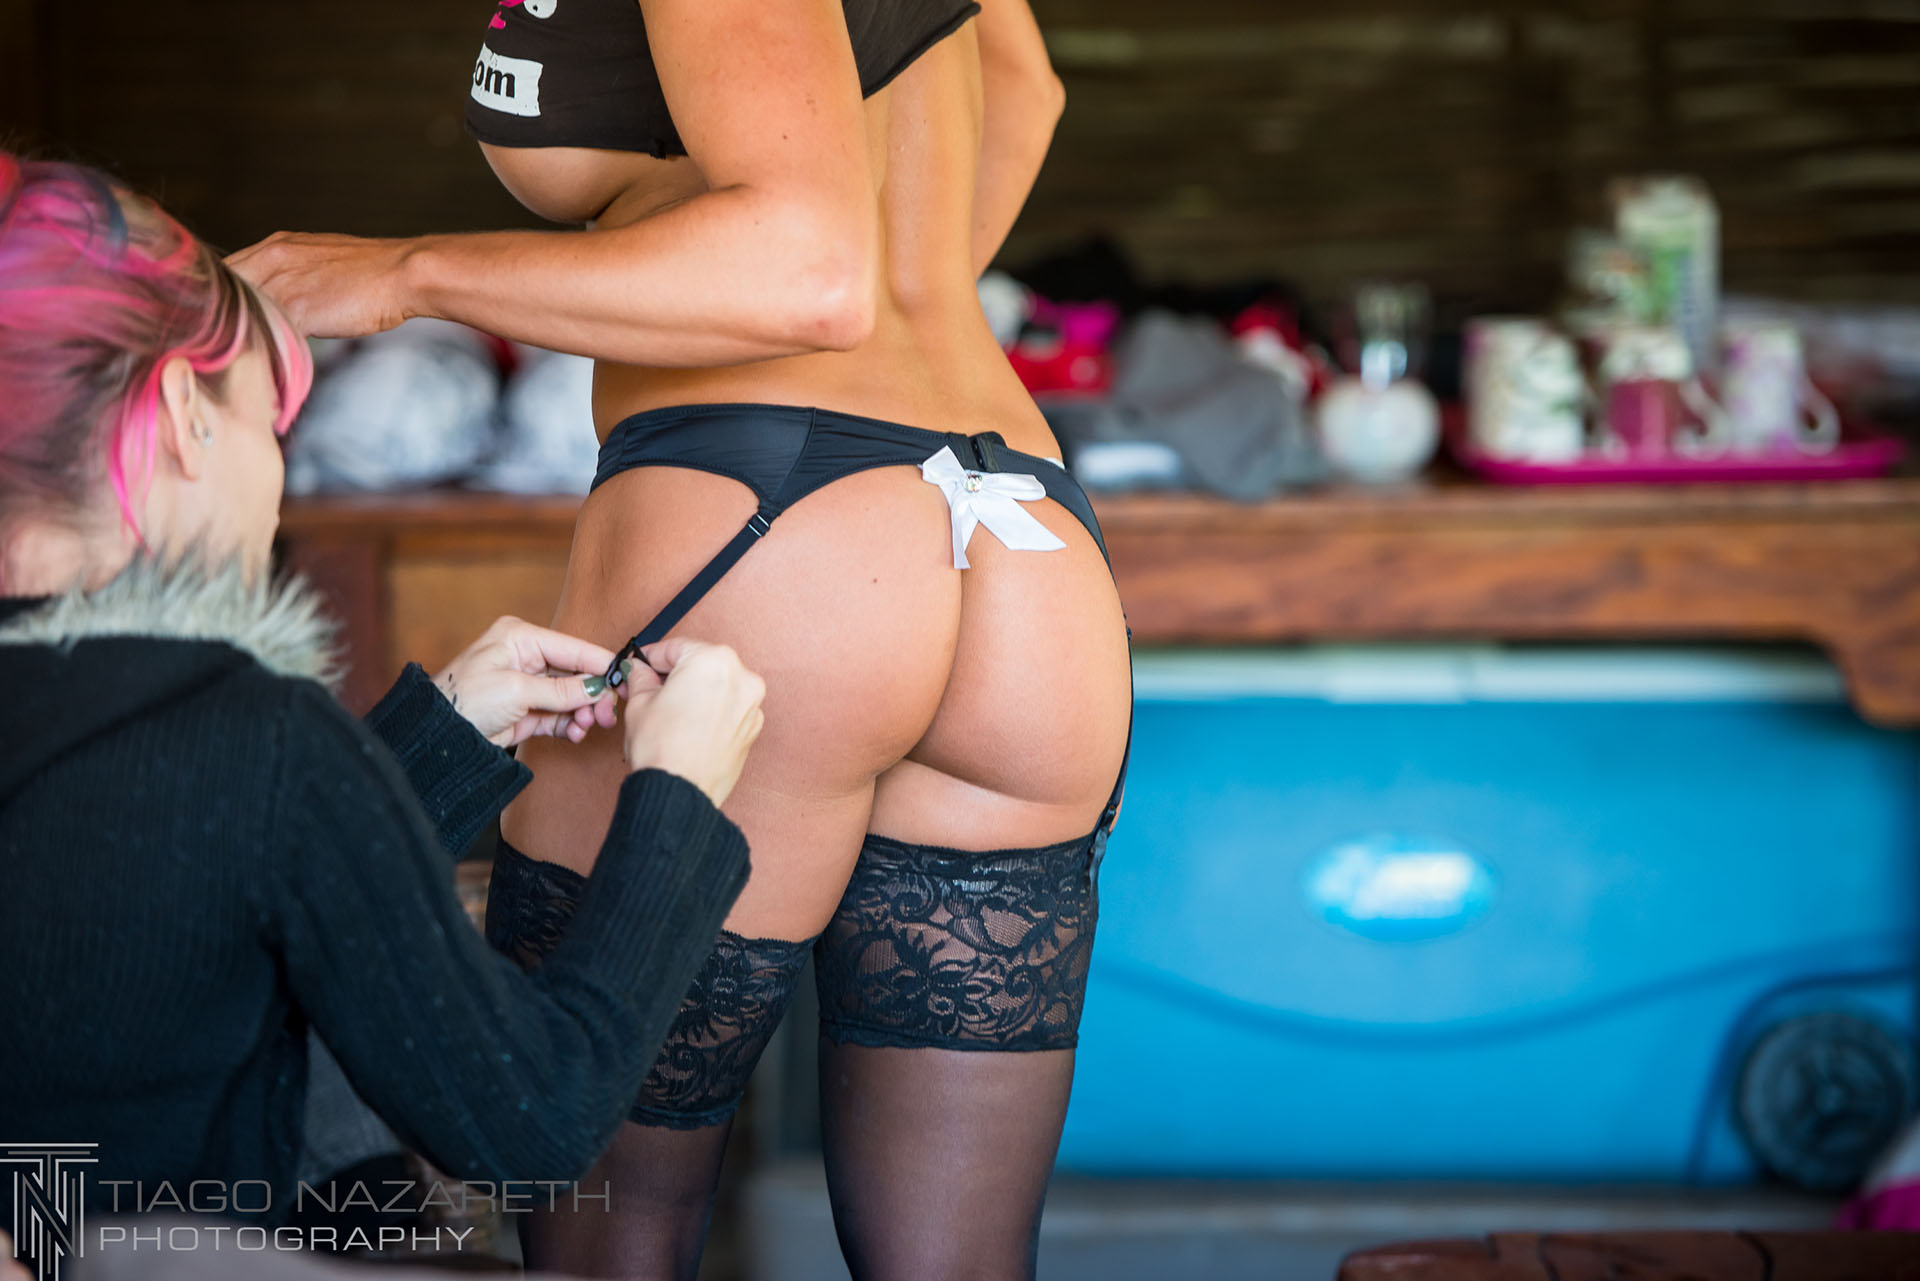
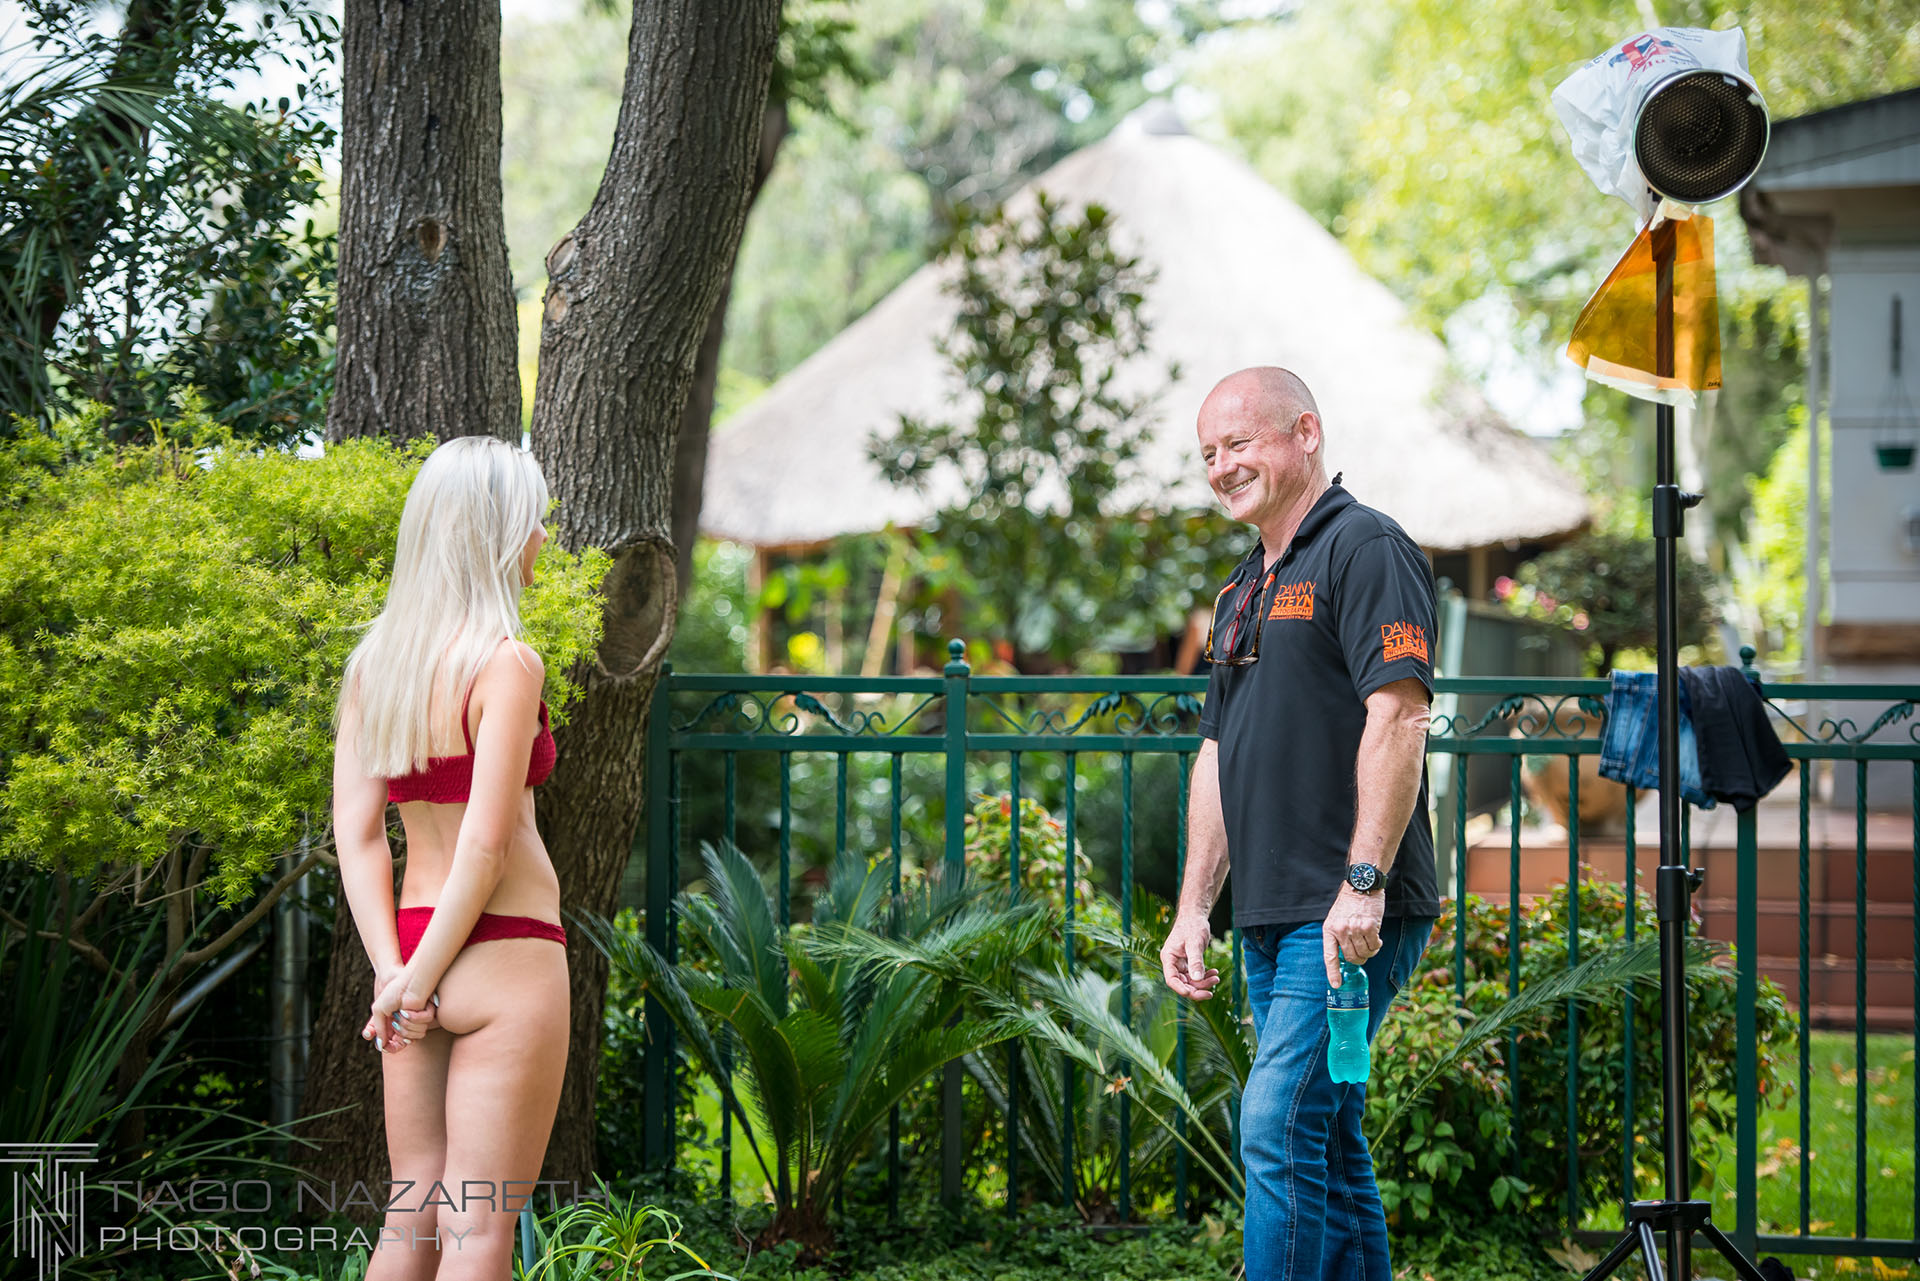
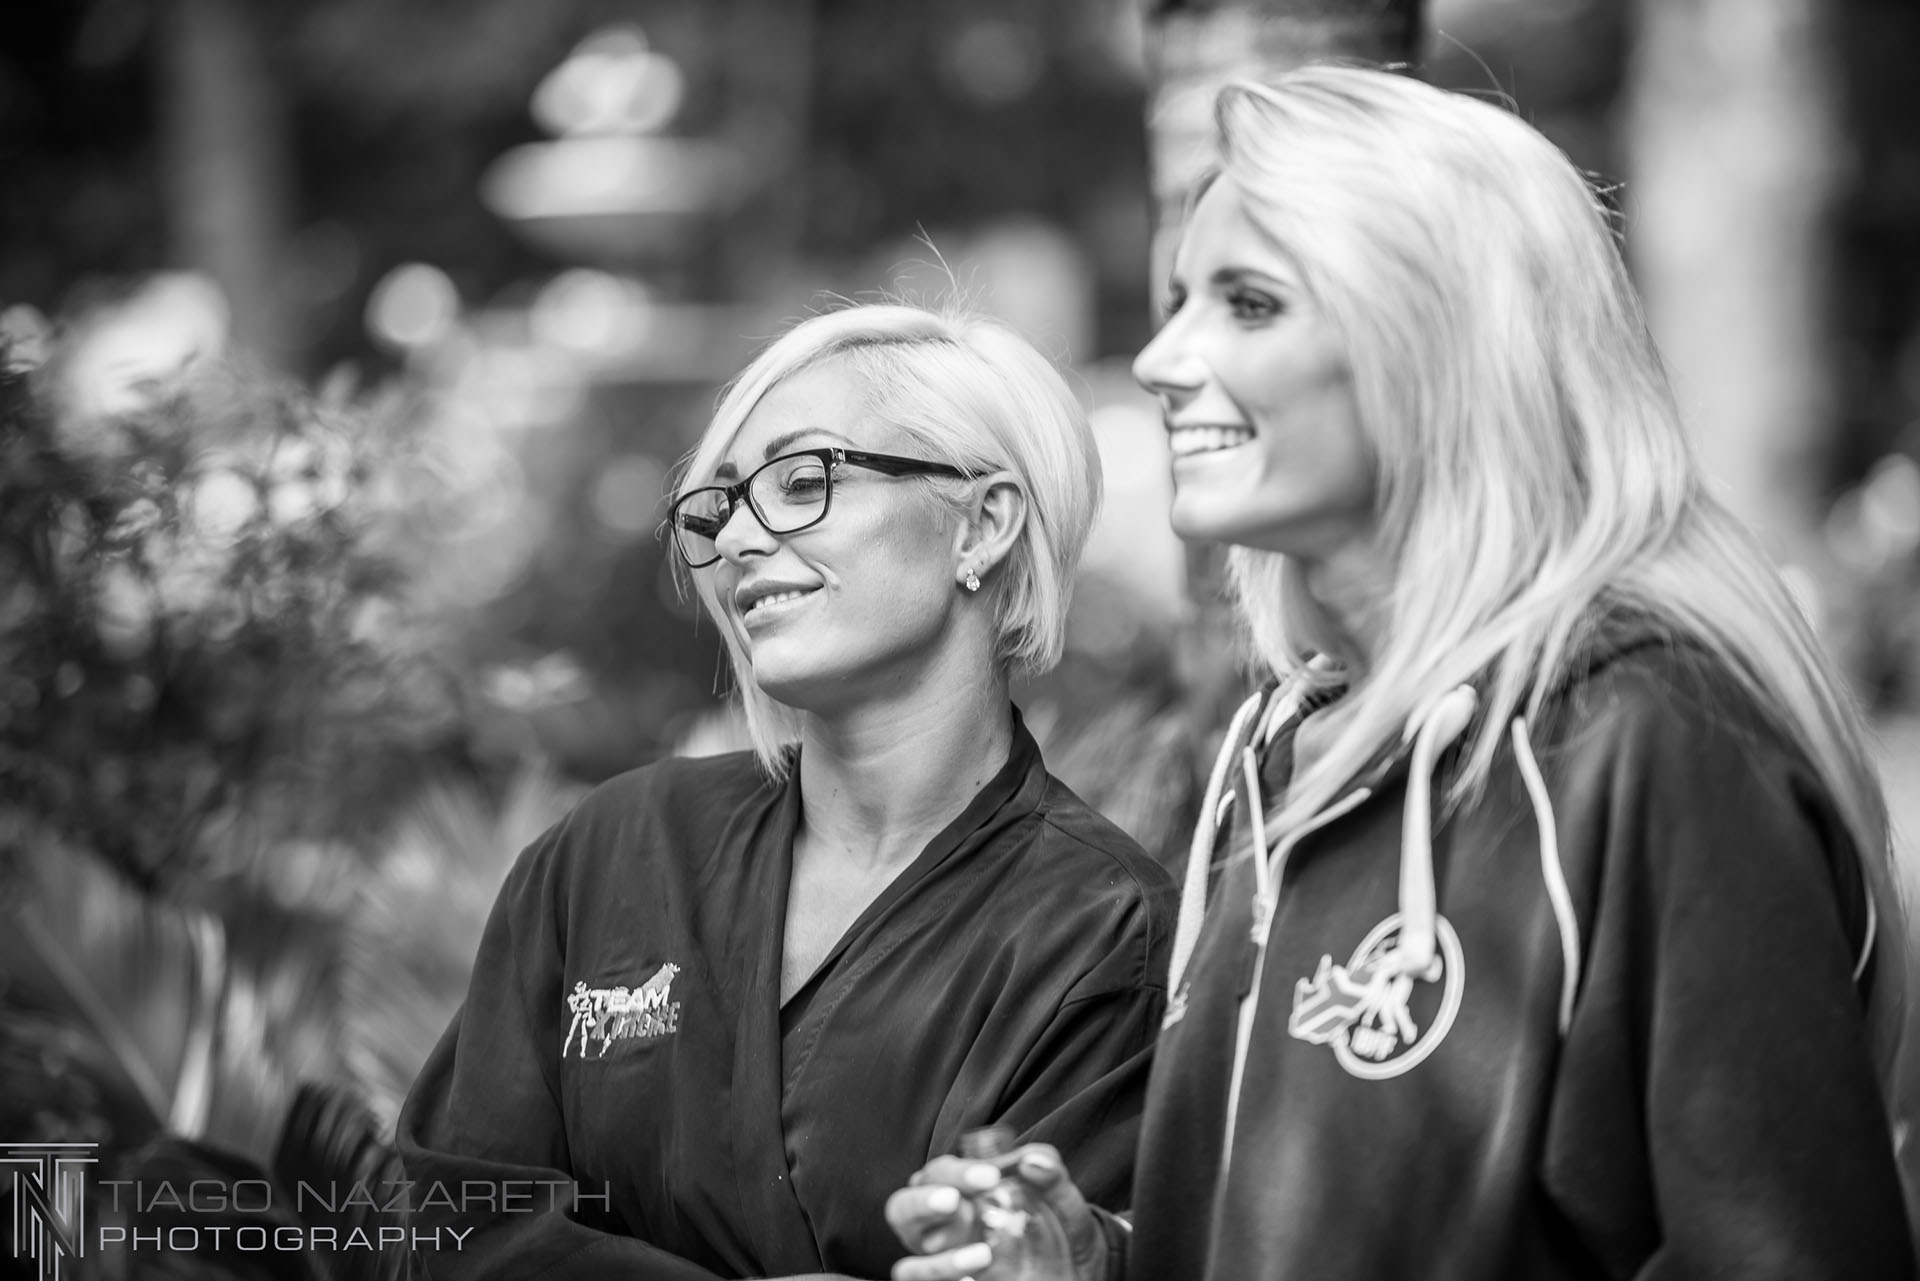
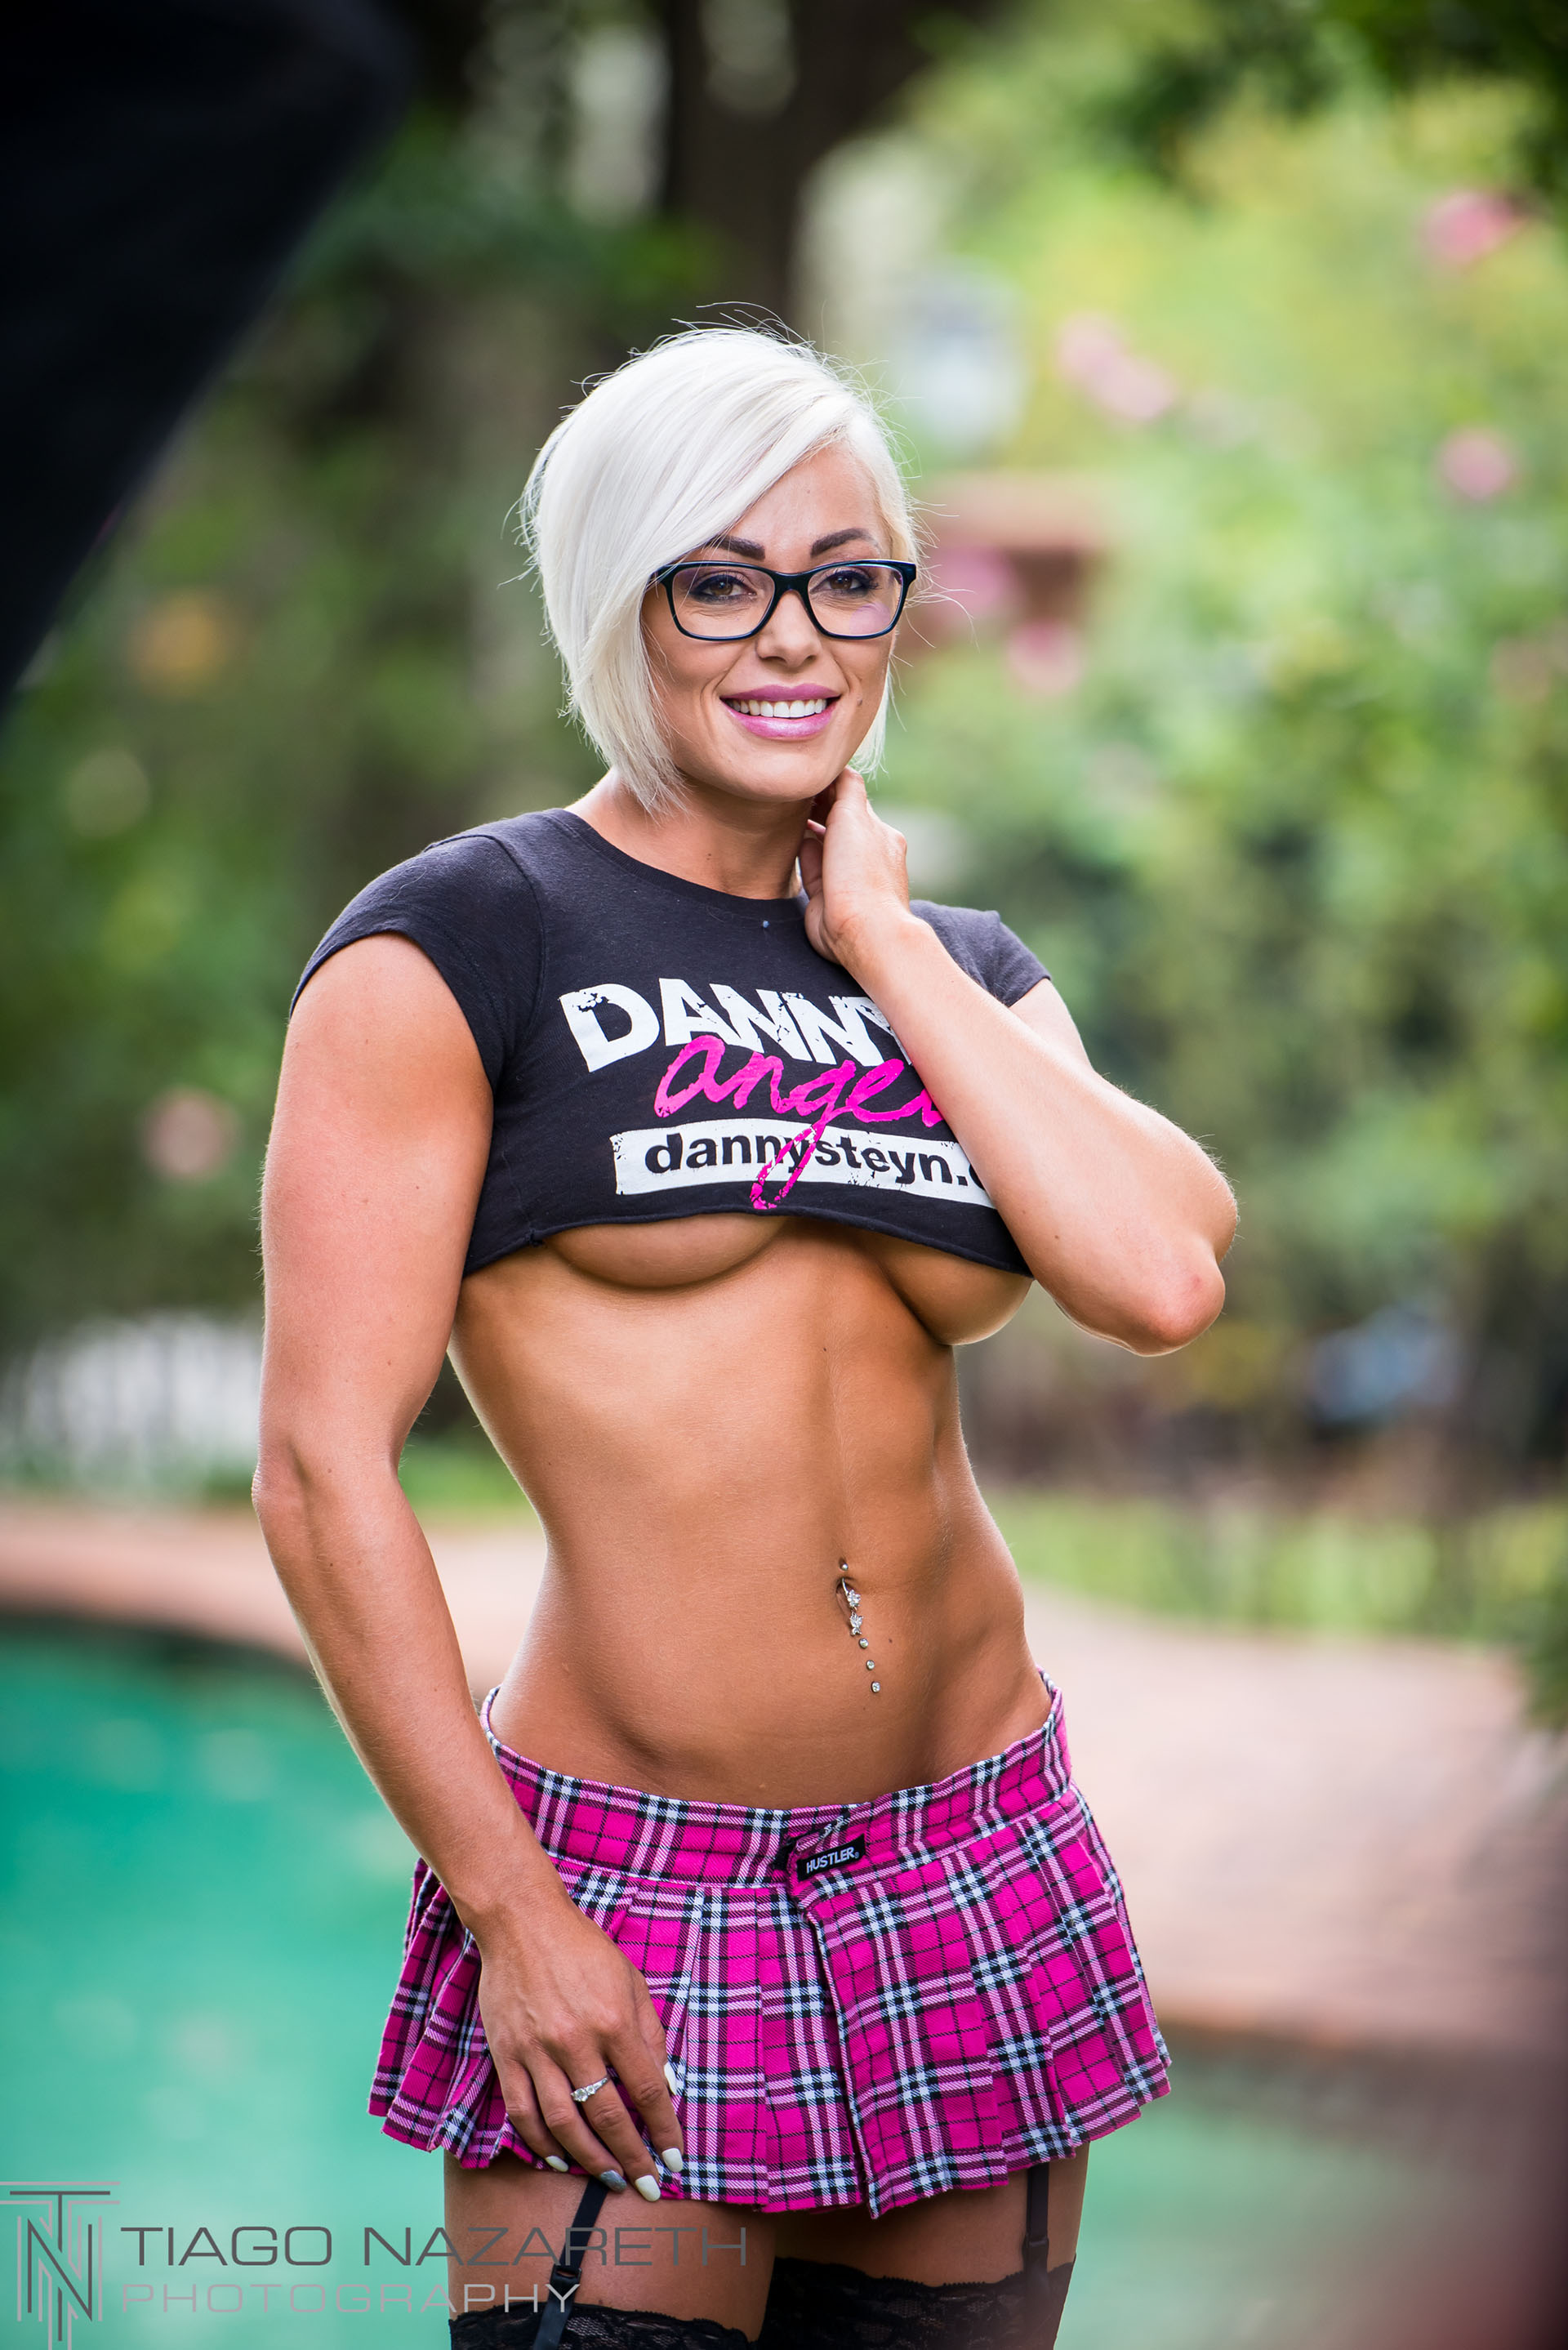
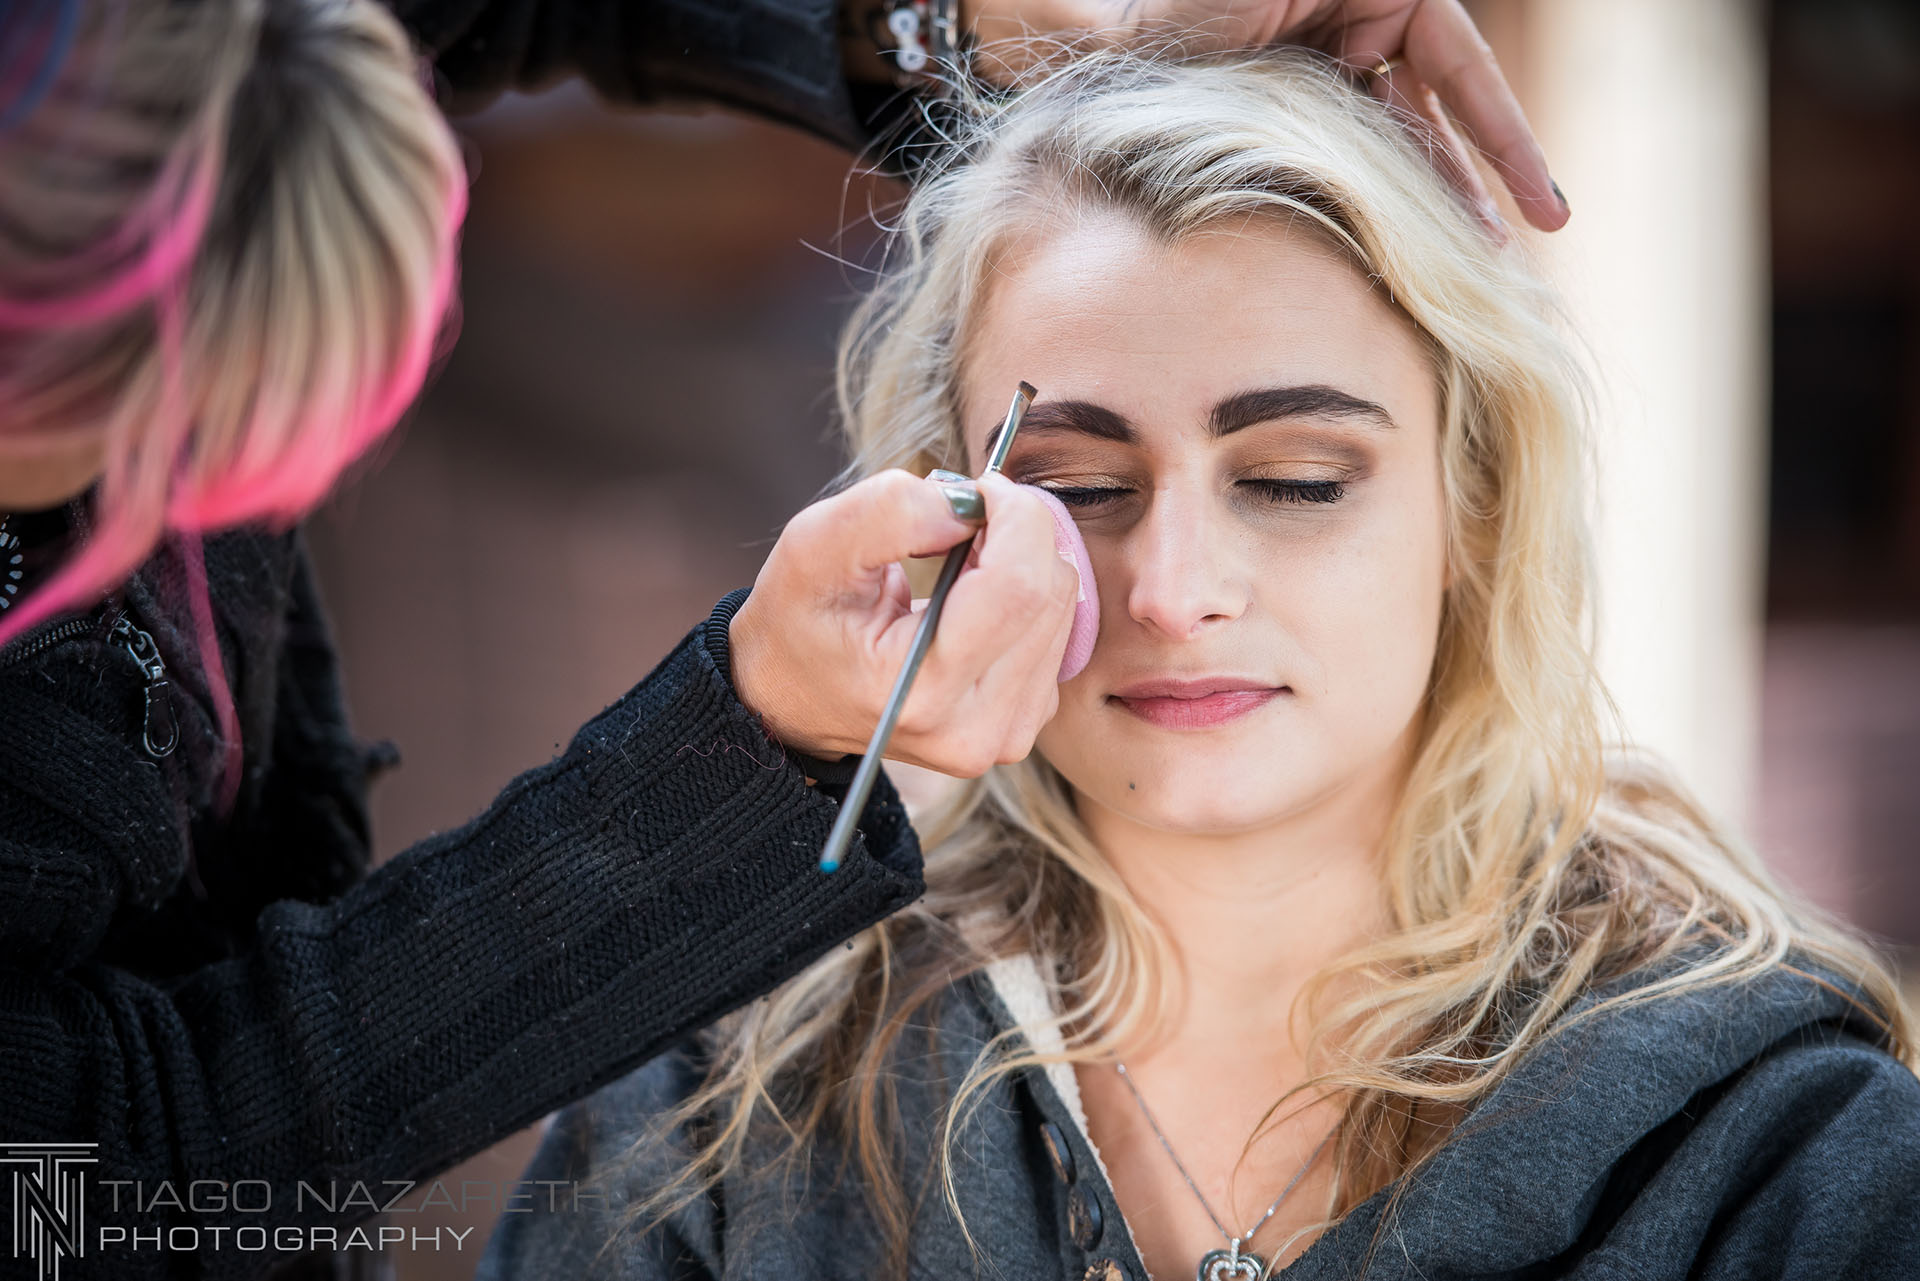
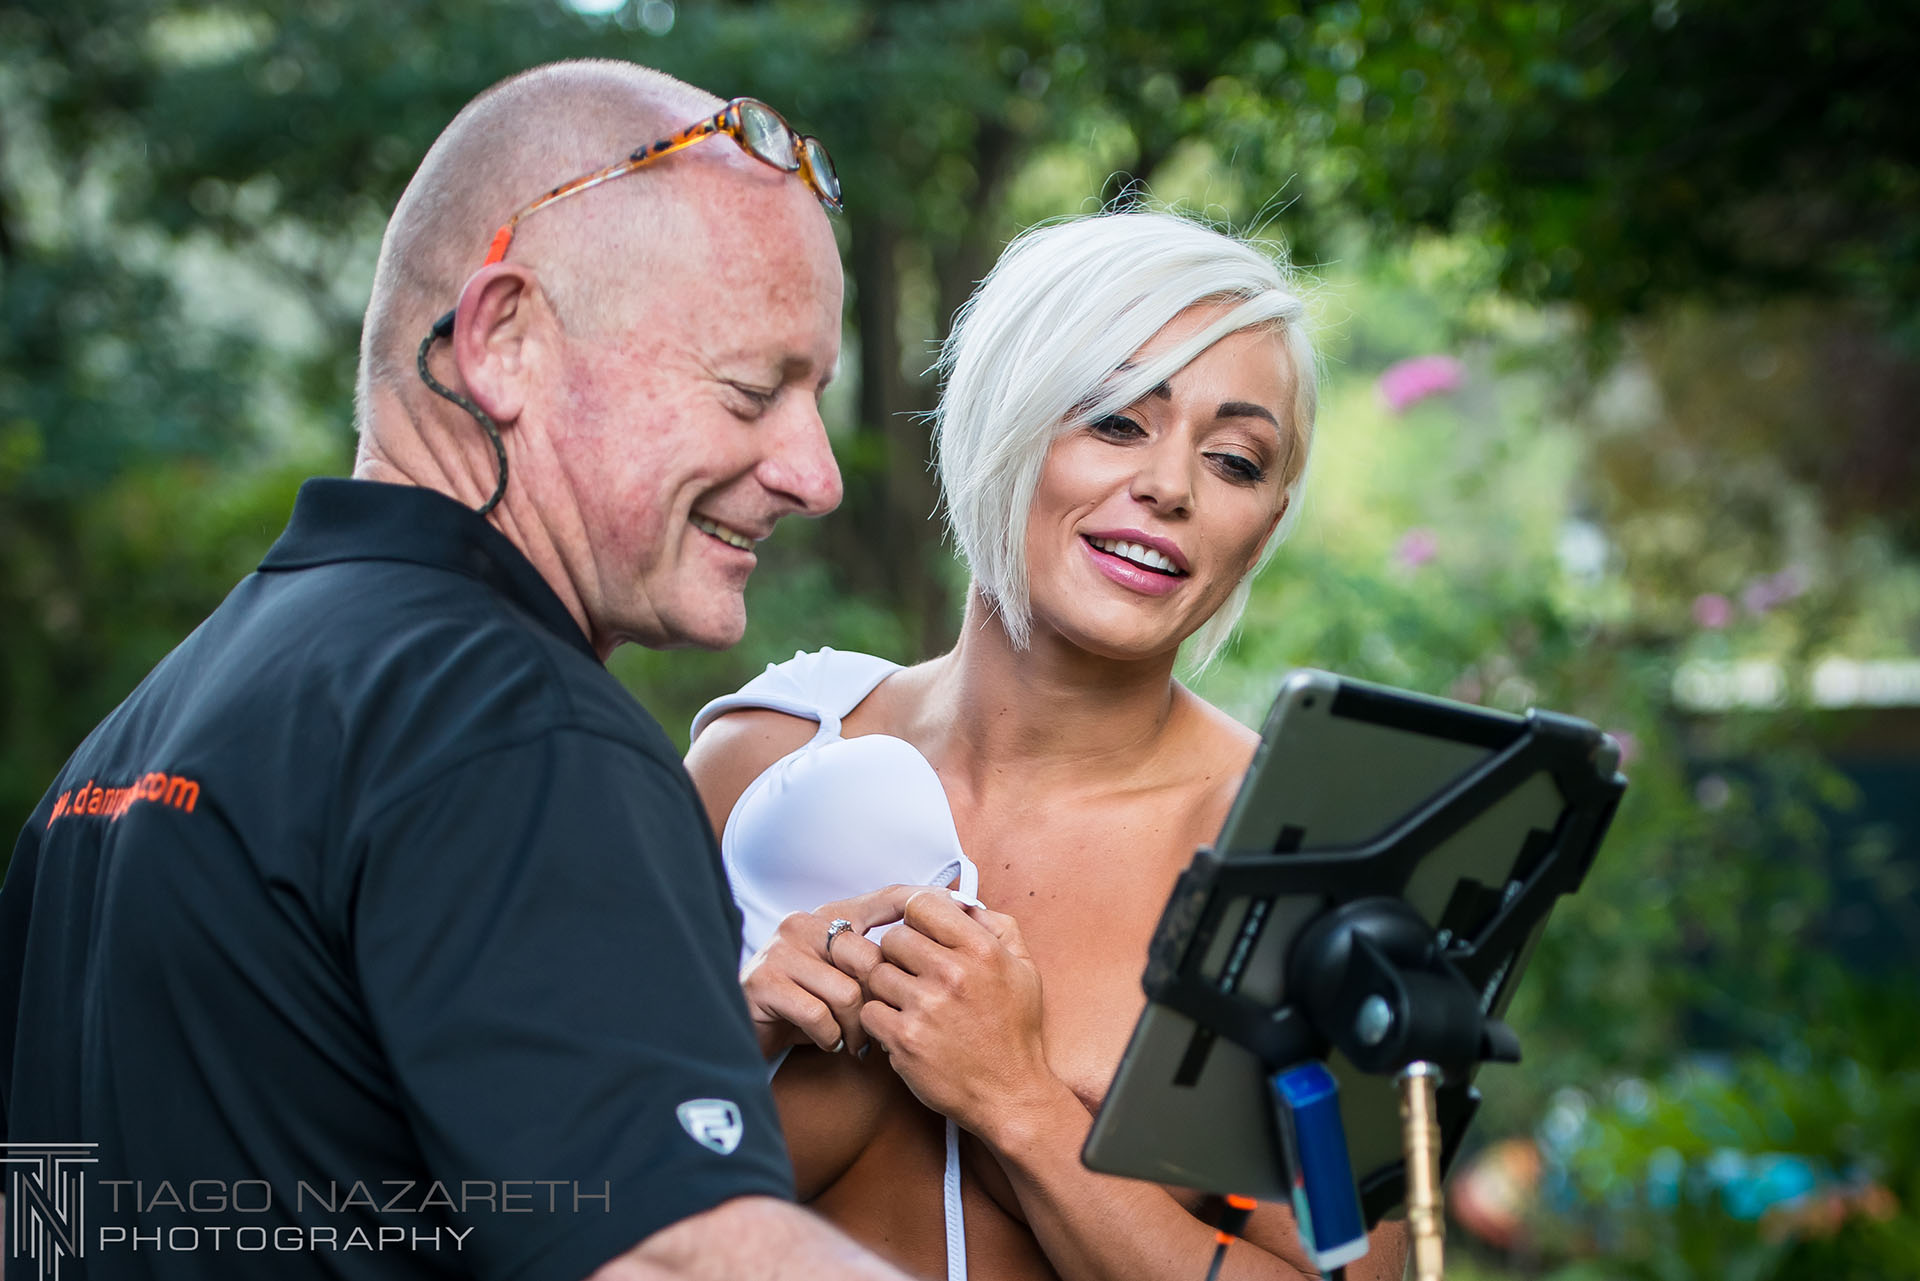
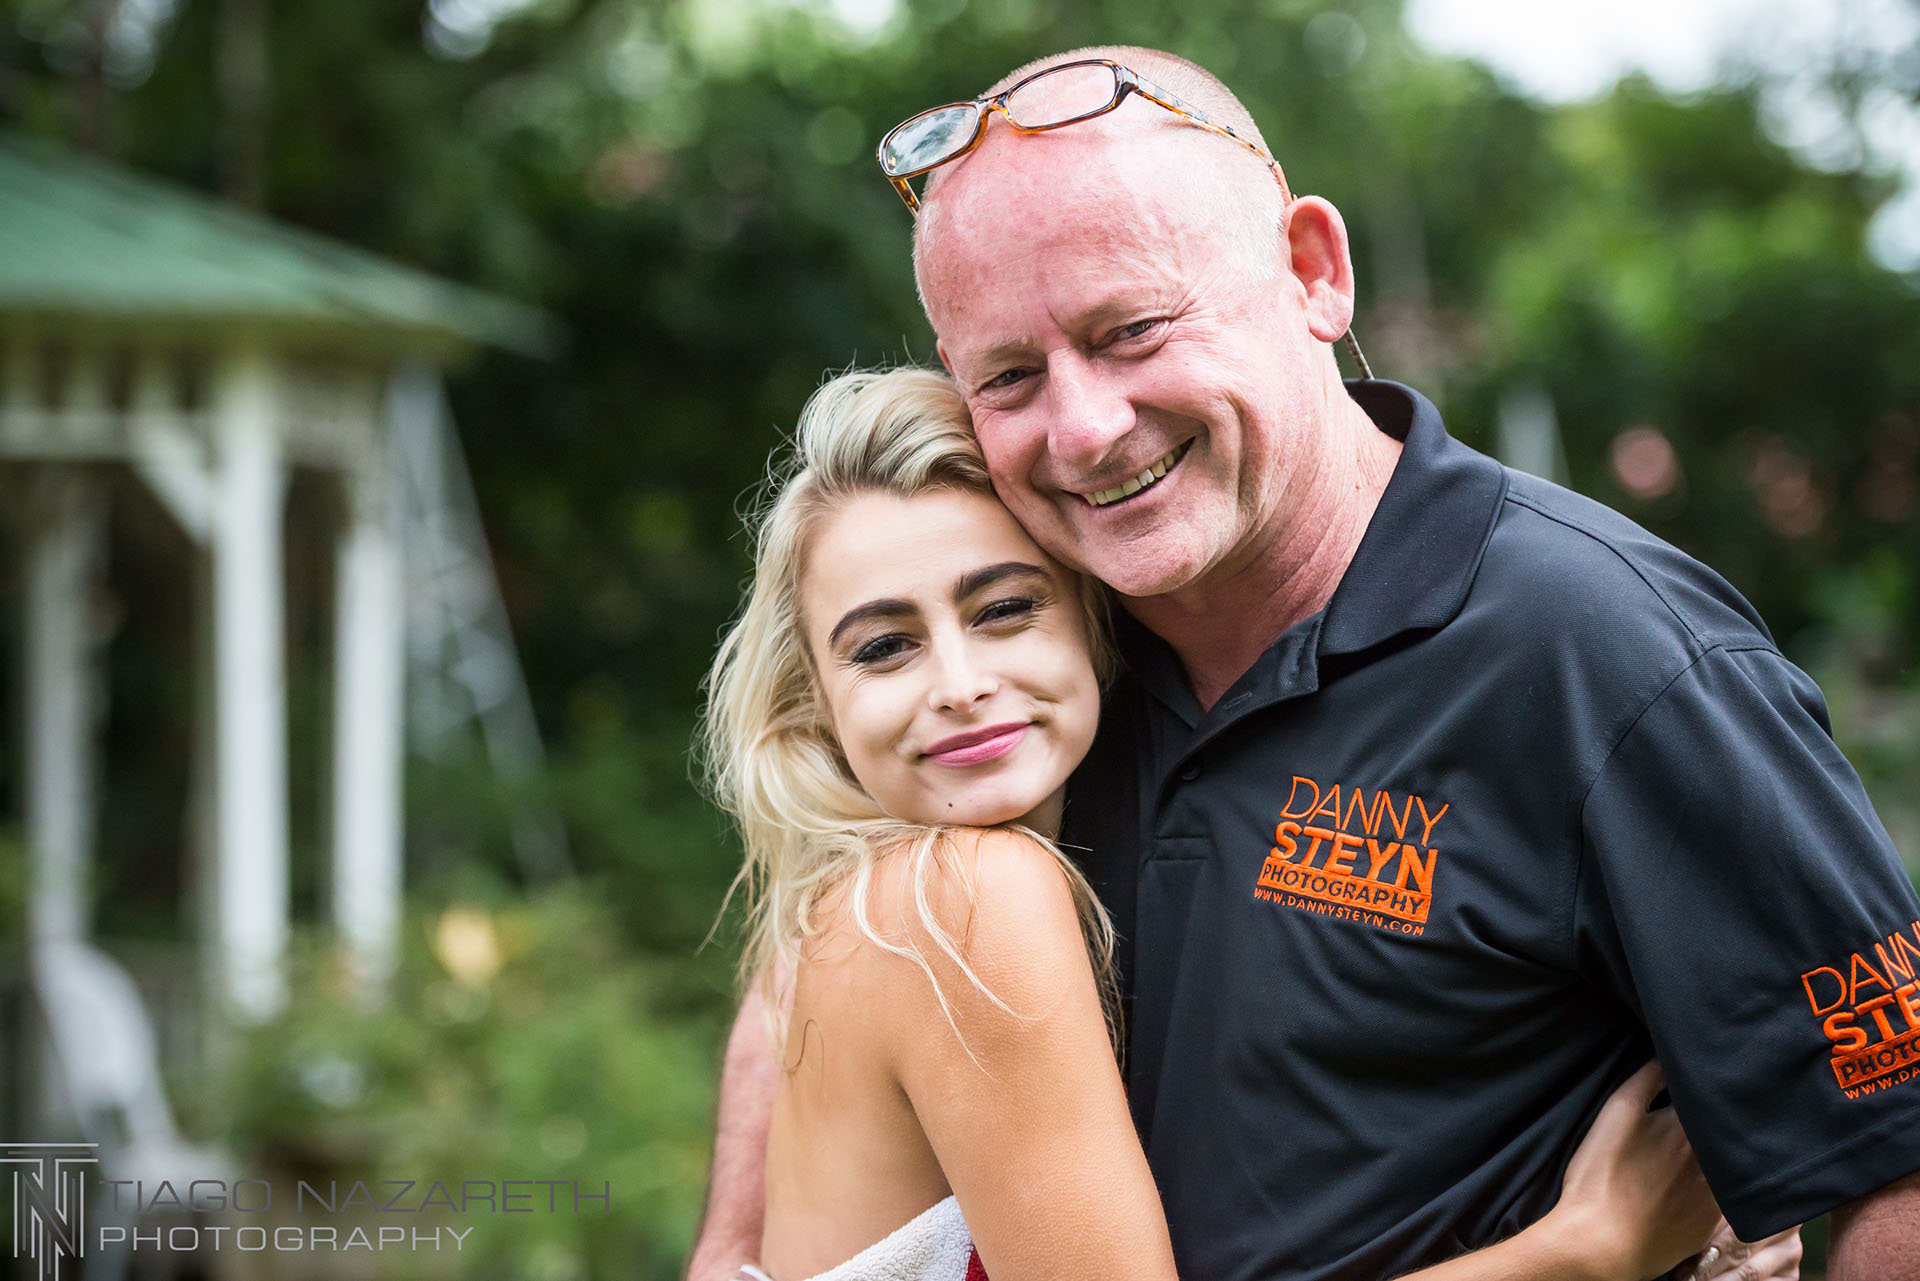
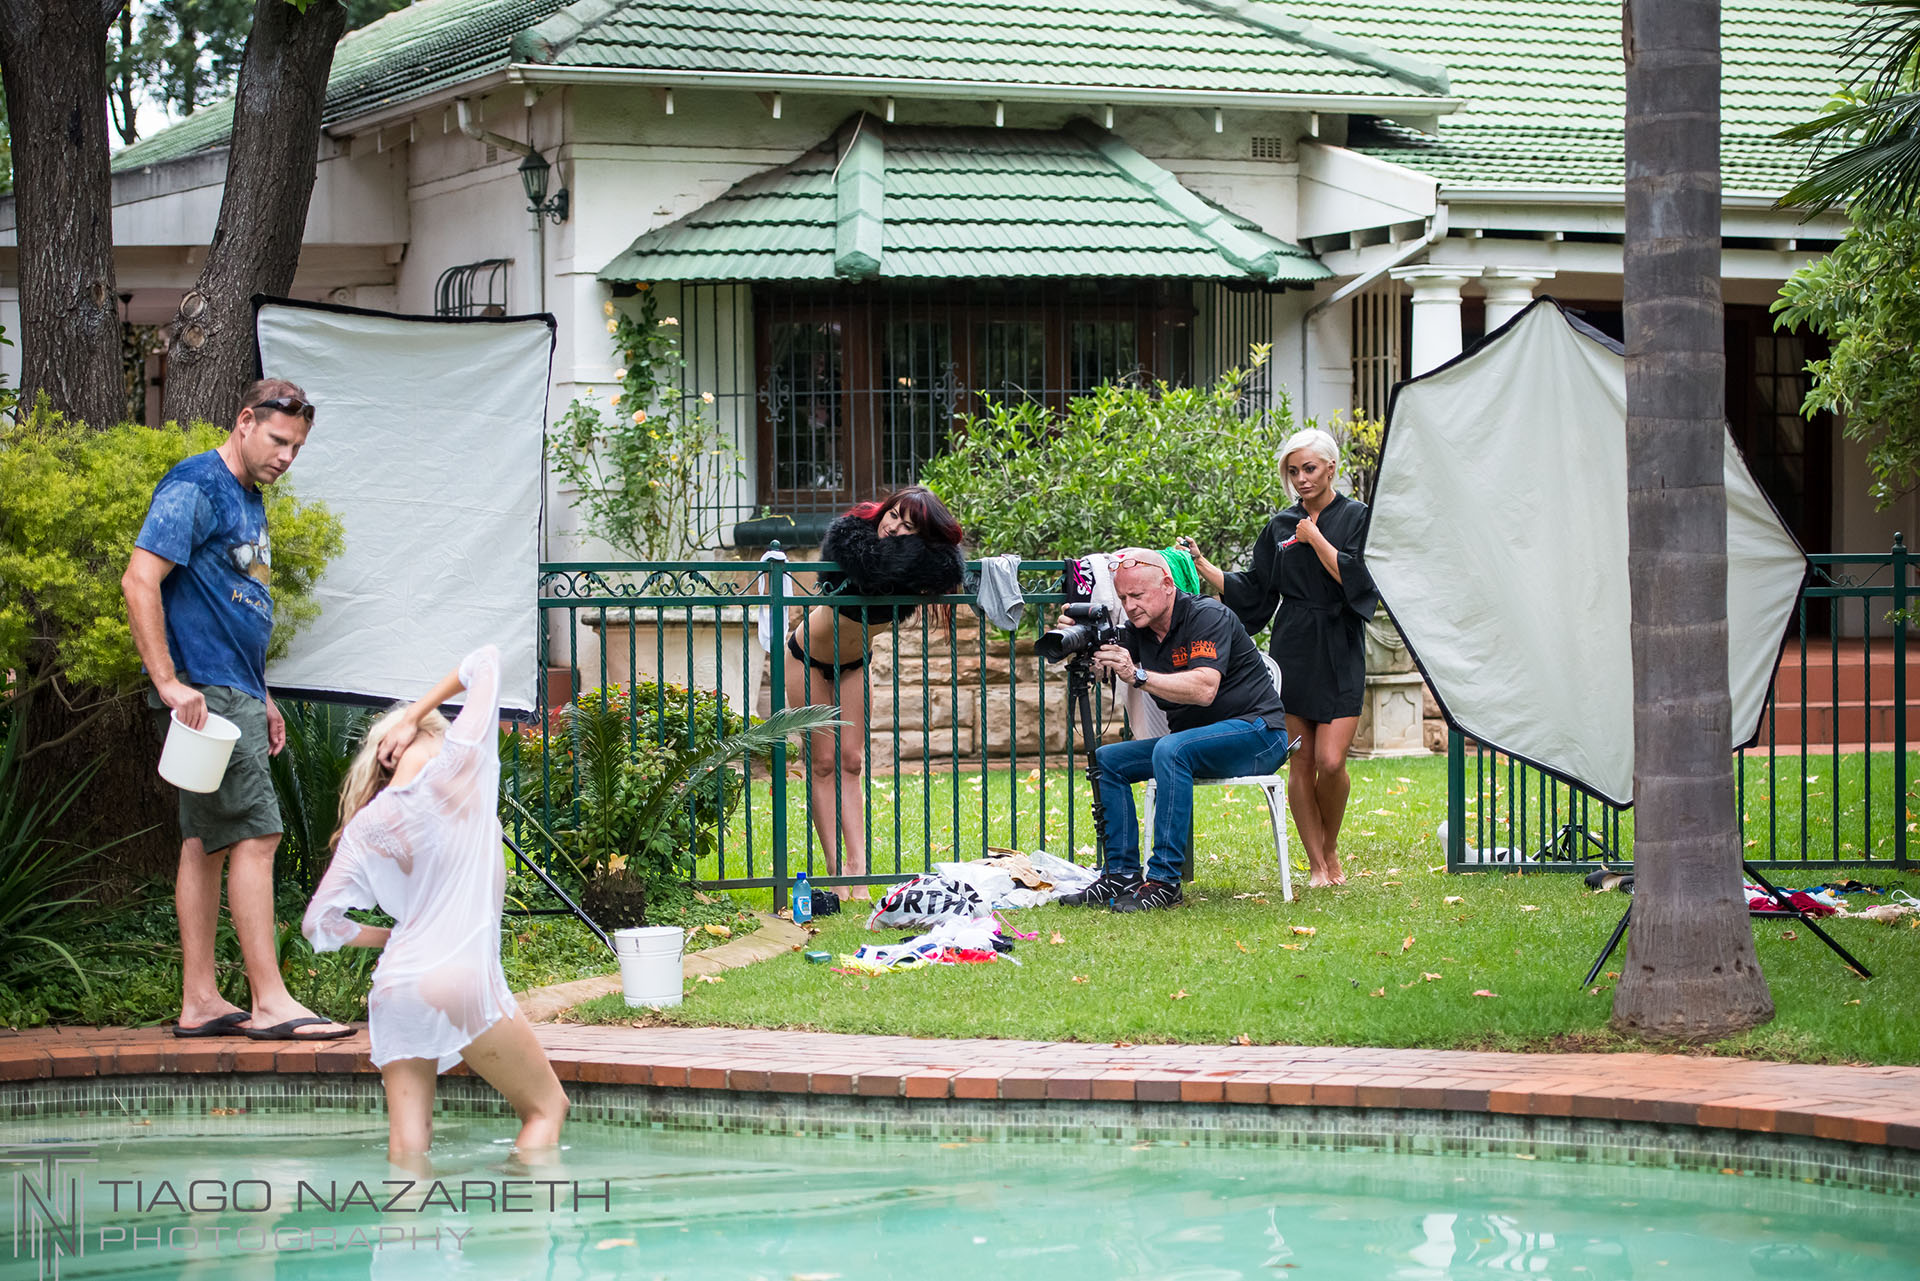
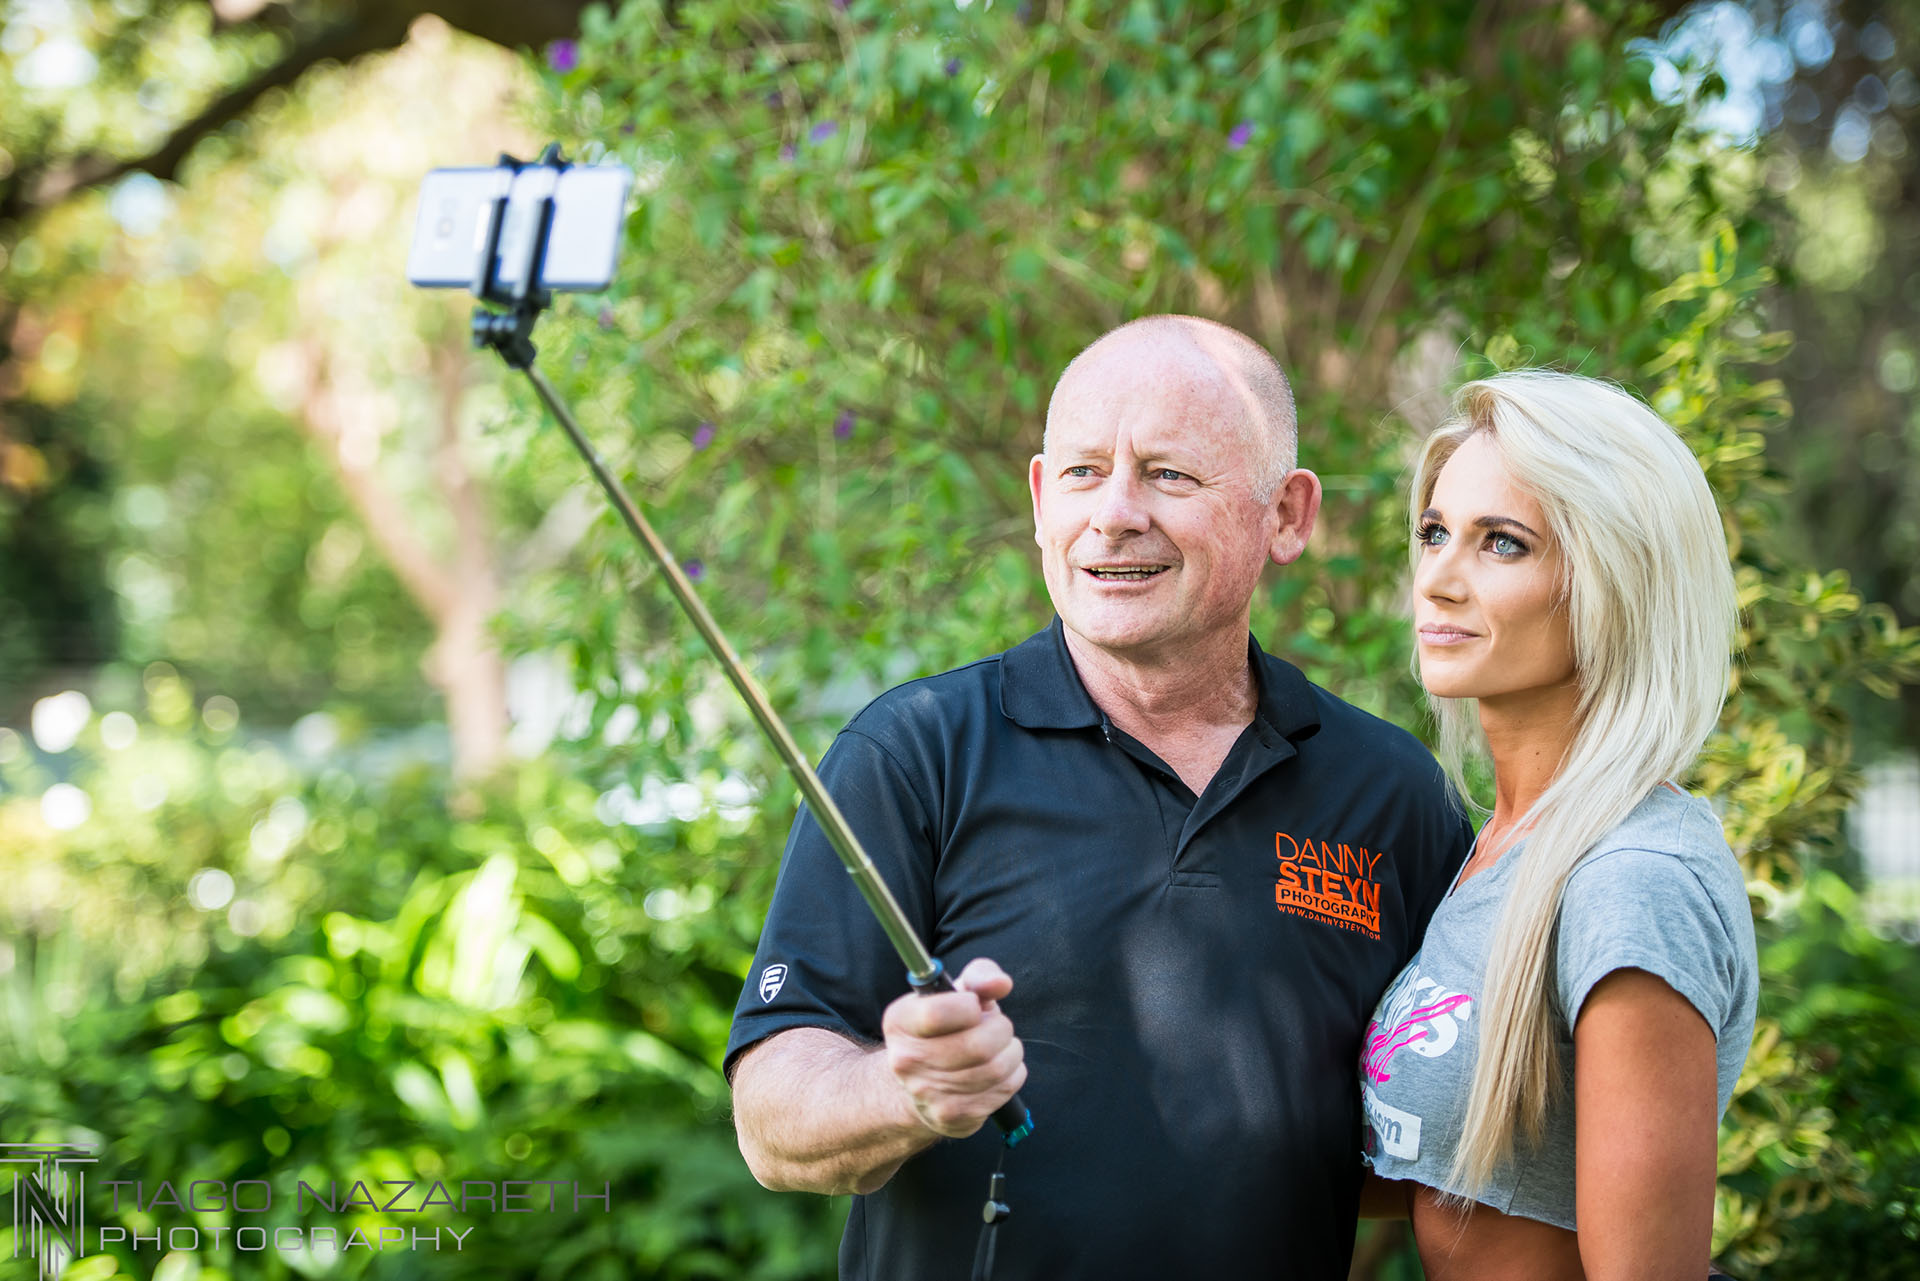
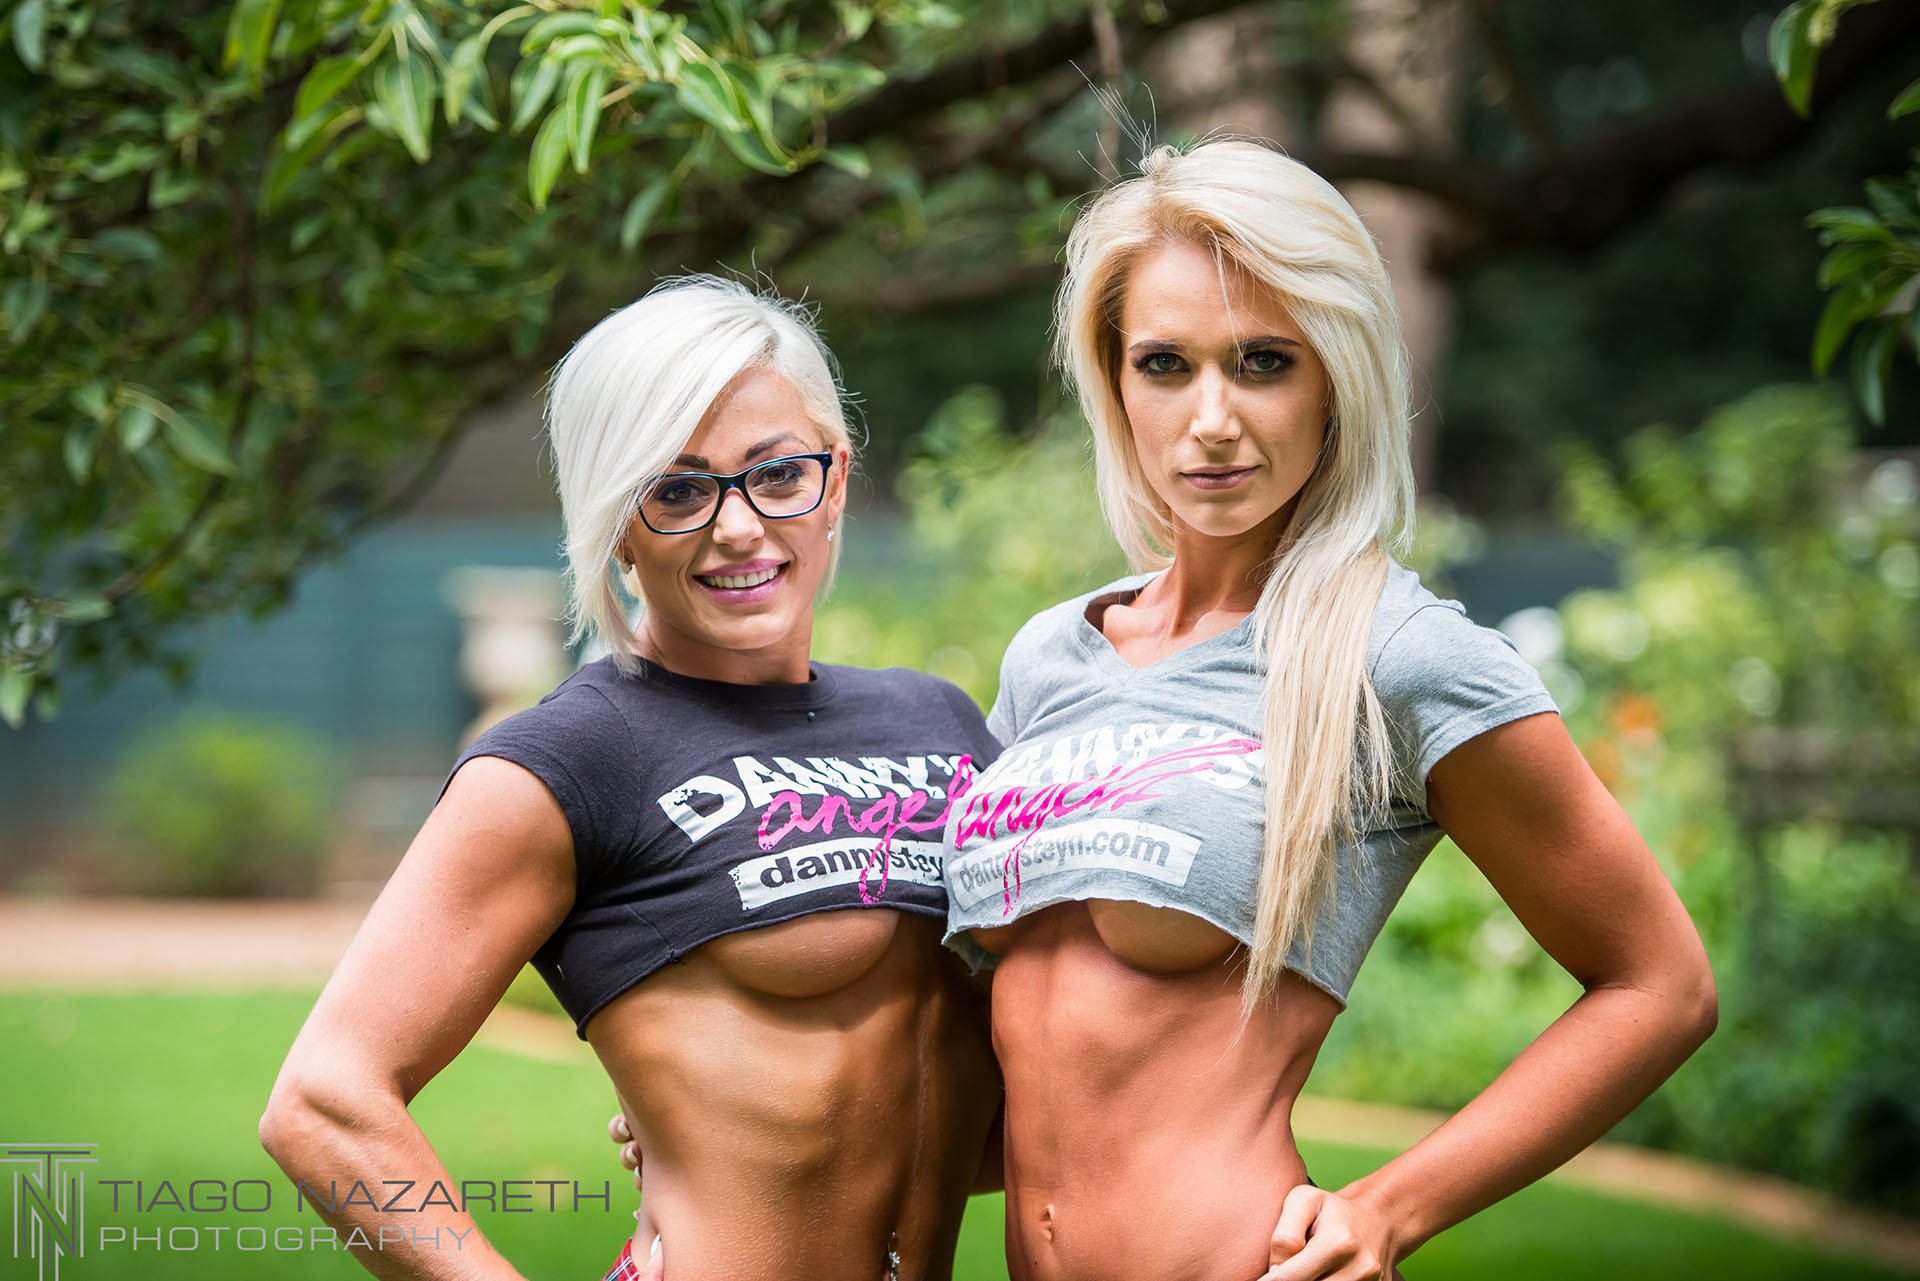
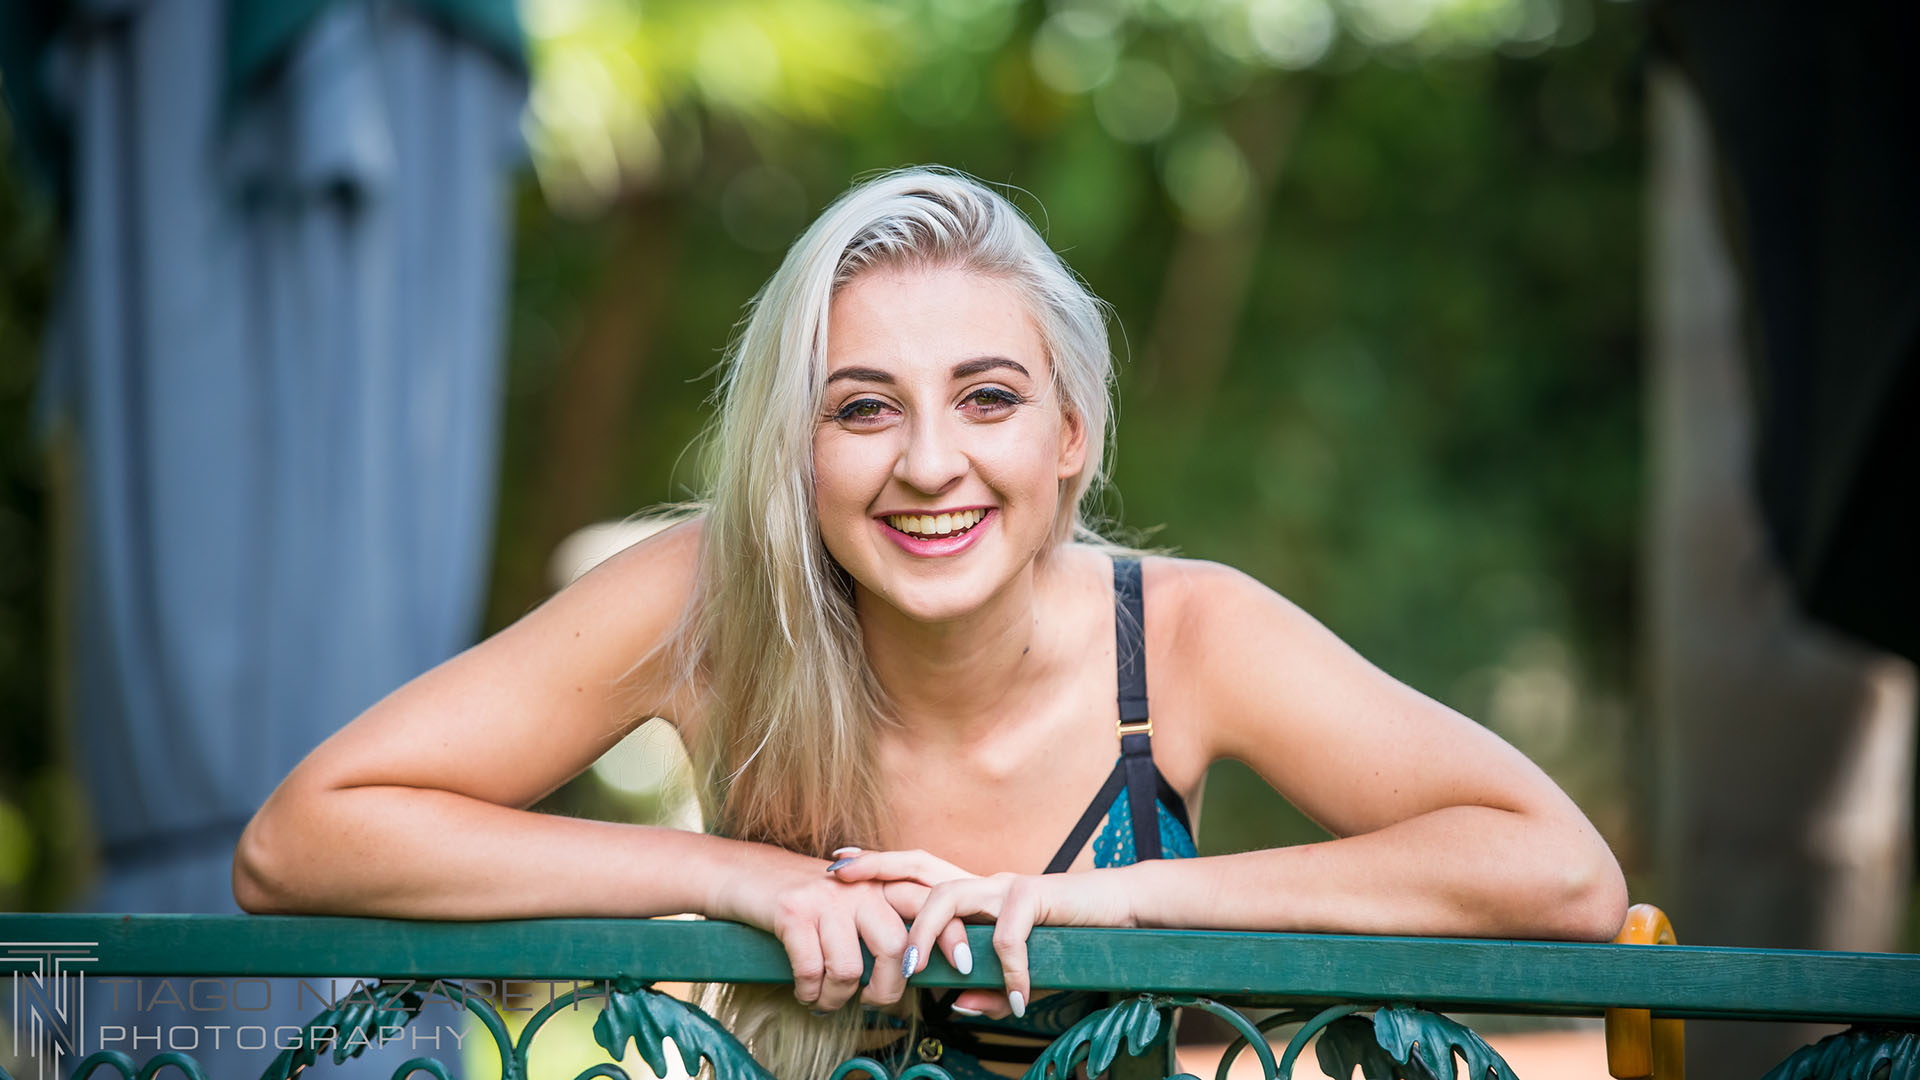
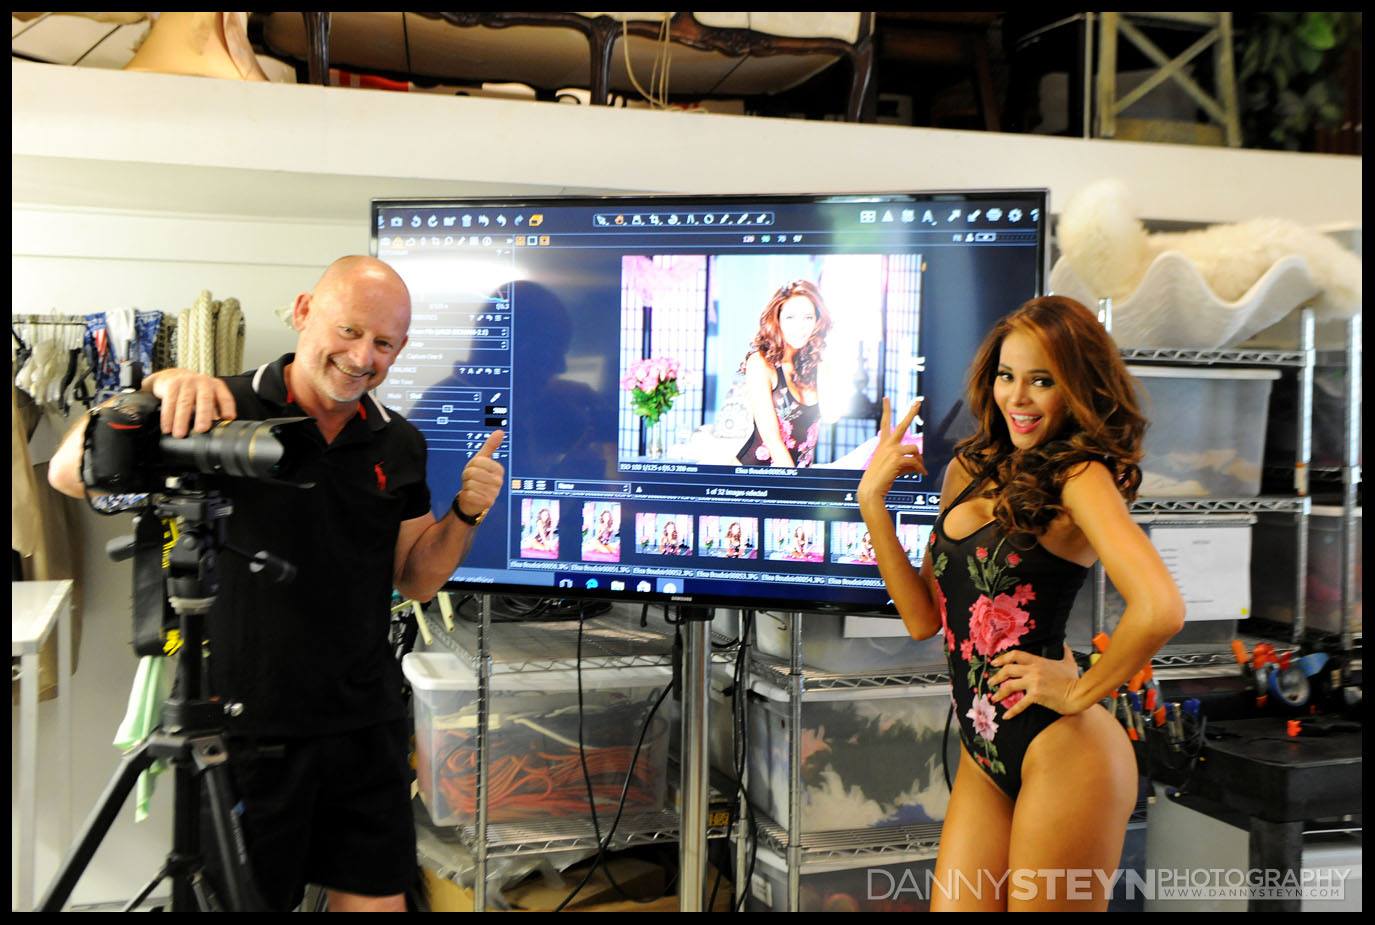
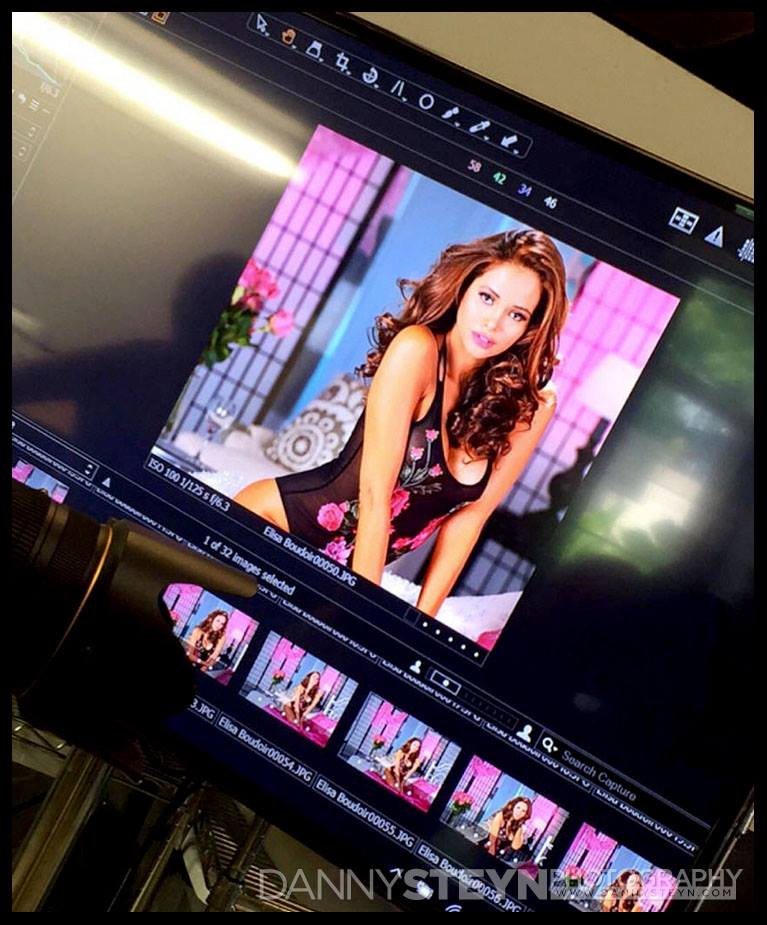
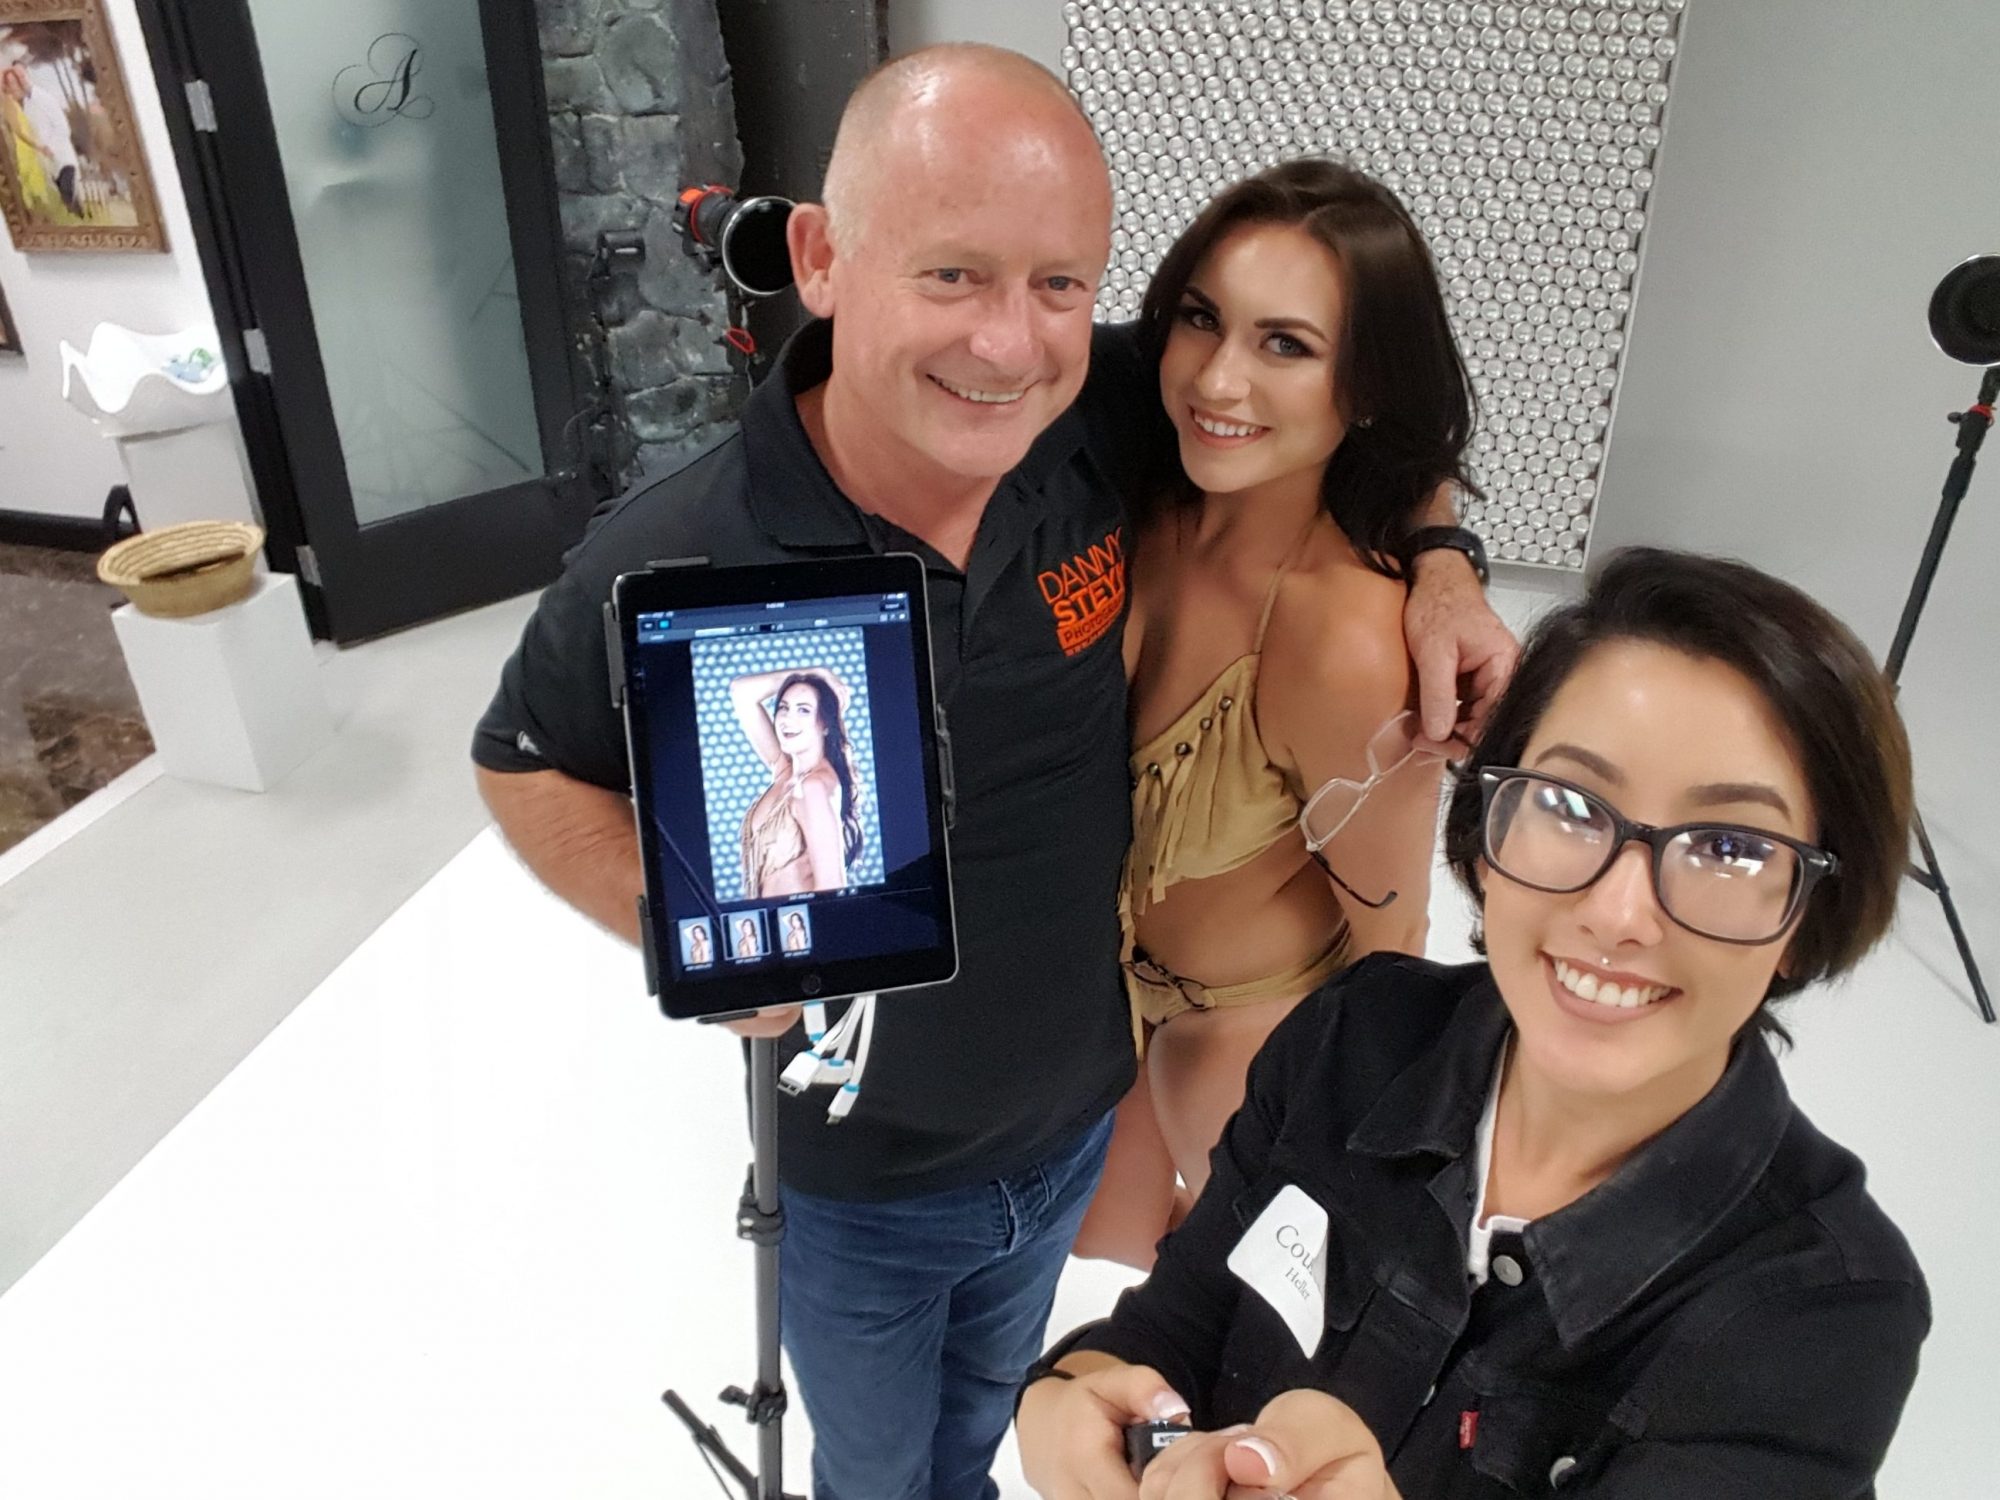
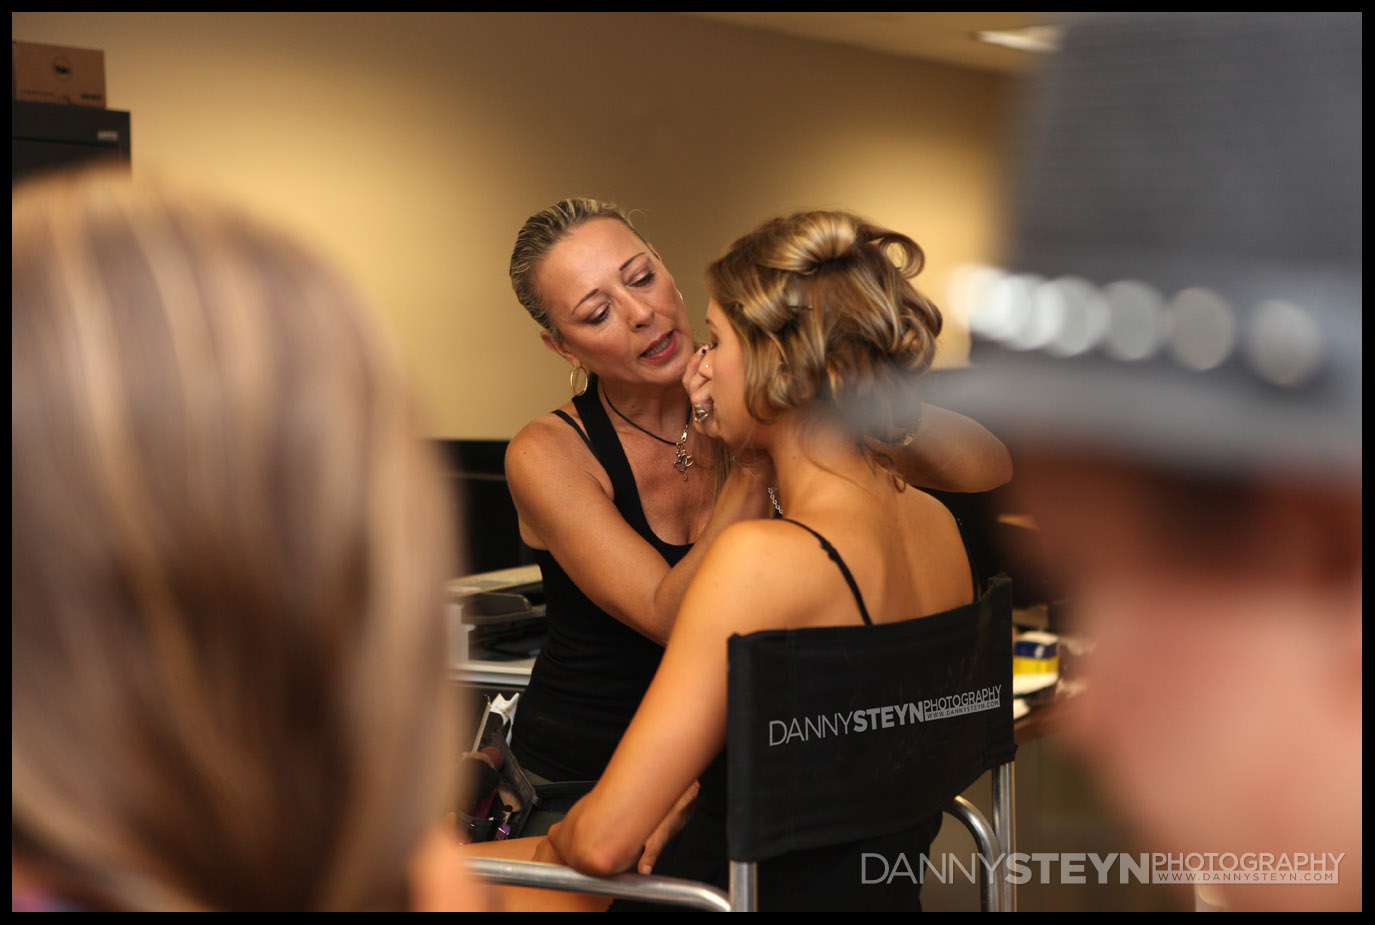
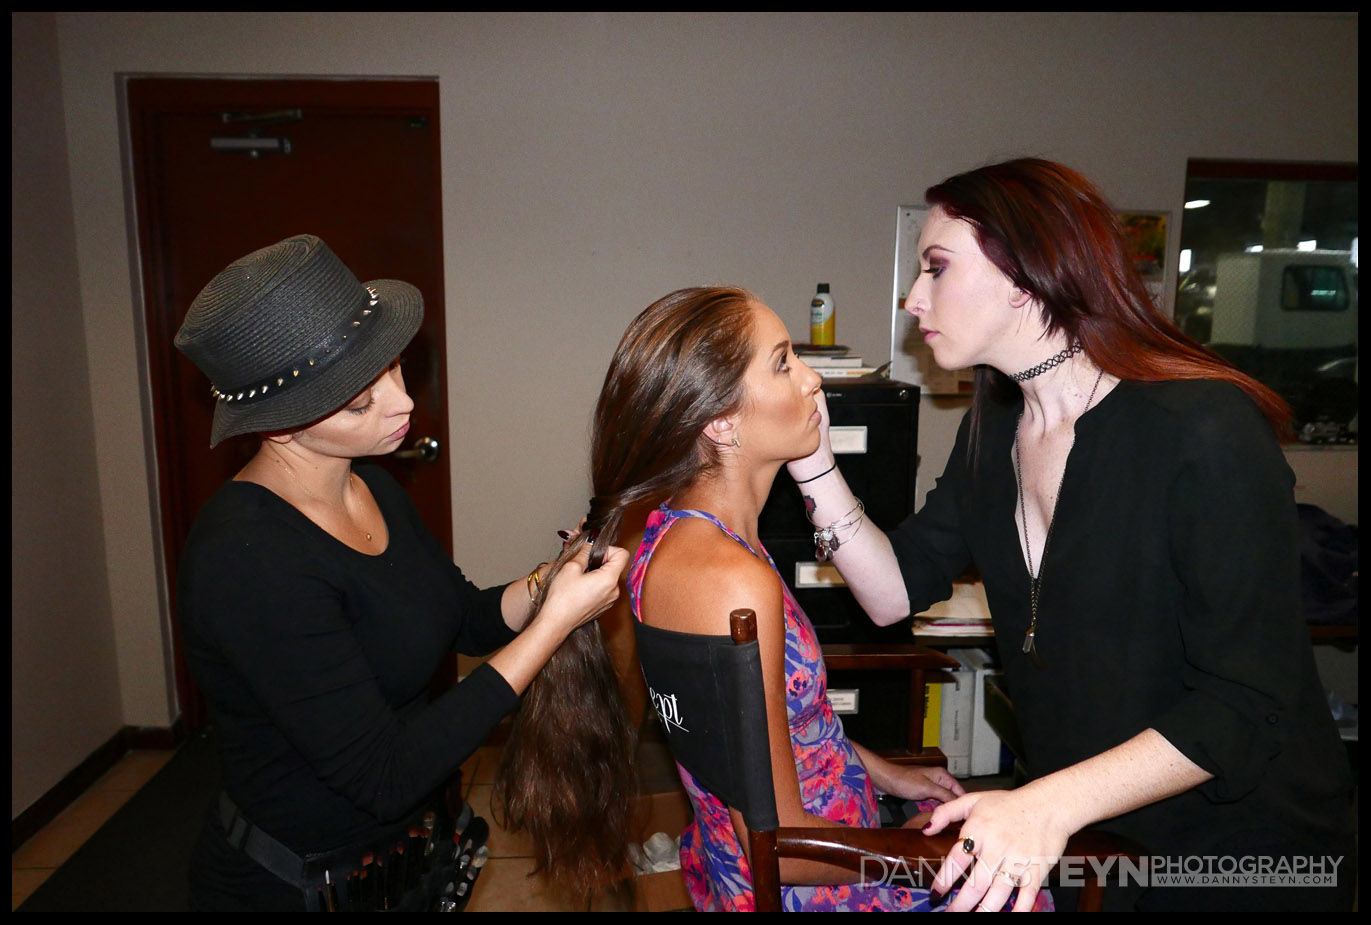
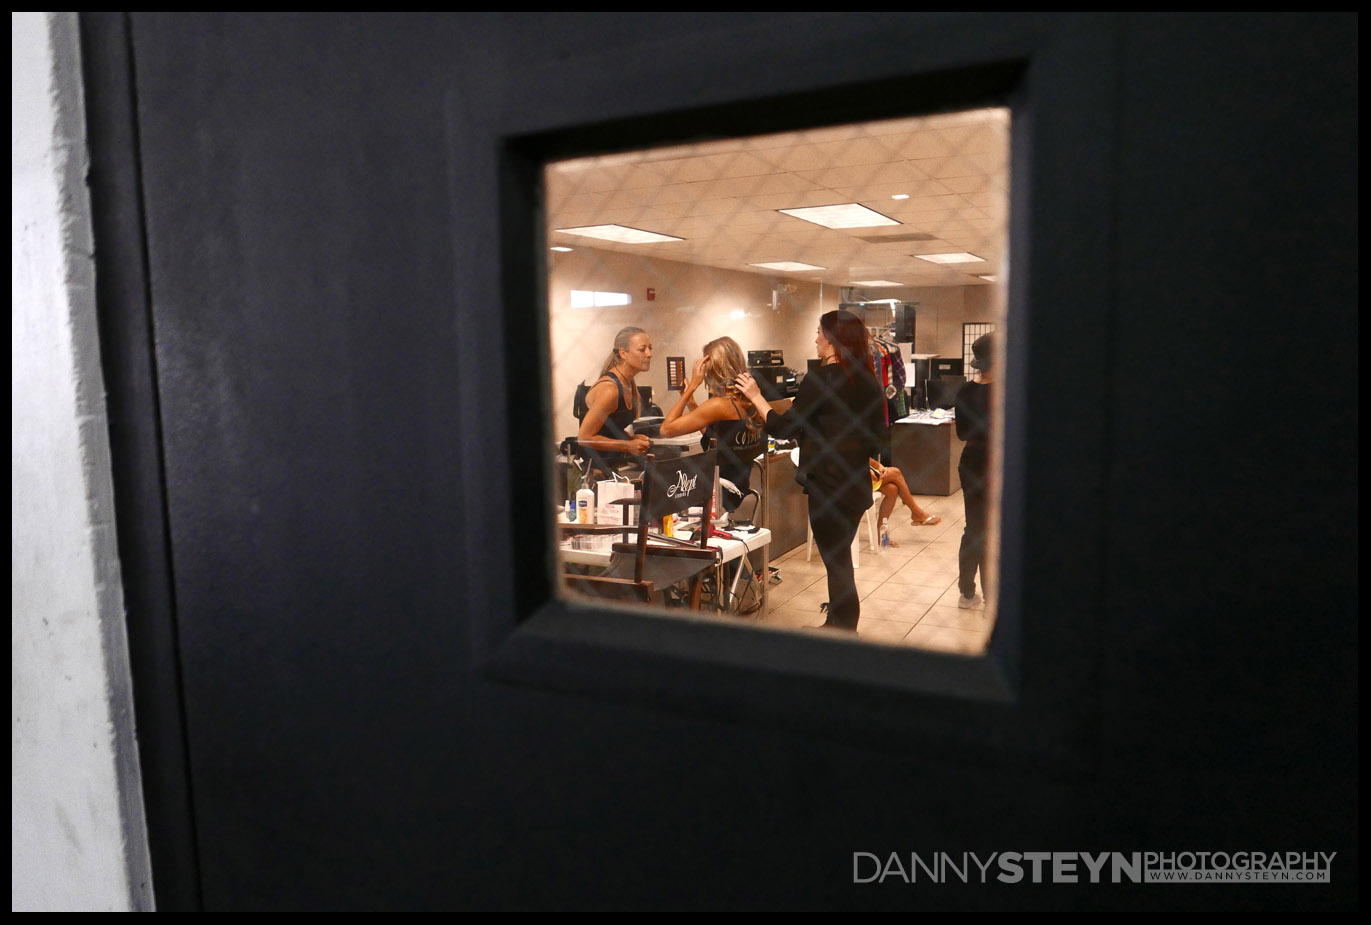
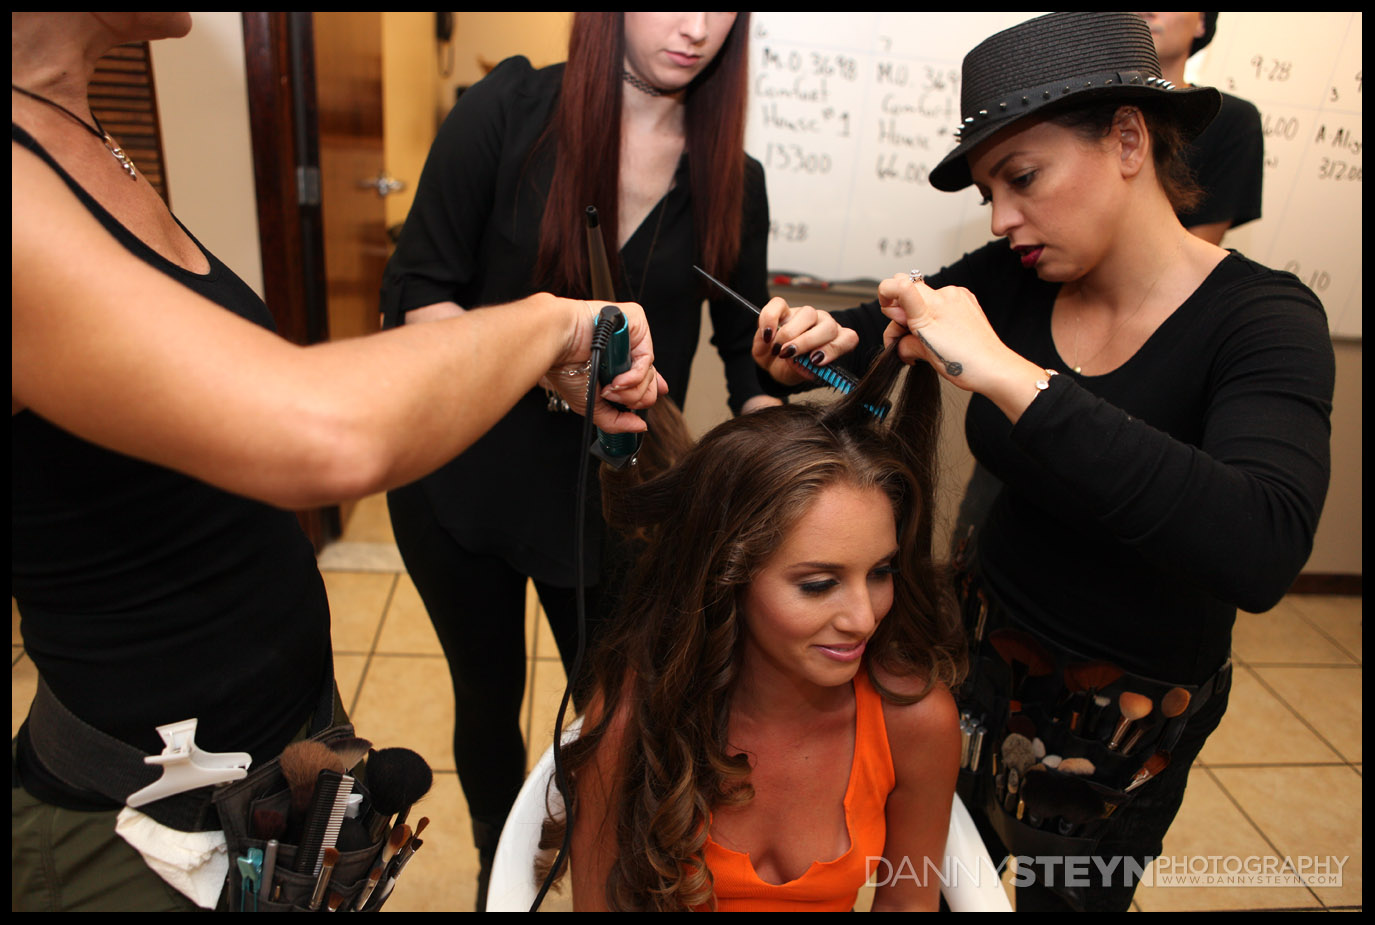
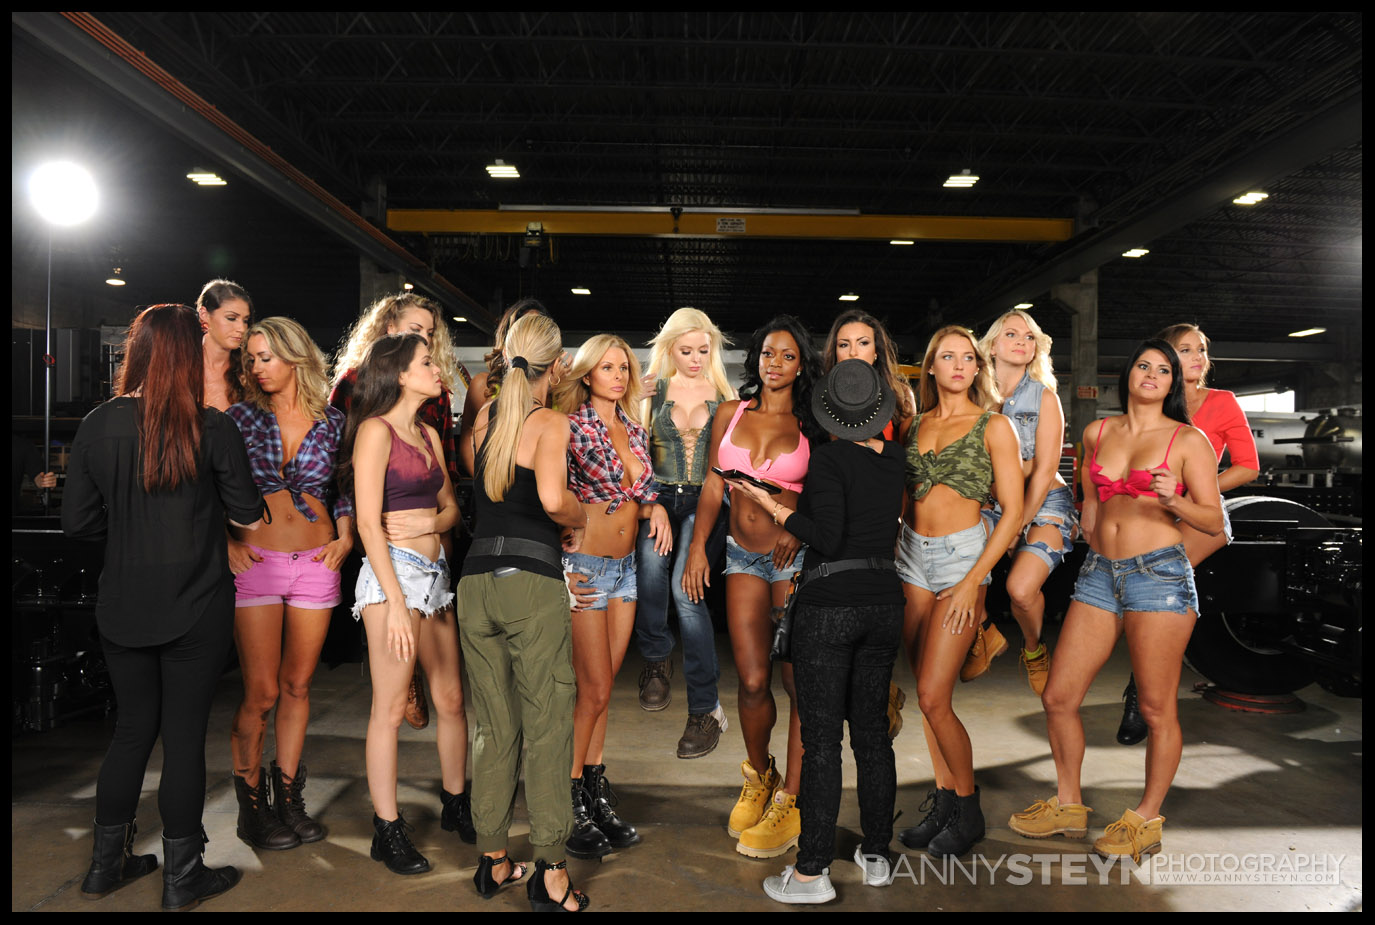
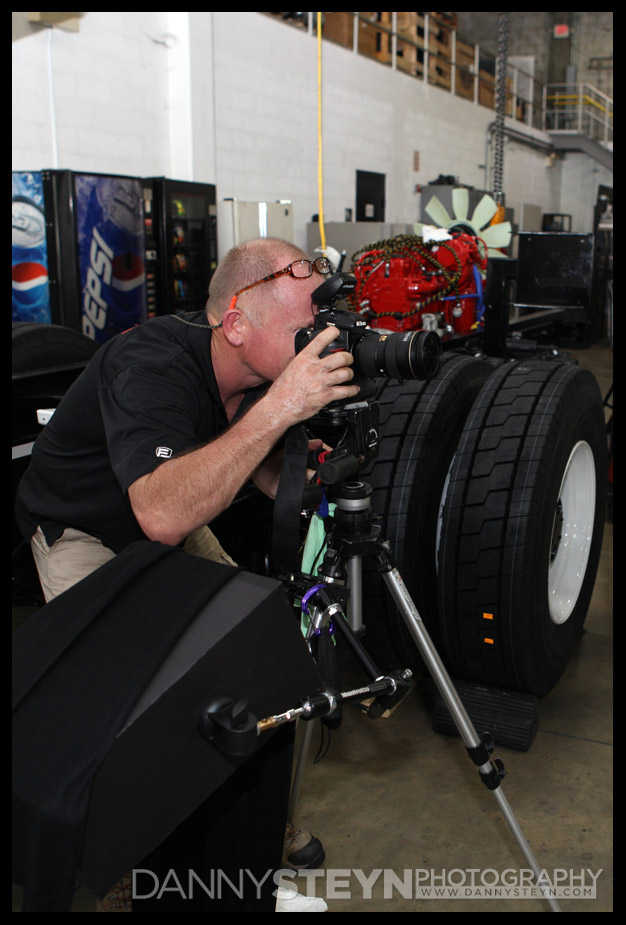
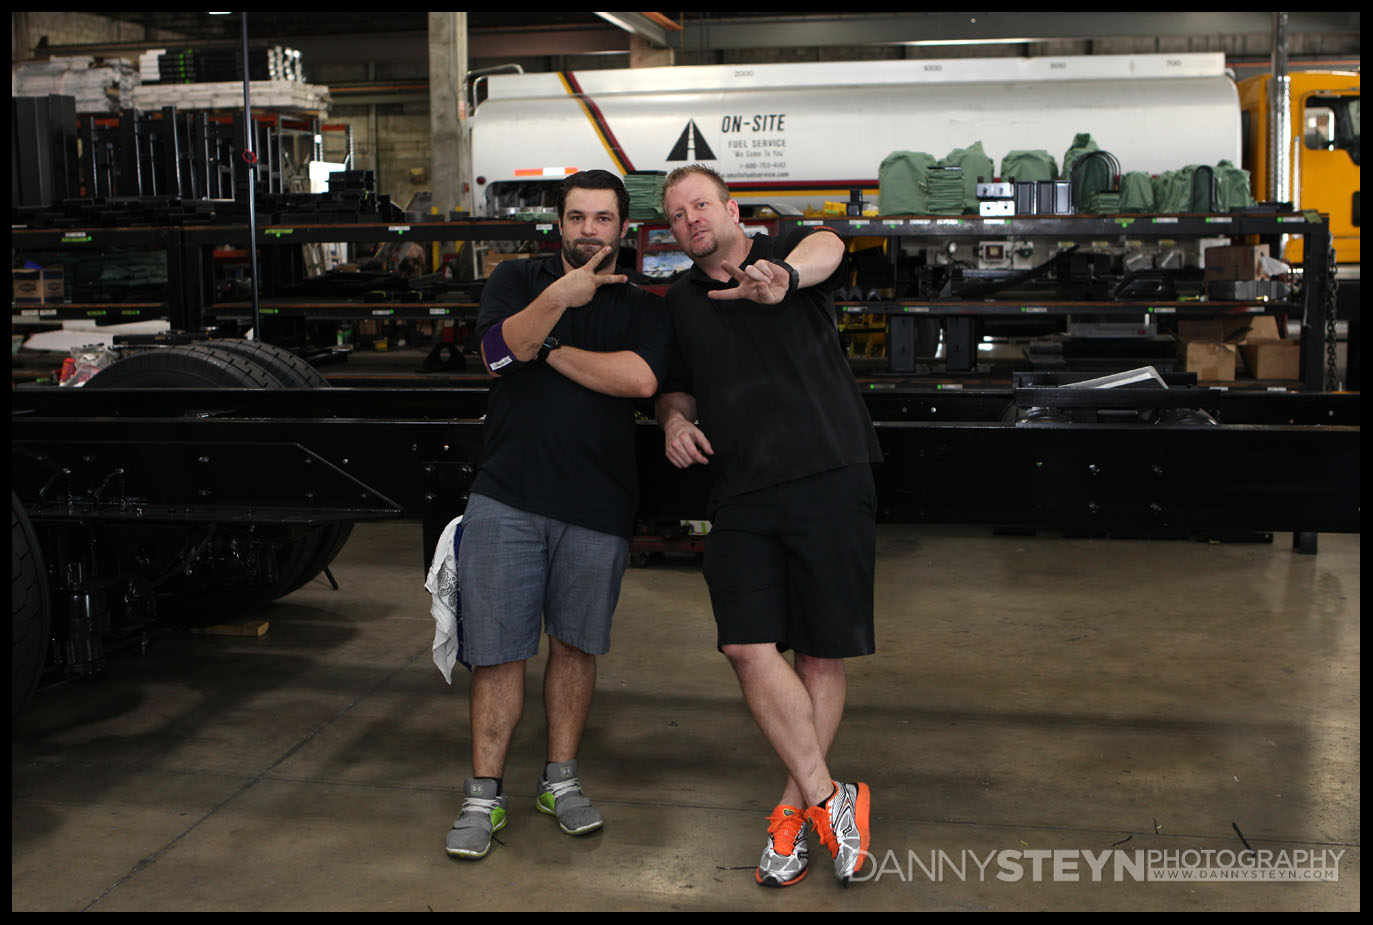
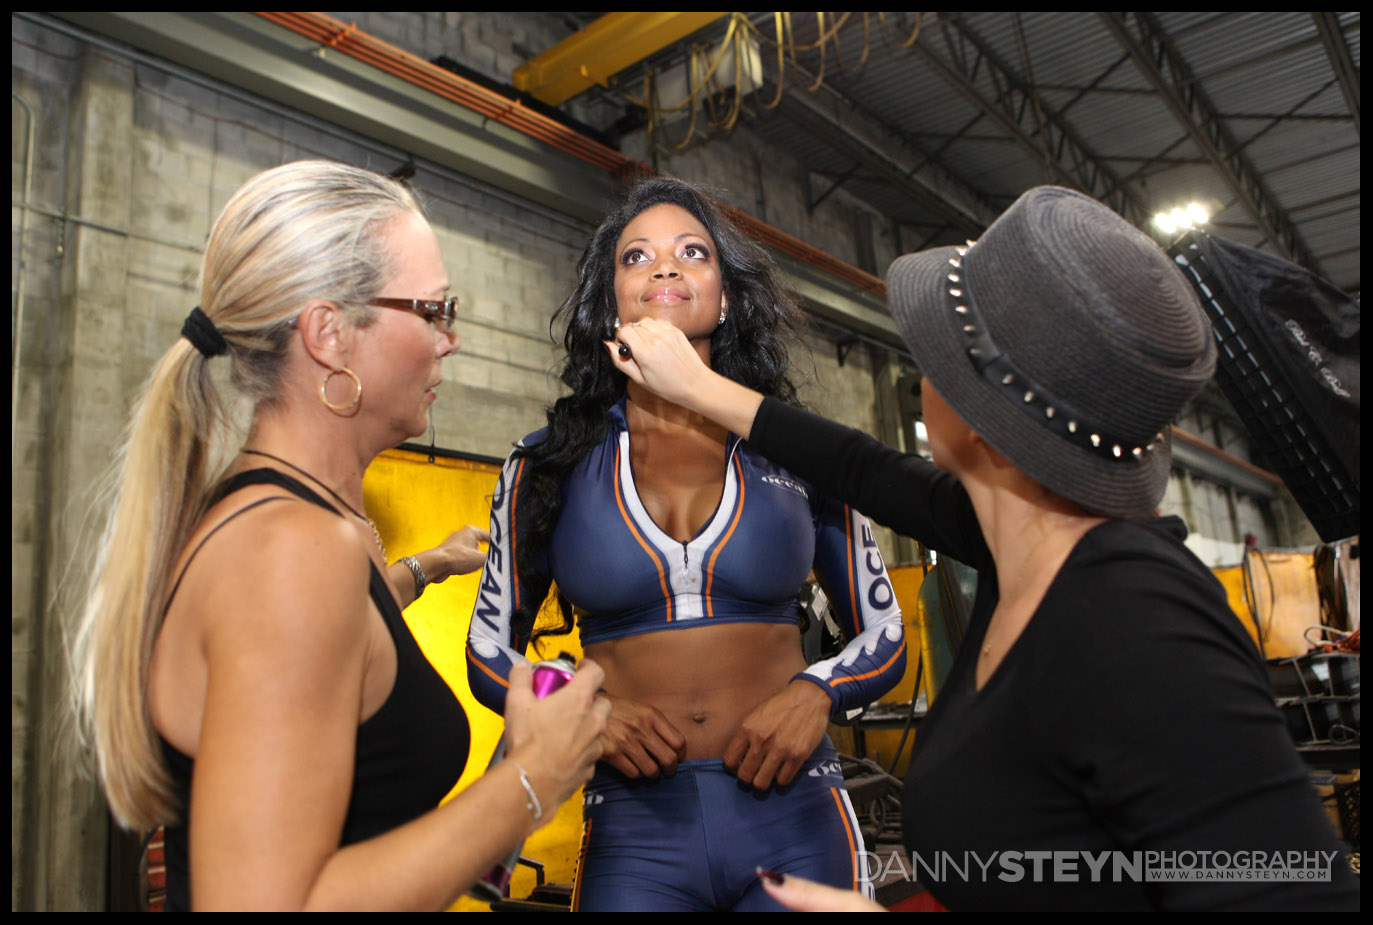
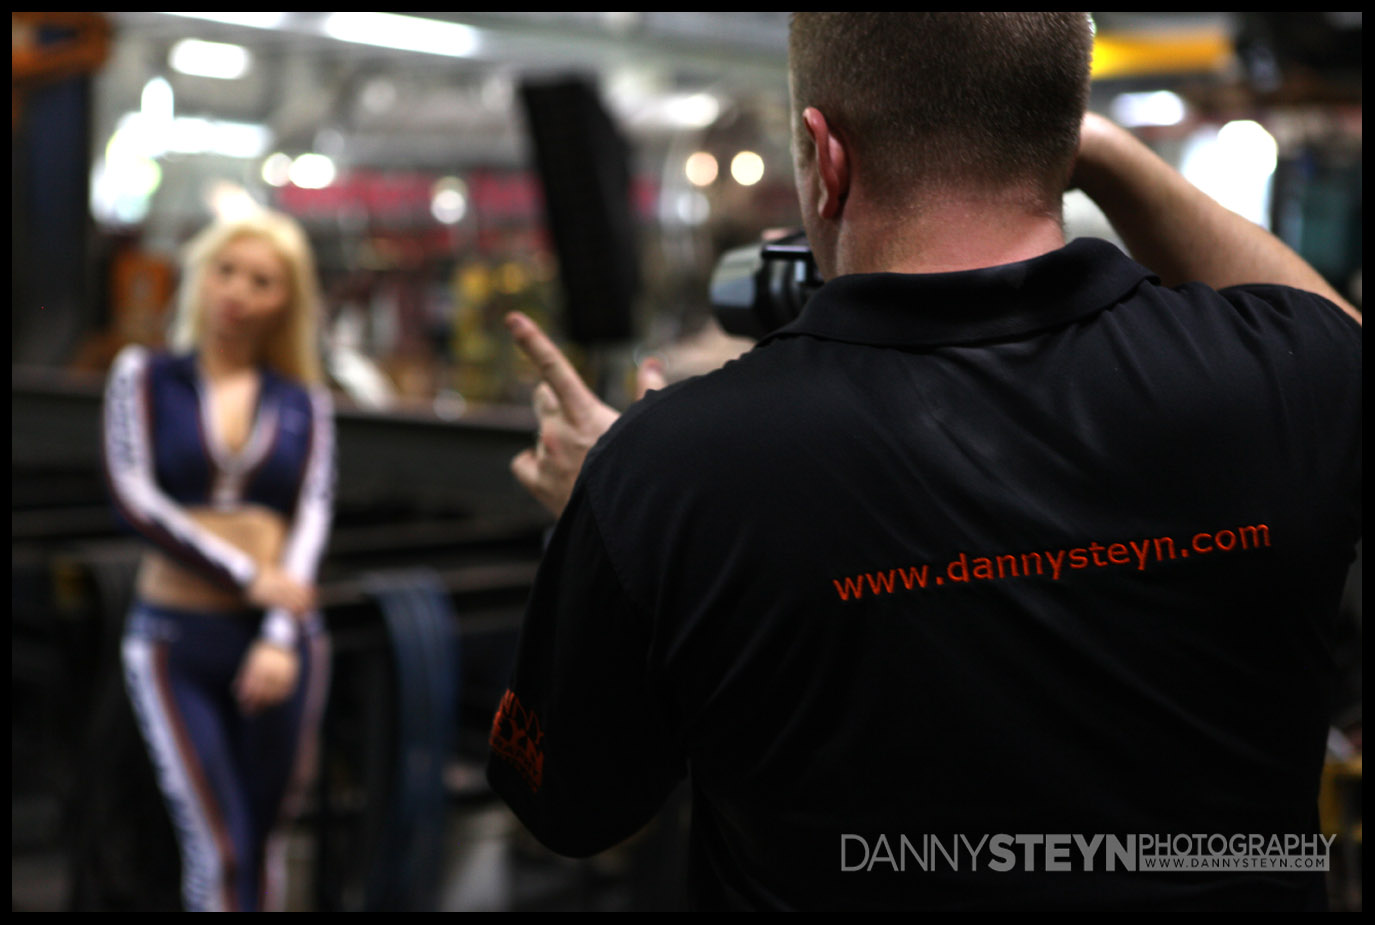
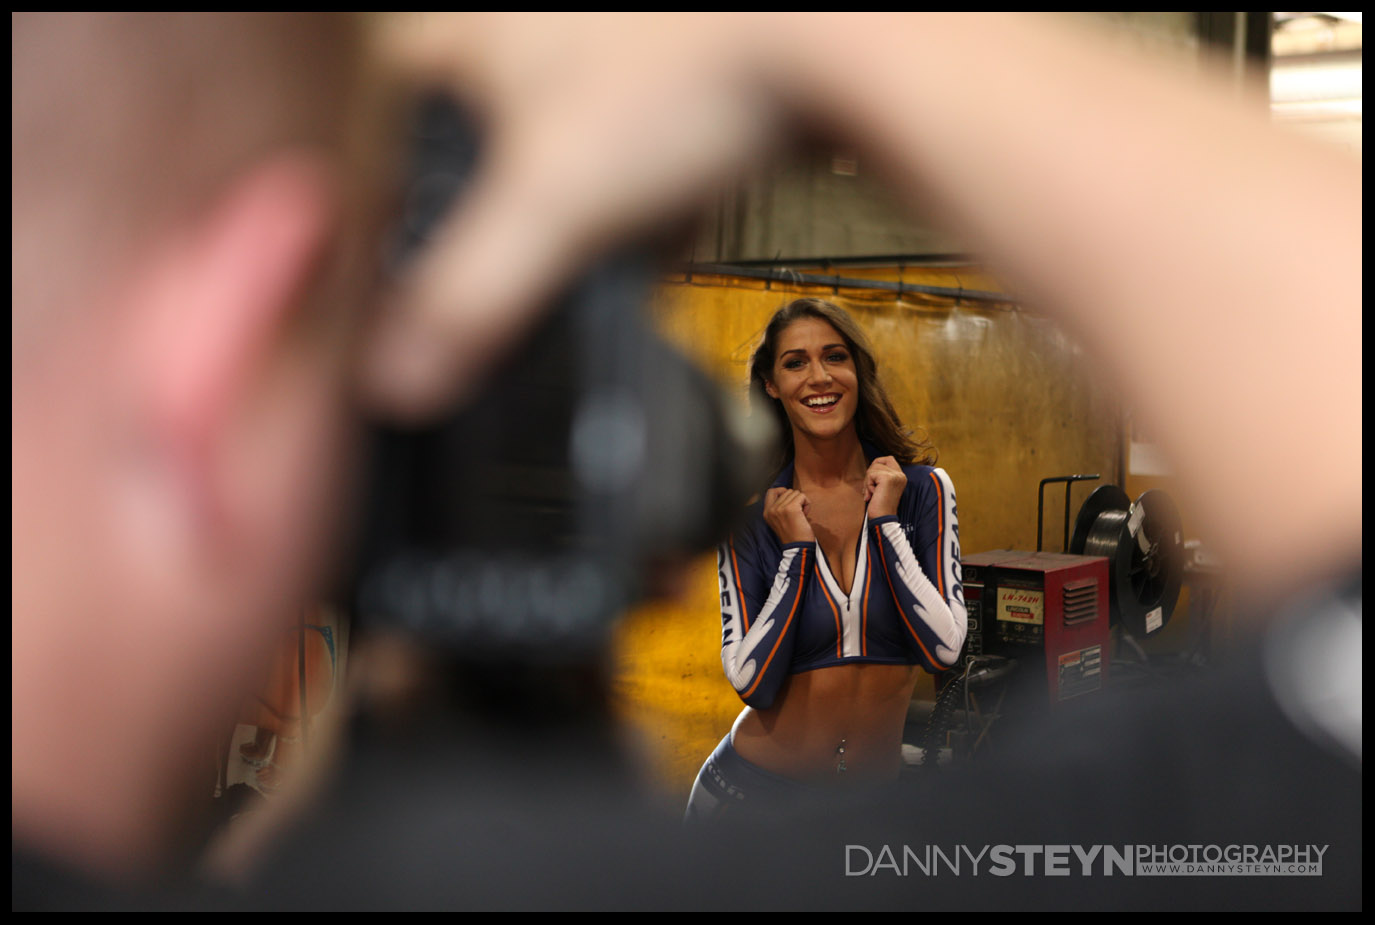
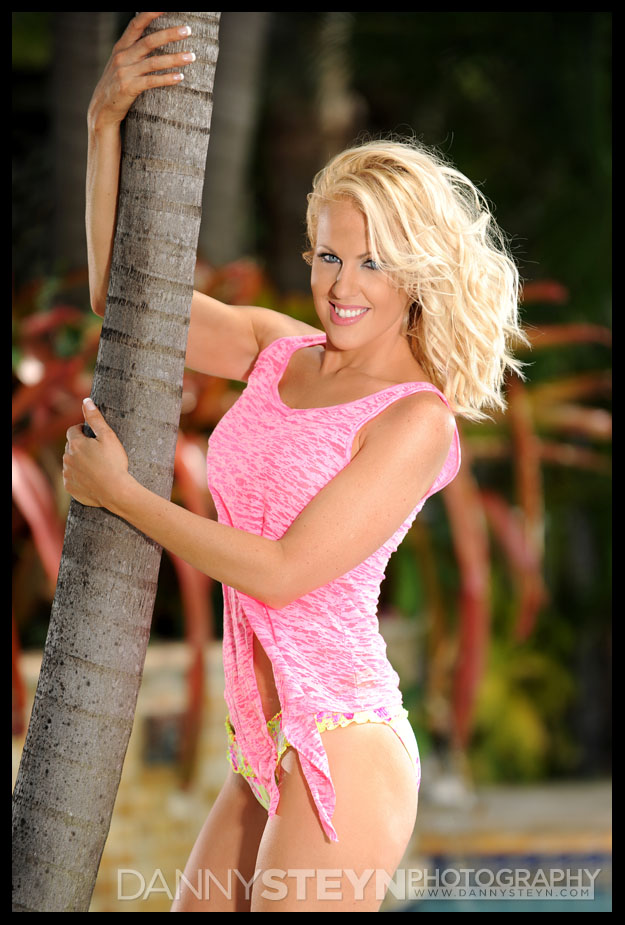
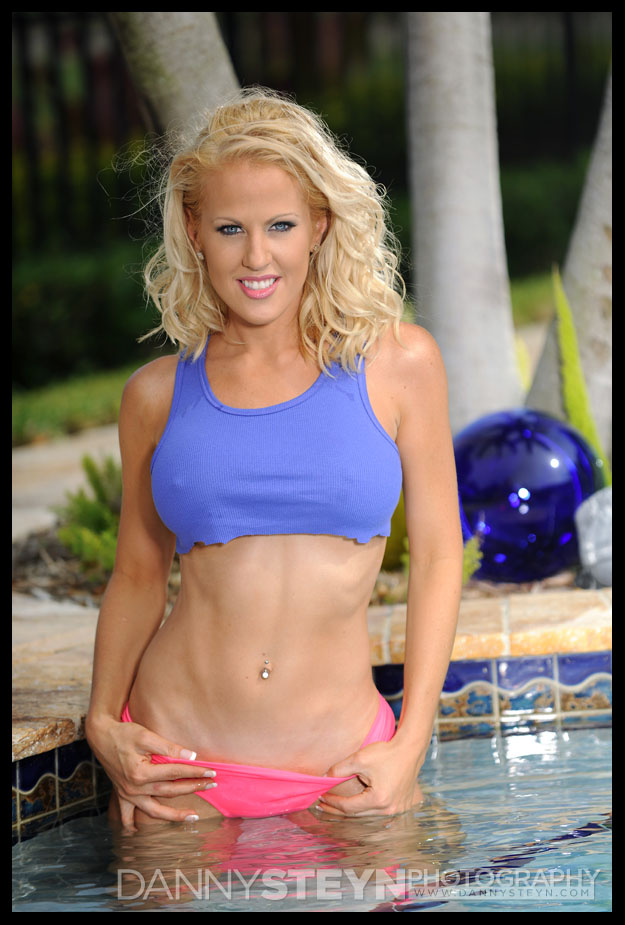
Danny’s Angels photo shoots are some of the most fun events you can ever attend. They are typically all-day shoots with multiple models shot in rotation, and are take place all around the world. This fun shoot was held at Nazareth Studios in Johannesburg South Africa, and I was blessed to shoot twelve gorgeous models over the full two day shoot.
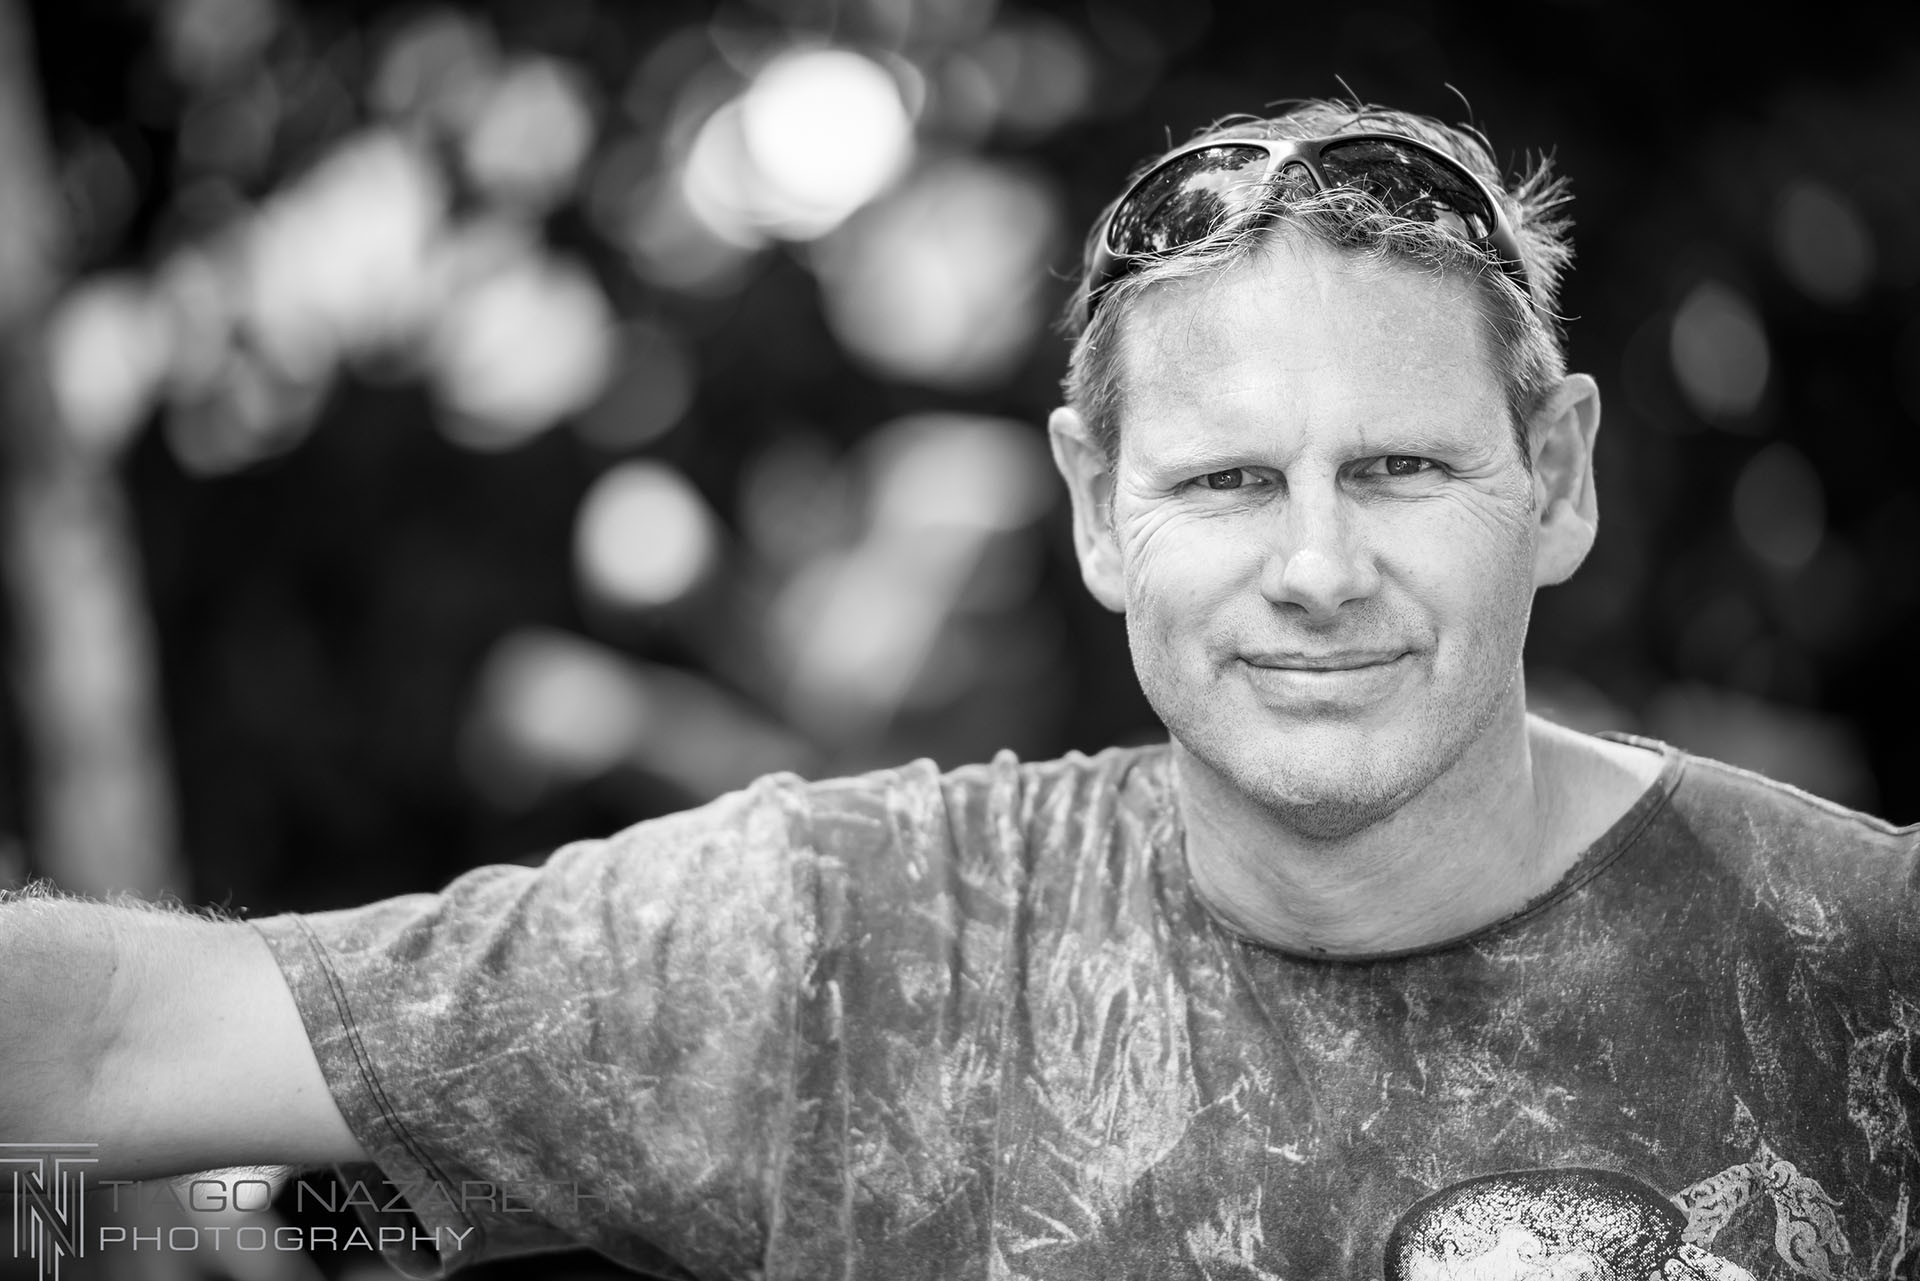
I was fortunate to be assisted by my good friend Gawie van der Walt who has helped me on several of my Playboy Playmate shoots, and for this shoot I used two lovely makeup artists Janine Korvessis and Tash Grifo Roberto. But this shoot was even more special as my new friend and pro shooter Tiago Nazareth joined the shoot on Sunday and generously took these superb behind-the-scenes shots and convey some of the excitement and fun that happens at our shoots. Makes you want to be there doesn’t it!
Enjoy
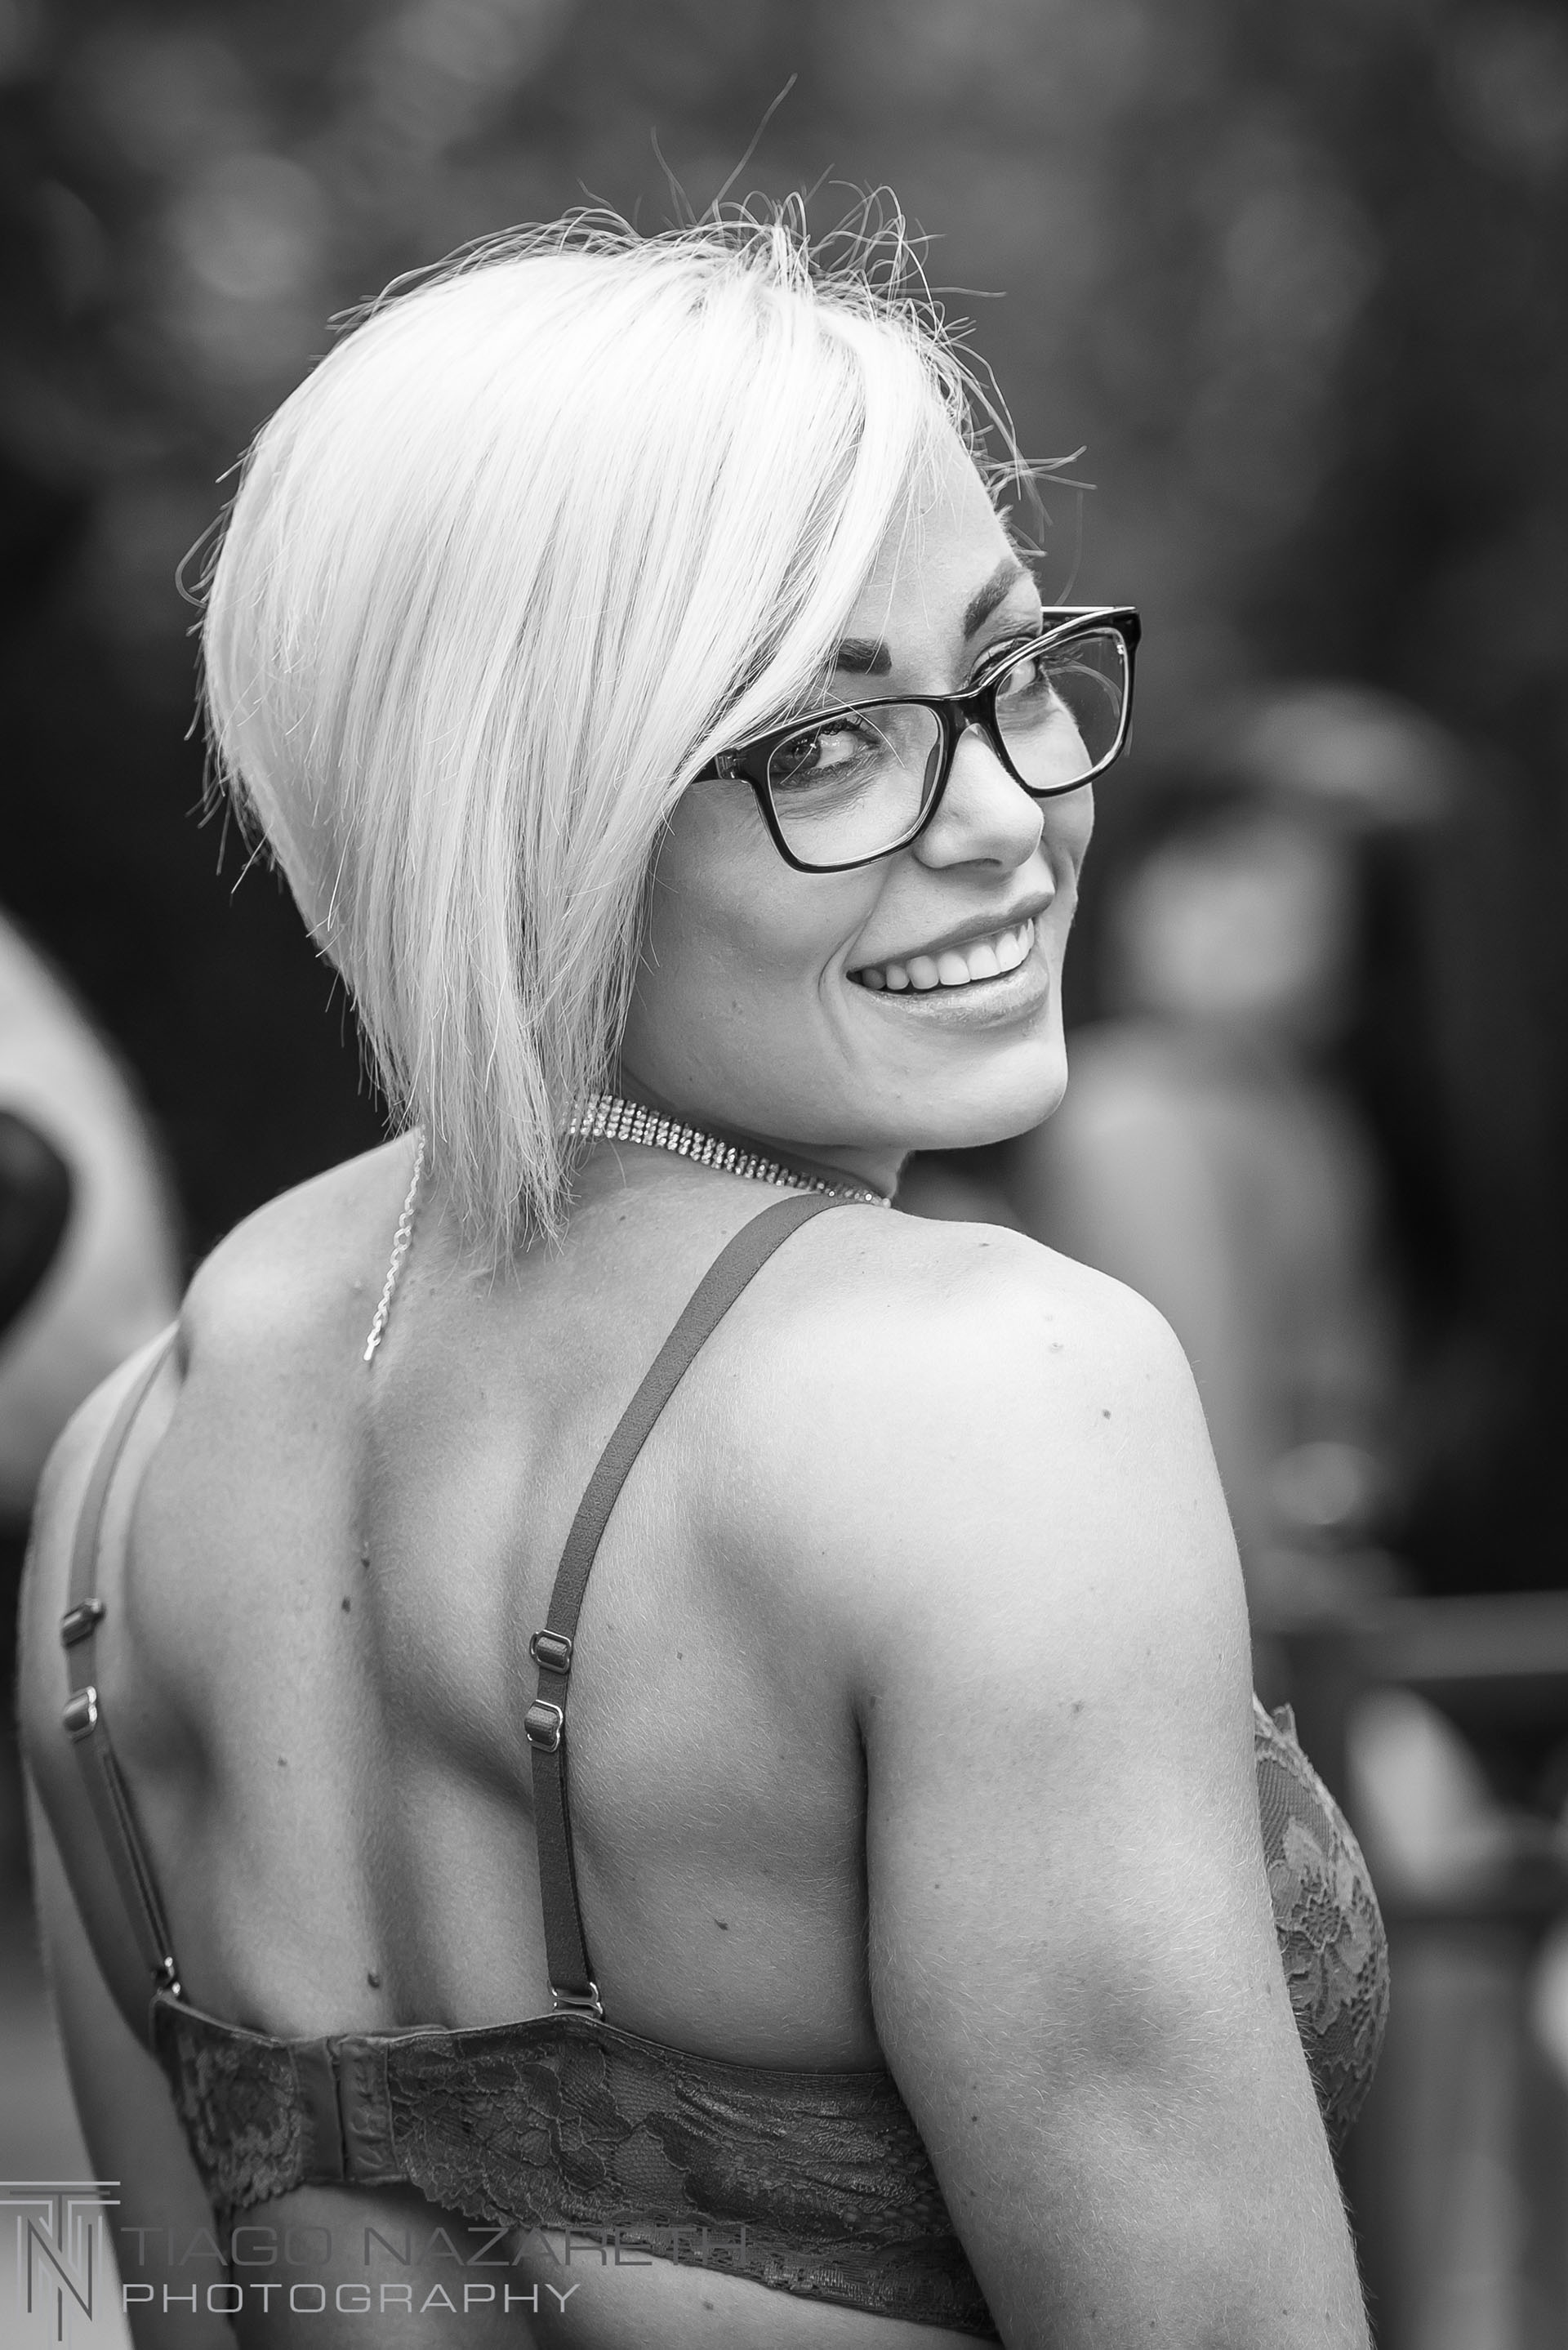
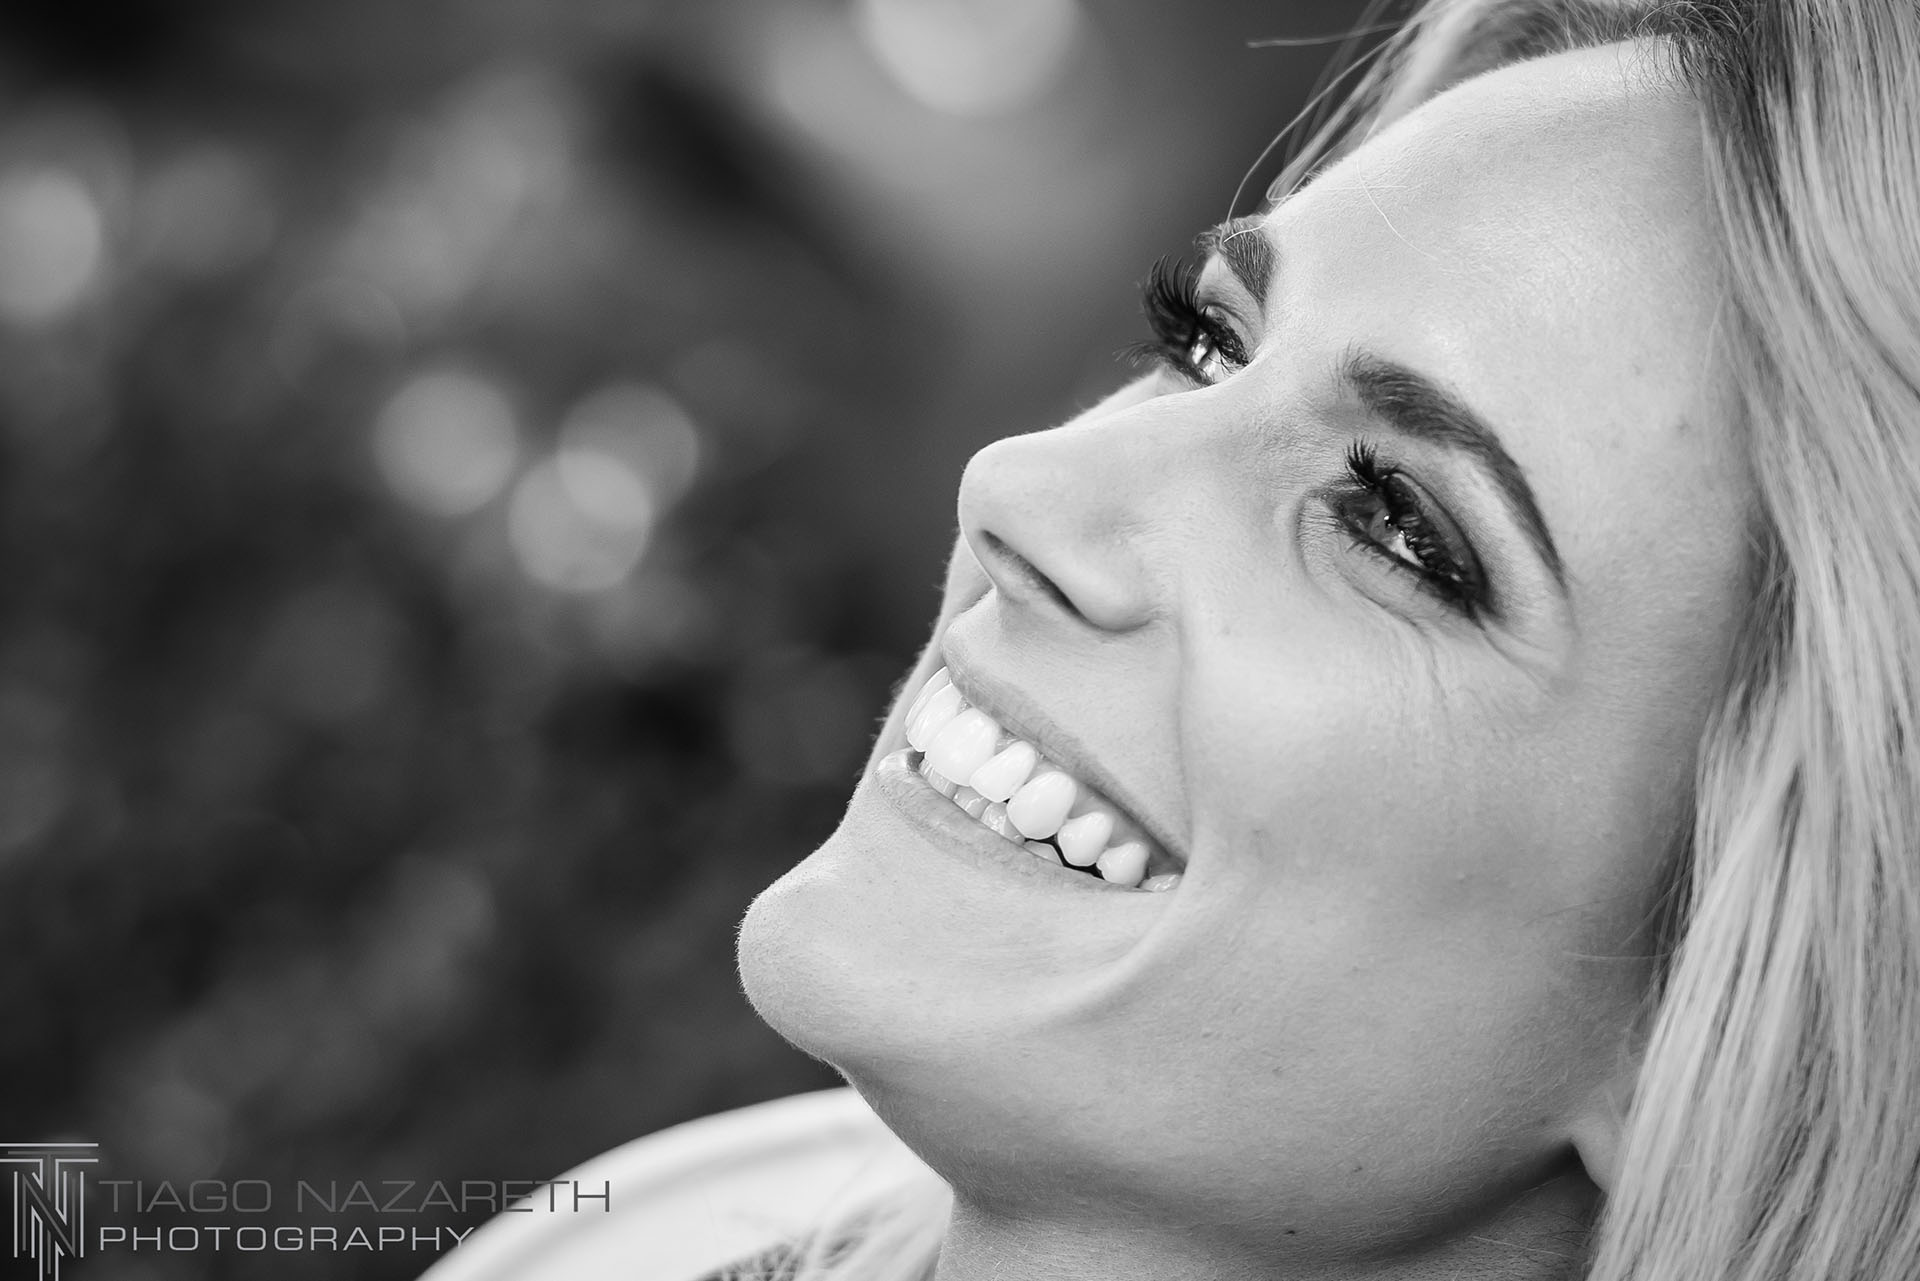
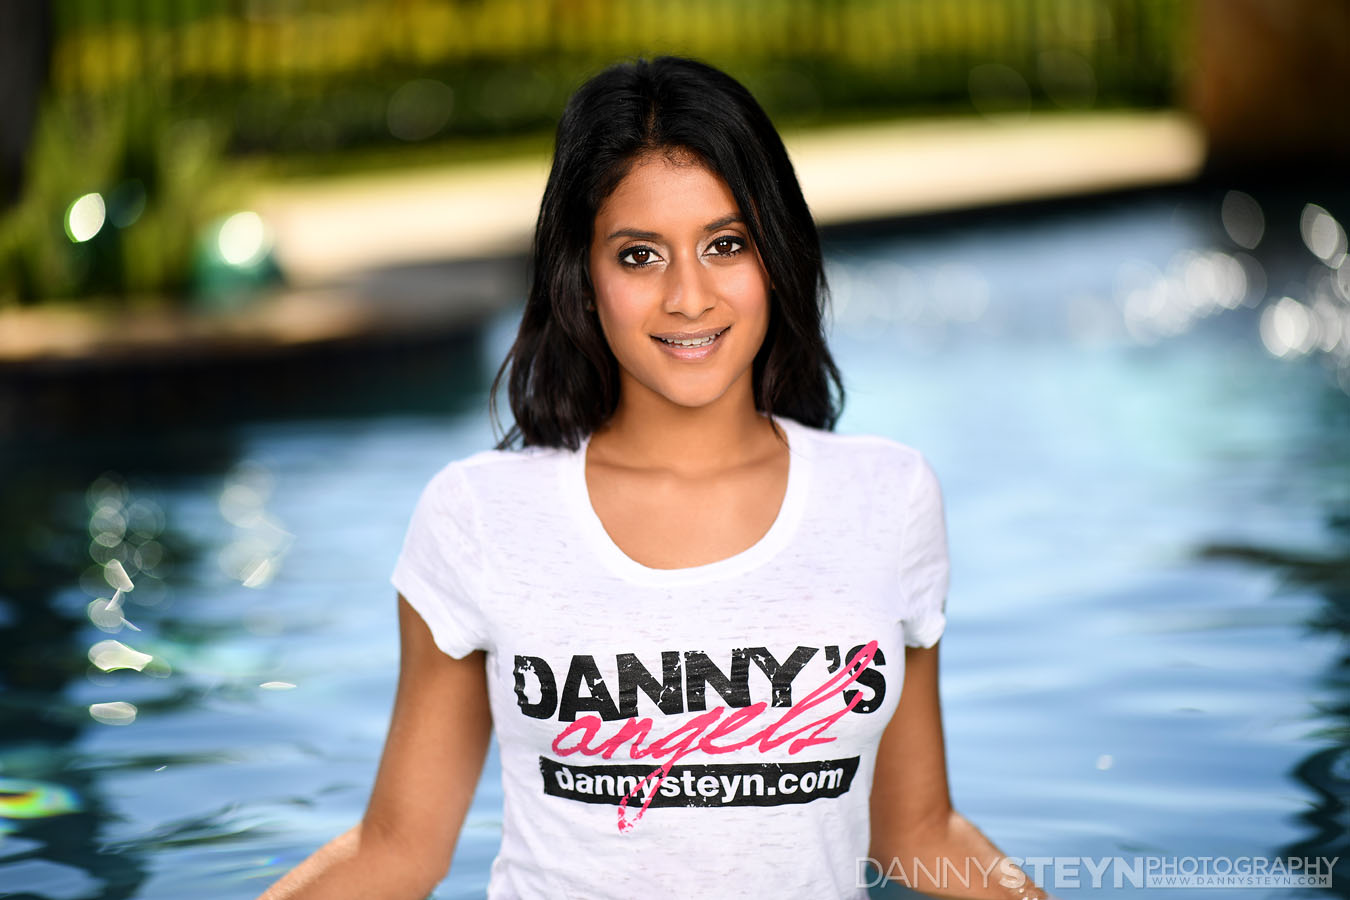
Danny’s Angels Photo Shoot at Nazareth Studios, Westdene, Benoni – 25 March 2018 (Photo by Tiago Nazareth 2018)Danny’s Angels Photo Shoot at Nazareth Studios, Westdene, Benoni – 25 March 2018 (Photo by Tiago Nazareth 2018)Danny’s Angels Photo Shoot at Nazareth Studios, Westdene, Benoni – 25 March 2018 (Photo by Tiago Nazareth 2018)Danny’s Angels Photo Shoot at Nazareth Studios, Westdene, Benoni – 25 March 2018 (Photo by Tiago Nazareth 2018)Danny’s Angels Photo Shoot at Nazareth Studios, Westdene, Benoni – 25 March 2018 (Photo by Tiago Nazareth 2018)Danny’s Angels Photo Shoot at Nazareth Studios, Westdene, Benoni – 25 March 2018 (Photo by Tiago Nazareth 2018)Danny’s Angels Photo Shoot at Nazareth Studios, Westdene, Benoni – 25 March 2018 (Photo by Tiago Nazareth 2018)Danny’s Angels Photo Shoot at Nazareth Studios, Westdene, Benoni – 25 March 2018 (Photo by Tiago Nazareth 2018)Danny’s Angels Photo Shoot at Nazareth Studios, Westdene, Benoni – 25 March 2018 (Photo by Tiago Nazareth 2018)Danny’s Angels Photo Shoot at Nazareth Studios, Westdene, Benoni – 25 March 2018 (Photo by Tiago Nazareth 2018)Danny’s Angels Photo Shoot at Nazareth Studios, Westdene, Benoni – 25 March 2018 (Photo by Tiago Nazareth 2018)Danny’s Angels Photo Shoot at Nazareth Studios, Westdene, Benoni – 25 March 2018 (Photo by Tiago Nazareth 2018)
Danny’s Angels Photo Shoot at Nazareth Studios, Westdene, Benoni – 25 March 2018
(Photo by Tiago Nazareth 2018)
Danny’s Angels Photo Shoot at Nazareth Studios, Westdene, Benoni – 25 March 2018 (Photo by Tiago Nazareth 2018)Danny’s Angels Photo Shoot at Nazareth Studios, Westdene, Benoni – 25 March 2018 (Photo by Tiago Nazareth 2018)Danny’s Angels Photo Shoot at Nazareth Studios, Westdene, Benoni – 25 March 2018 (Photo by Tiago Nazareth 2018)Danny’s Angels Photo Shoot at Nazareth Studios, Westdene, Benoni – 25 March 2018 (Photo by Tiago Nazareth 2018)Danny’s Angels Photo Shoot at Nazareth Studios, Westdene, Benoni – 25 March 2018 (Photo by Tiago Nazareth 2018)Danny’s Angels Photo Shoot at Nazareth Studios, Westdene, Benoni – 25 March 2018 (Photo by Tiago Nazareth 2018)Danny’s Angels Photo Shoot at Nazareth Studios, Westdene, Benoni – 25 March 2018 (Photo by Tiago Nazareth 2018)Danny’s Angels Photo Shoot at Nazareth Studios, Westdene, Benoni – 25 March 2018 (Photo by Tiago Nazareth 2018)Danny’s Angels Photo Shoot at Nazareth Studios, Westdene, Benoni – 25 March 2018 (Photo by Tiago Nazareth 2018)Danny’s Angels Photo Shoot at Nazareth Studios, Westdene, Benoni – 25 March 2018 (Photo by Tiago Nazareth 2018)Danny’s Angels Photo Shoot at Nazareth Studios, Westdene, Benoni – 25 March 2018 (Photo by Tiago Nazareth 2018)Danny’s Angels Photo Shoot at Nazareth Studios, Westdene, Benoni – 25 March 2018 (Photo by Tiago Nazareth 2018)Danny’s Angels Photo Shoot at Nazareth Studios, Westdene, Benoni – 25 March 2018 (Photo by Tiago Nazareth 2018)Danny’s Angels Photo Shoot at Nazareth Studios, Westdene, Benoni – 25 March 2018 (Photo by Tiago Nazareth 2018)
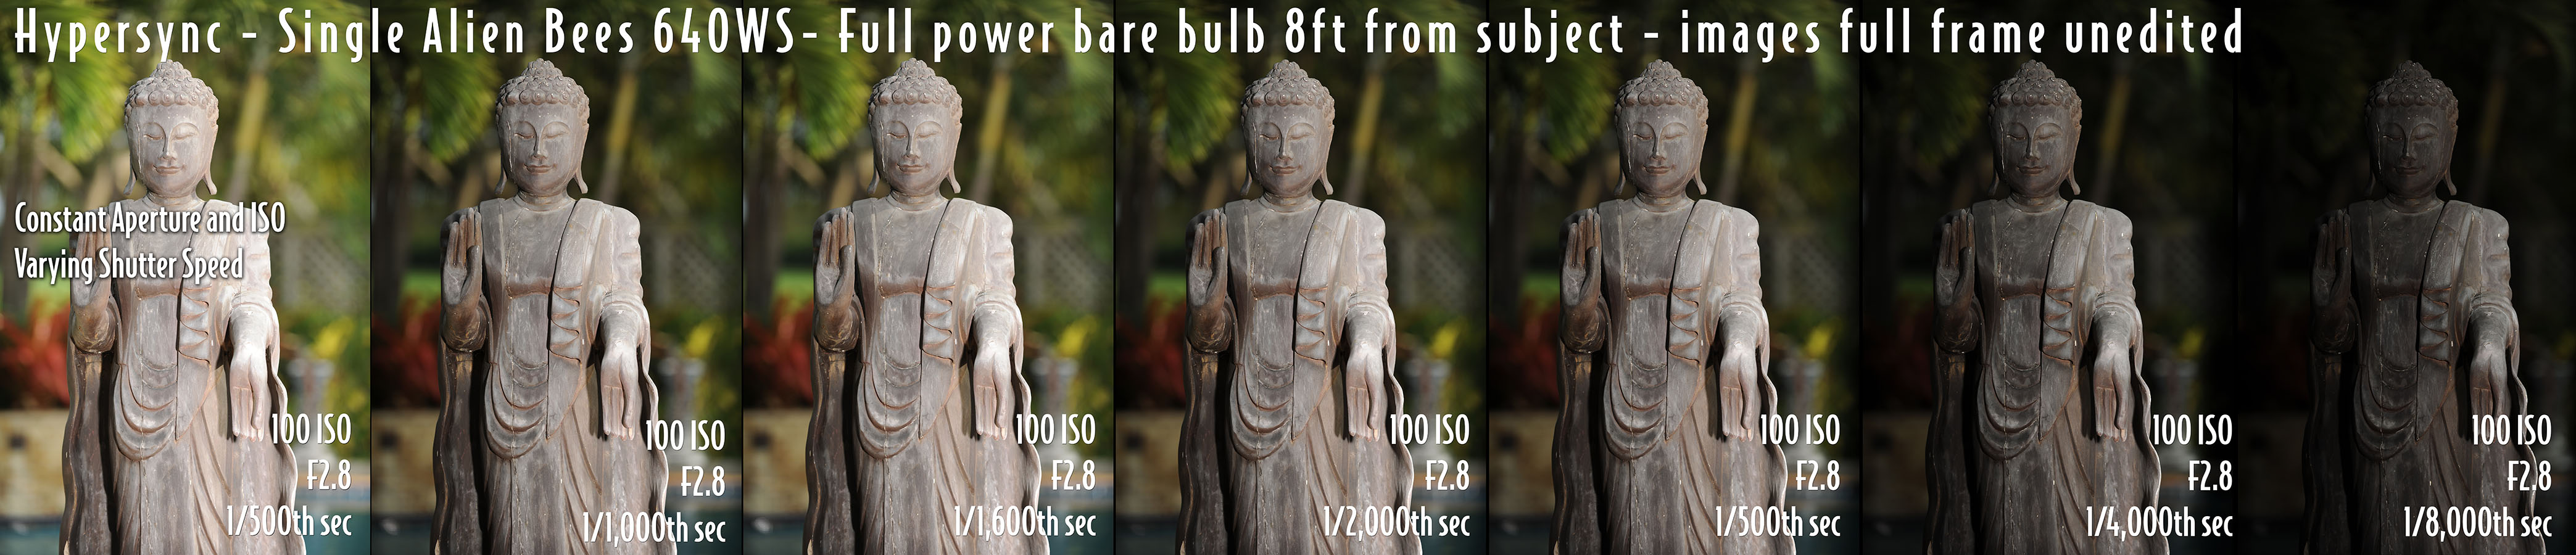
I have been trying to perfect High Speed Sync on my Nikon Cameras for over 5 years. For me the ability to shoot in full sunlight at wide open apertures (f2.8 or faster) with strobe illuminating the model, has been the Holy Grail.
High Speed Sync- 1/2000th second, f1.4, 100 ISO, bright sunlight
Shooting a model outdoors at wide open apertures in full sunlight has always been possible with a reflector, but as any photographer will tell you, you have to factor in the model’s eye sensitivity to the reflected light as often she would have a frown cross her brow as she tried to deal with the bright light reflected into her face, even if you had her close her eyes and only open them for a milli-second. And of course trying to get the right rhythm and flow with a model opening a closing her eyes on command leaves a lot to be desired.
Shooting Glamour outdoors in bright sunlight using a reflector for fill light
But the problem with all DSLR camera’s is their maximum flash sync speed is limited to around 1/250th of a second, which means that if you are shooting outdoors in bright sunlight at ISO 100, and 1/250th of a second, you are typically shooting at and aperture of around f5.6 to f8, which increases depth of field, and diminishes attractive bokeh highlights. Models then merge into the background unless you are using very long focal length lenses. Shooting with flash at shutterspeed above the camera’s synch speed yields the dreaded black band across the image.
I first became aware of High Speed Sync, or rather Hyper Sync, with sports photographers freezing skiers, skateboarders and motocrossers in midflight, illuminated by flash, and so I set about my journey to figure it all out.
Hyper Sync relied on timing the maximum burst of a larger studio strobe to coincide with the shutter slit opening, and this provided more illuminating power than High Speed Sync (HSS) which relied on the strobe firing thousands of consecutive low power flashes to provide essentially continuous light.
With a lot of trial and error I was able to develop a workflow using Pocket Wizards transmitters triggering either Nikon Speedlights or Alienbees Monolights. However the consistency of results was never repeatable.
Hypersync testing with Nikon D3X, single Alien Bees 640WS monolight at full power, ISO 100 F2.8 and varying the shutter speed. Testing to see how shutterspeed affects the flash exposure outdoors
With Hyper Sync I would get stunning, clean un-banded exposures at 1/2000th of a second using my approach, but if you click on the image above and view full size you will see the dreaded banding start to make its presence felt at shutter speeds over 1/2,000ths of a second. But at 1/2,000th of a second it would yield stunning shots, just like in the image of Emily below, but the consistency of exposure was not perfect.
Hypersync testing with Emilee in bright sunlight – 1/2,000th second, f2.8, 100 ISO, Nikon D3x Alien Bees, Pocket Wizard
Even keeping, ISO, shutterspeed and aperture constant, and with NO changes to power levels or light-to-model distance, consecutive images could have more than a stop of exposure variance and I could never trust Hyper Sync for my commercial client shoots, so it was relegated to my personal work and experimentation, which I love.
A few years ago I bought Profoto B1’s, B2’s, D1’s, and more recently D2’s. Even with the built in High Speed Sync (HSS) capability, image to image exposure variances were not consistent enough to trust. But with the latest Profoto software update released in January of 2017, things have really improved.
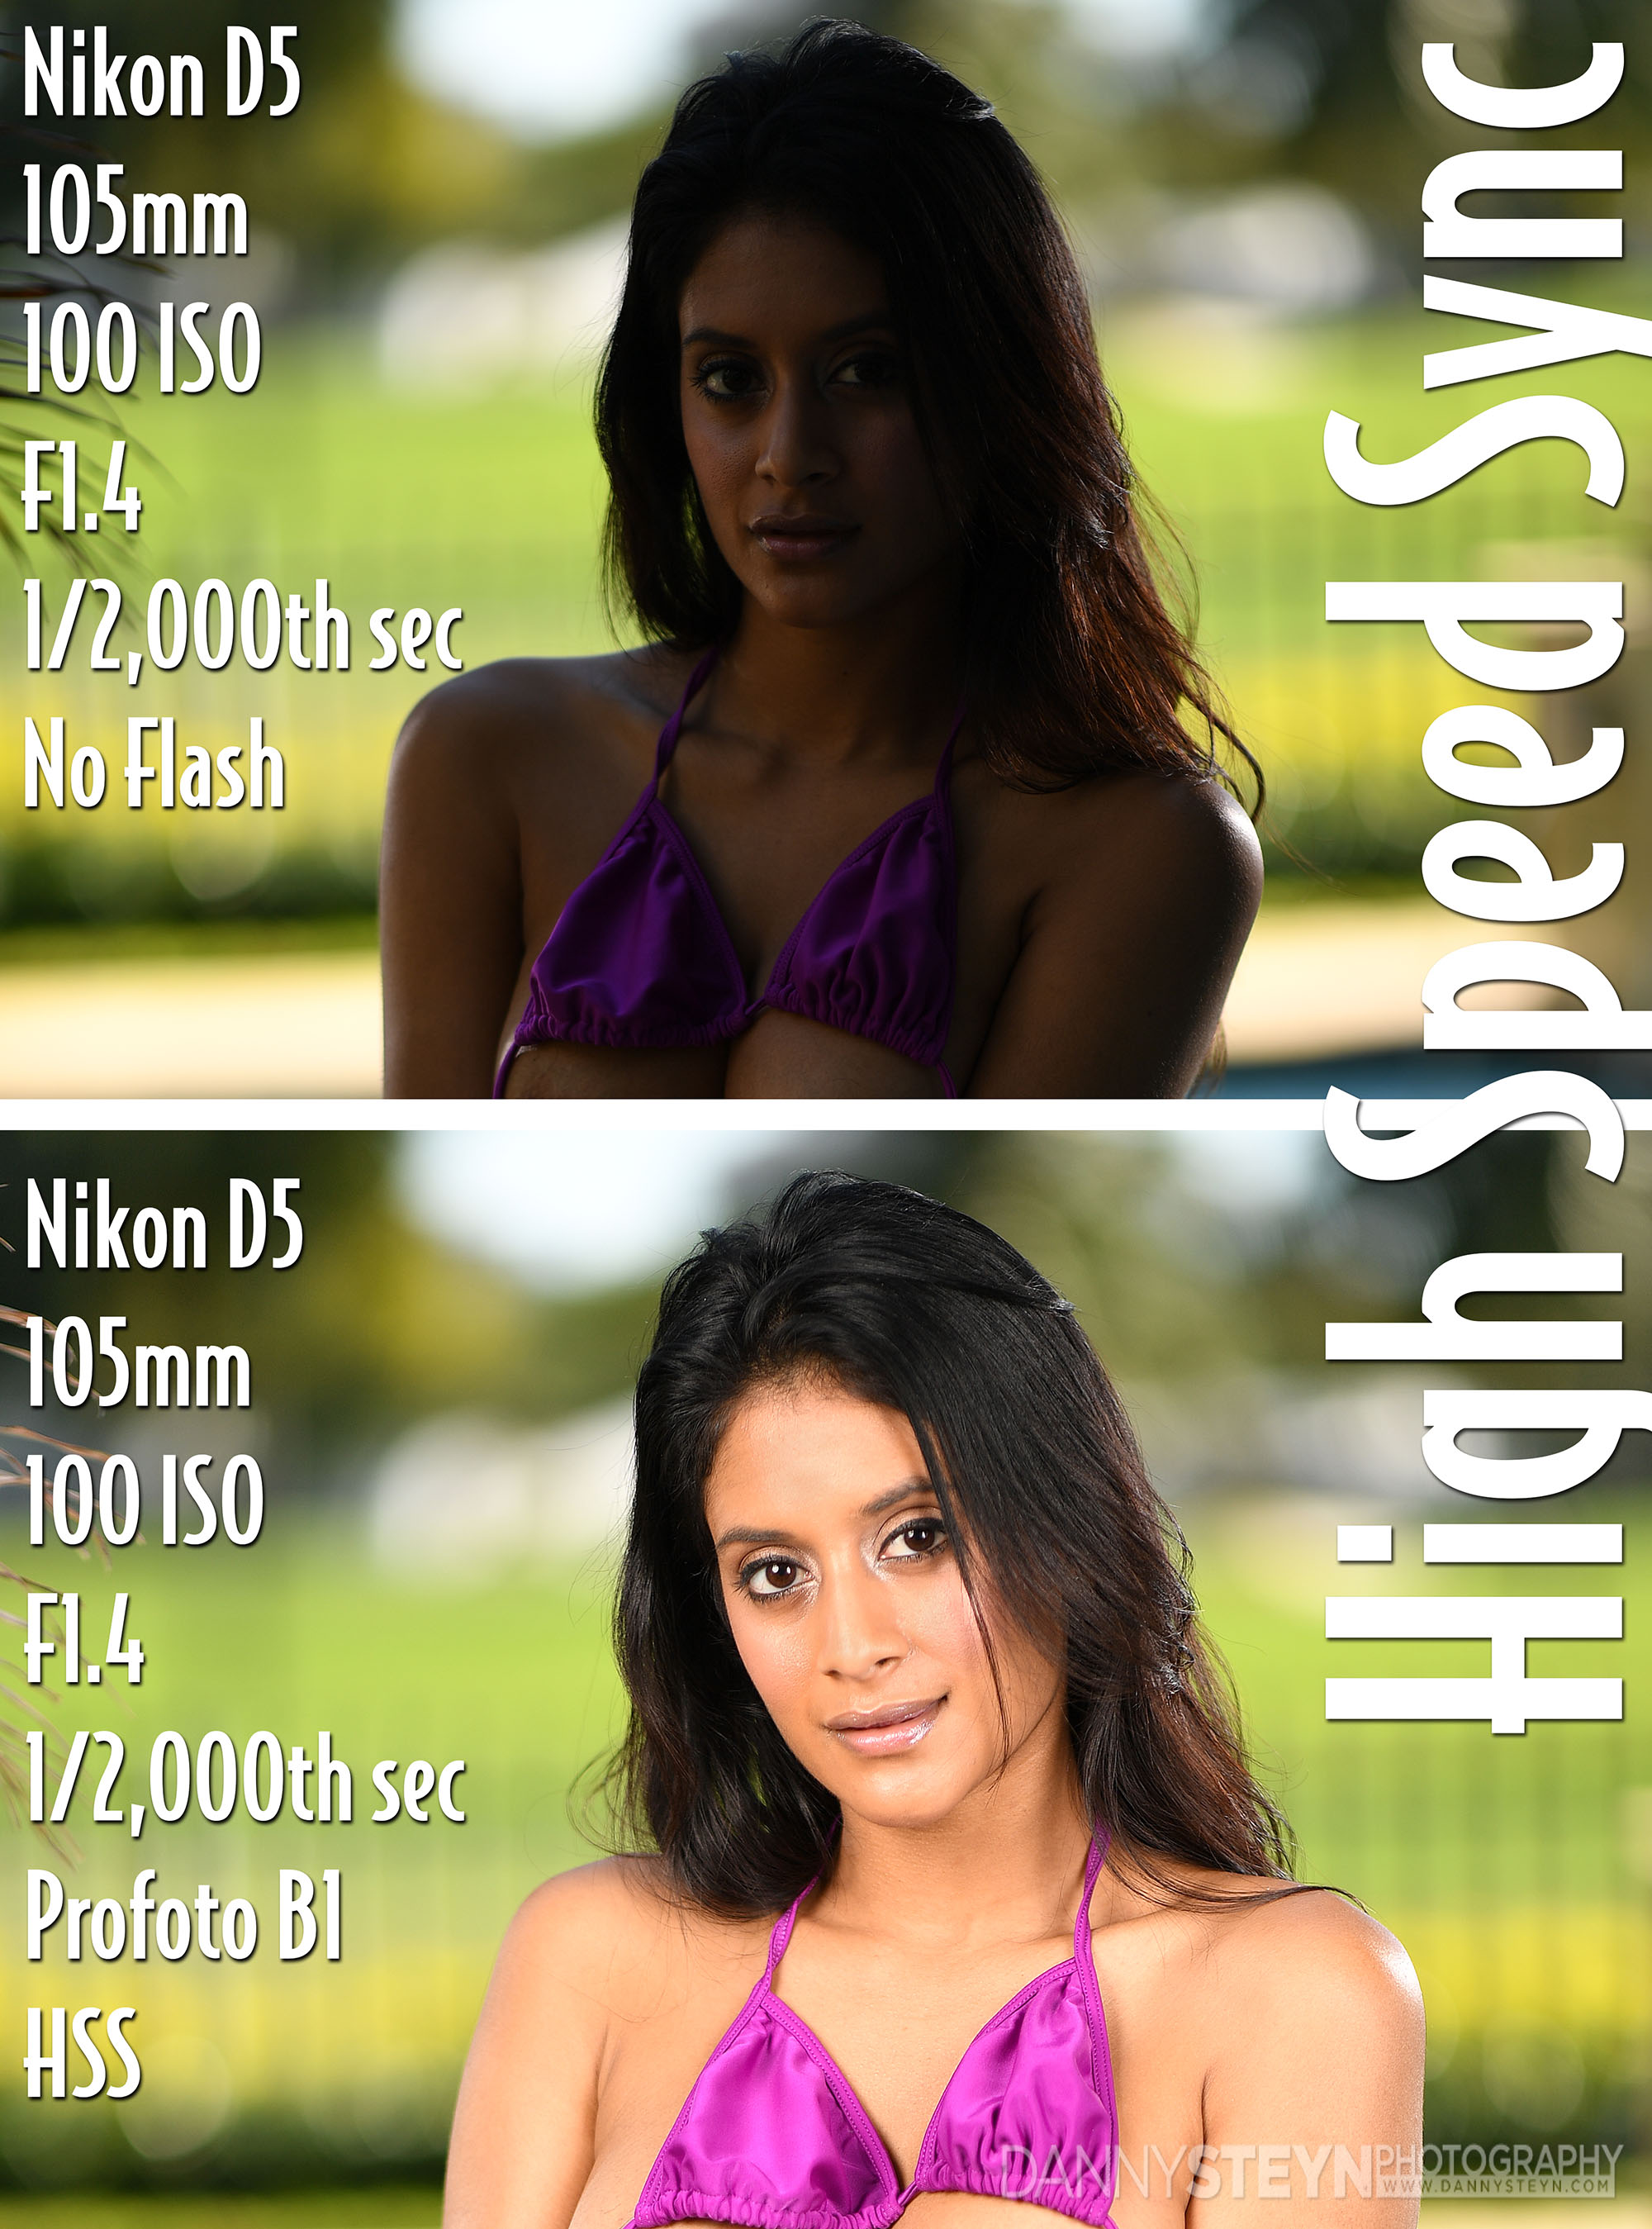
The HSS shots of Jisel in this article were taken around 10 am in FULL bright sunlight hitting the back of the model. There are no shade cloth’s, no scrims keeping the direct sunlight off her. The sunlight is falling on the model’s back. And because the sunlight is hitting her back, and because she has no reflected light shining in her face, her eyes are relaxed, there is no frown, and her pupils are normally dilated.
These images were shot with my Nikon D5 set at 100ISO, using the wonderful new Nikon 105mm F1.4 lens, shooting fully wide open. To get the right ambient light exposure in the background at F1.4, I varied the shutter speed between 1/2,000th and 1/5,000th of a second, and of course without strobe the model is a complete silhouette as you can see in the image below.
High Speed Sync- 1/2000th second, f1.4, 100 ISO, bright sunlight
Then I added two Profoto B1’s equipped with 5ft Octobox’s to provide the fill light and balanced it in manual mode (almost at full power) with the lights mounted less than 8ft from the model (any distance greater than that and the reduced power obtained in High Speed Sync mode will not provide enough illumination). Once I found the satisfactory power and distance-to-model settings, I was able to shoot around 70 images, all with perfect consecutive image to image exposure, with no discernible variation.
One further note:- Since the Profoto flash units will need to be near their maximum power output in manual mode to support HSS, you will burn through batteries very quickly, so make sure you have adequate batteries being charged as you are shooting. Also make sure that the flash capacitors have fully recharged before taking the next shot. I highly recommend setting your Profoto lights to give the audible ready-beep, because when shooting in bright light, your in-camera flash-ready light might not be adequately visible.
I hope you enjoy the images, as well as the new frontier in glamour photography that this ushers in.
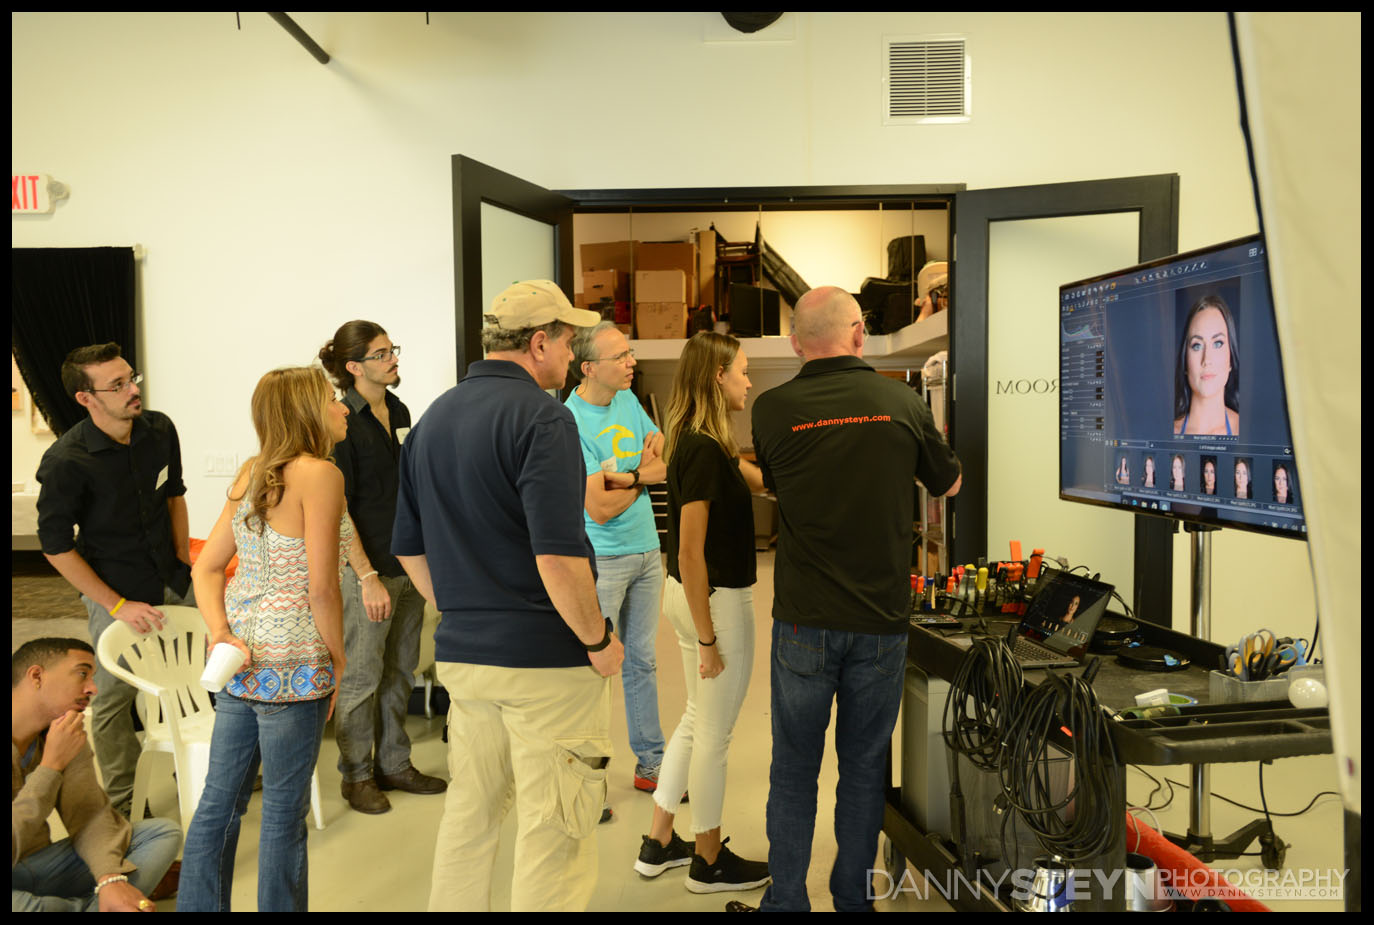
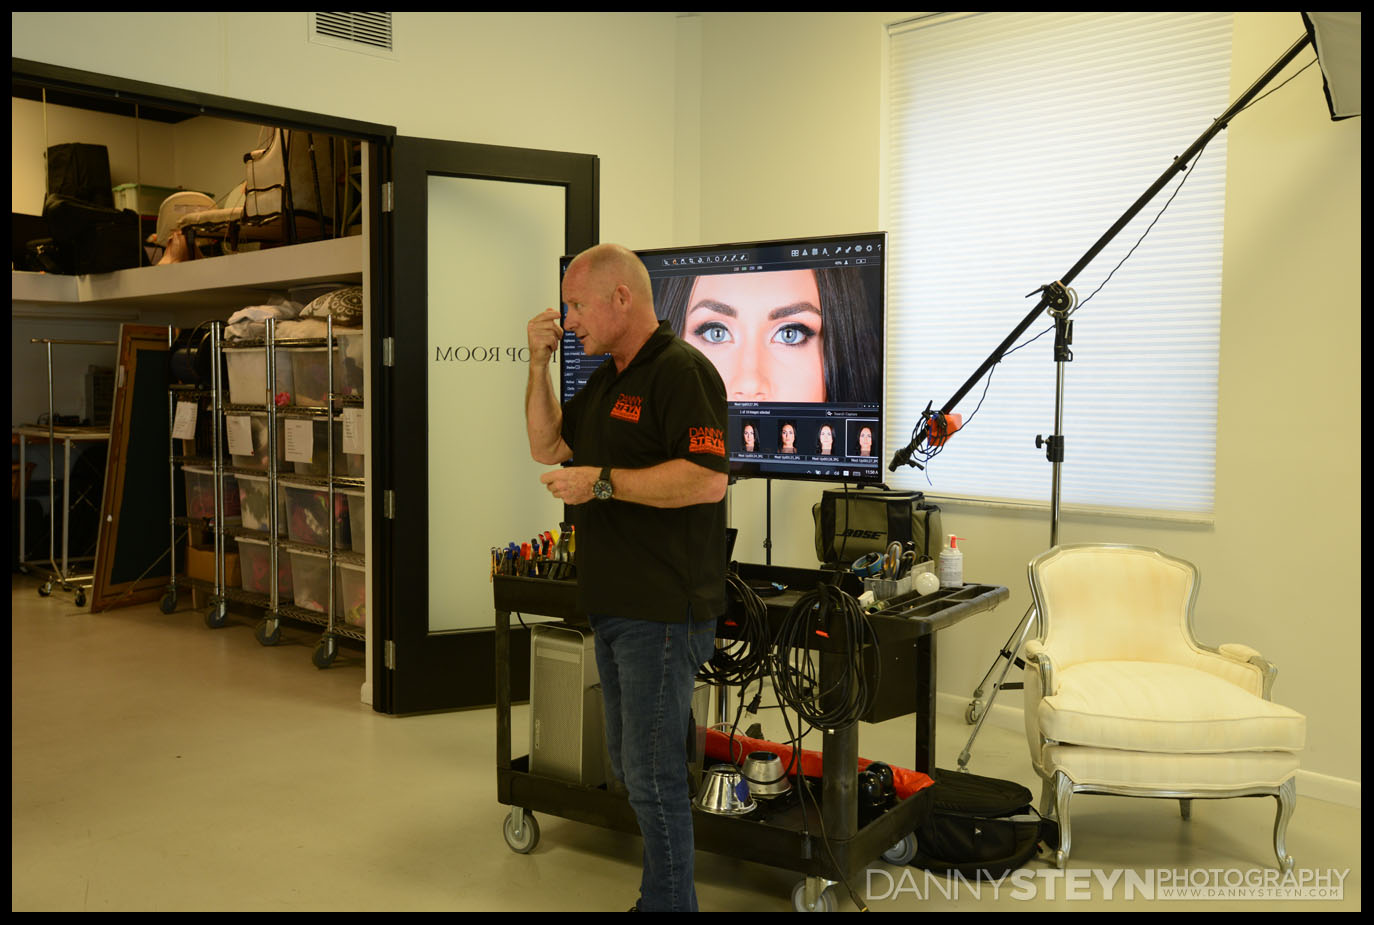
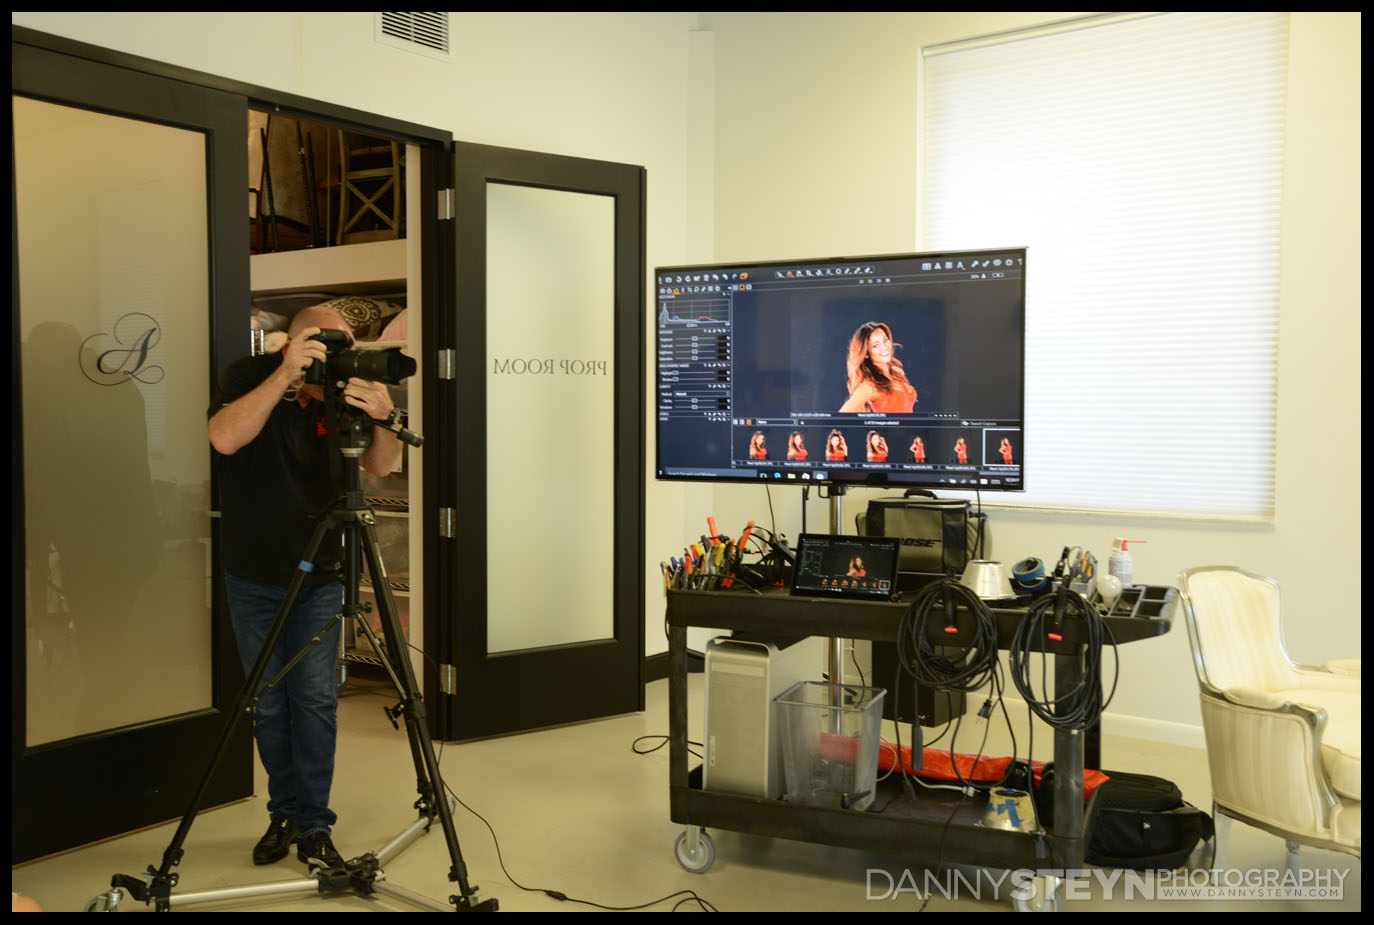
TETHERED PREVIEWING IN THE STUDIO USING CAPTURE ONE
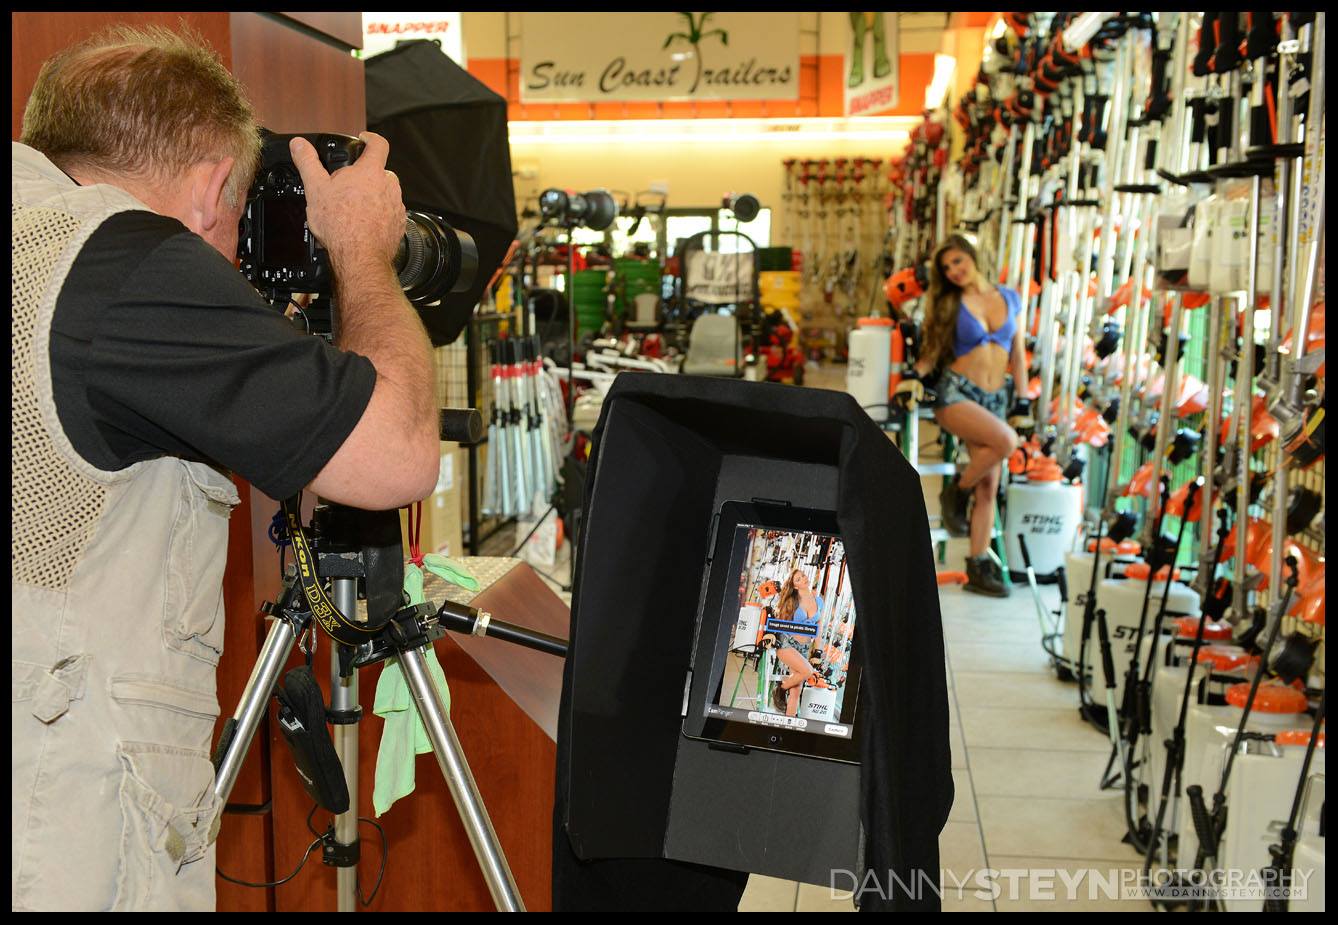
In our studio we shoot what I consider the current traditional way, tethered by USB 3 cable to a Microsoft Surface Pro running Windows 10 and Capture ONE software, displaying the preview image on a 60” monitor. This scenario is perfect for static shooting that takes place in a studio, and makes a wonderful training tool for our photographic workshops, but since you are physically tethered to the laptop via a cable, it is not ideal for location, where you might need to be more mobile.
Previewing images in studio on a 65″ monitor. Nikon D5 tethered to a Surface Pro with HDMI output to Monitor.Previewing images in studio on a 65″ monitor. Nikon D5 tethered to a Surface Pro with HDMI output to Monitor.Shooting tethered to a 60 inch monitor is a superb tool when conducting photographic workshops. Nikon D5 tethered to 60″ monitor using Surface Pro running Capture One softwareShooting tethered to a 60 inch monitor is a superb tool when conducting photographic workshops. Nikon D5 tethered to 60″ monitor using Surface Pro running Capture One softwareShooting tethered to a 60 inch monitor is a superb tool when conducting photographic workshops. Nikon D5 tethered to 60″ monitor using Surface Pro running Capture One softwareShooting with Nikon D5 with wireless transmitter WT-6A transmitting to iPad tablet running Nikon Software, supported on a mini light stand and a K&M iPad MountShooting with Nikon D5 with wireless transmitter WT-6A transmitting to iPad tablet running Nikon Software, supported on a mini light stand and a K&M iPad Mount
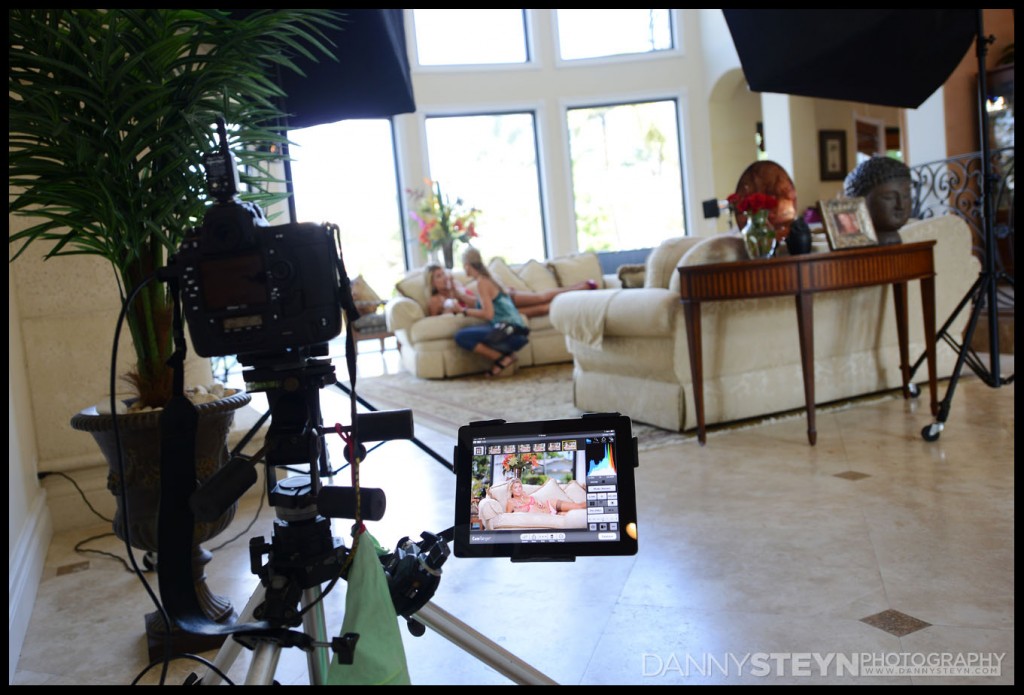
LOCATION SHOOTING – WIRELESSLY PREVIEWING ON TABLETS
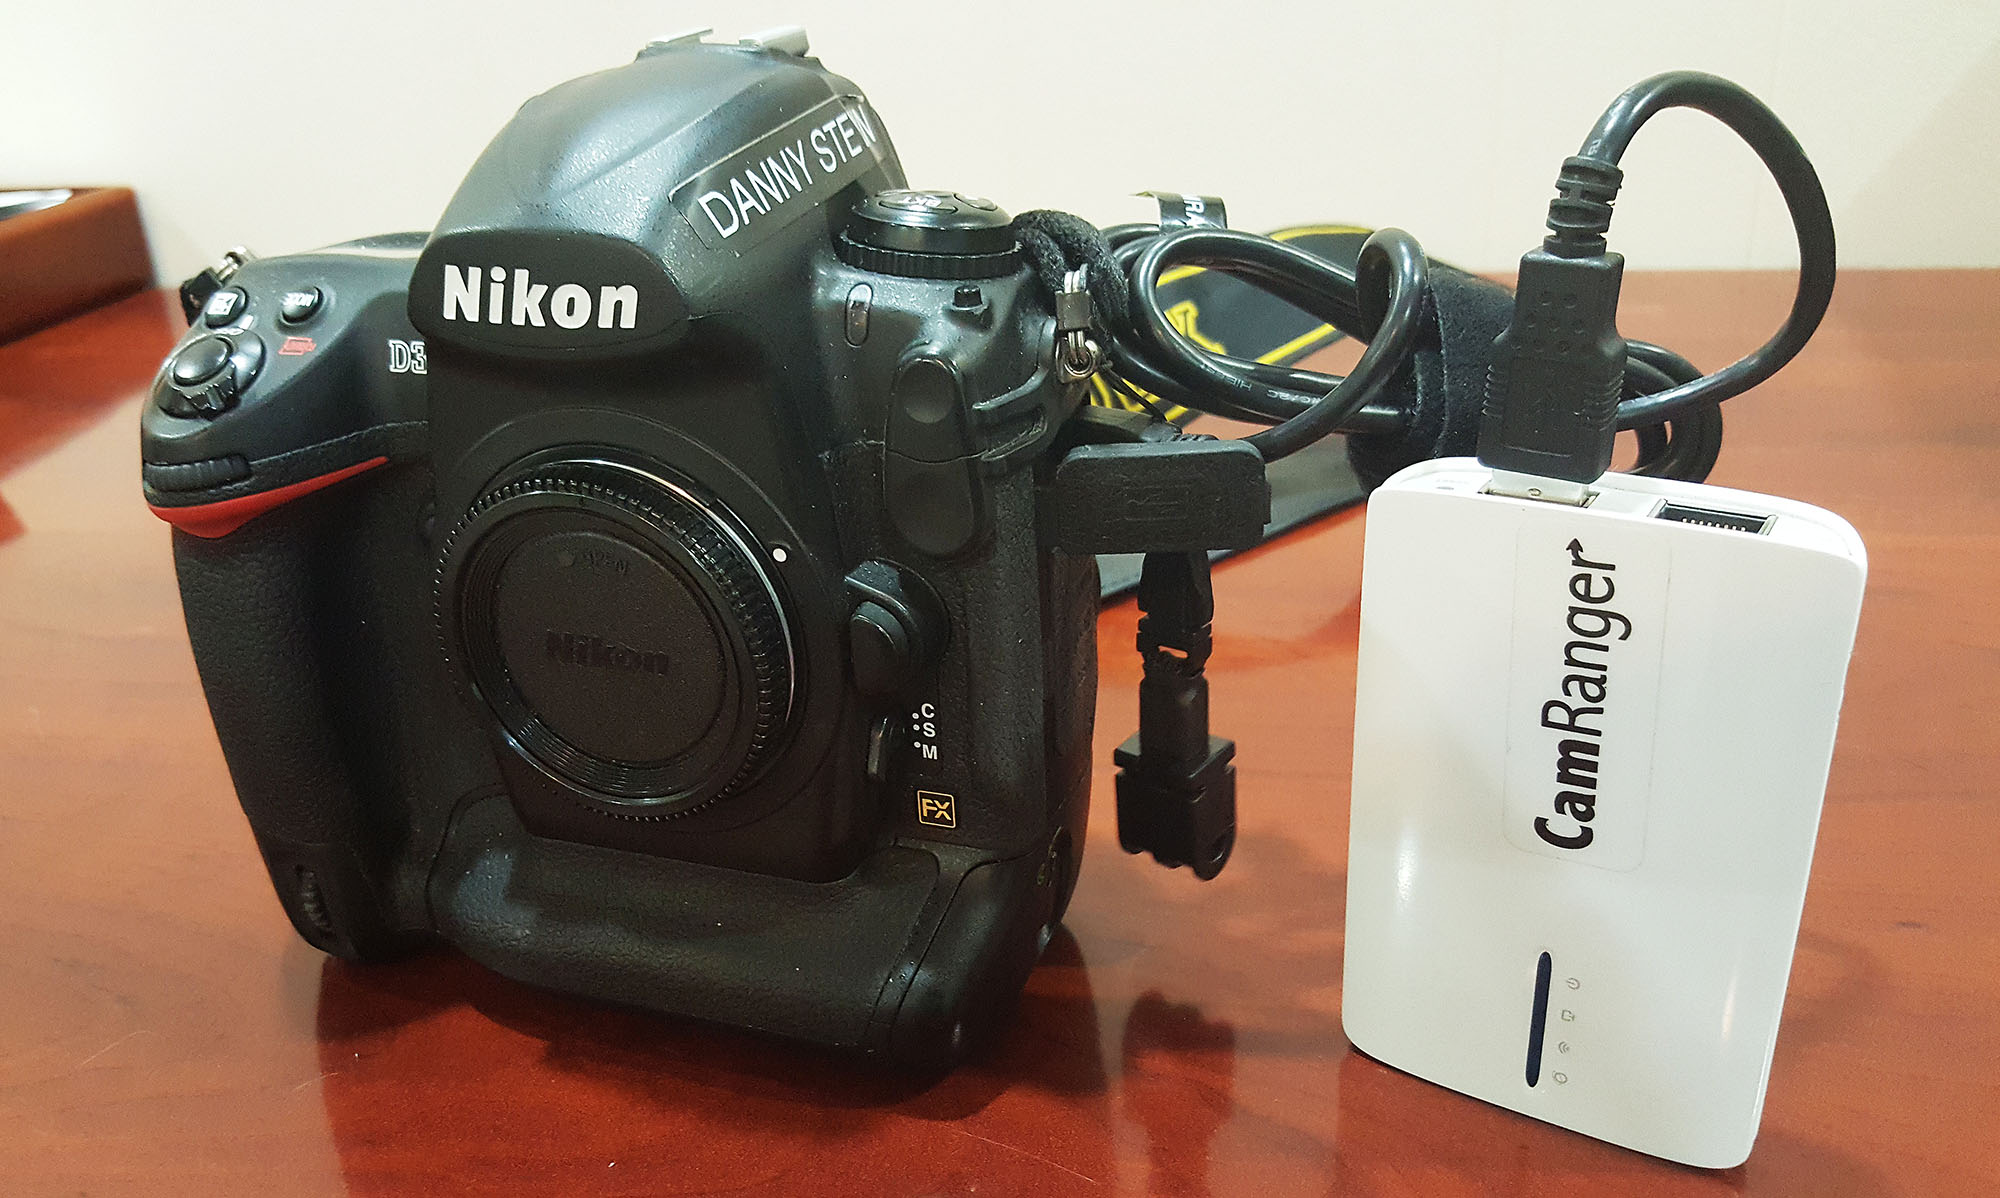
For the past 4 years, on location, I have shot with the Nikon D3x wirelessly “tethered” to various tablets via a CamRanger. The flexibility and freedom to effortlessly move around a location while wirelessly tethered to a tablet is the main reason, plus the ability to show the model or client large size images during the shoot is a significant advantage.
Previewing of Images on Tablets using Wireless Transmitters. Nikon D3X with CamRanger Wireless Transmitter
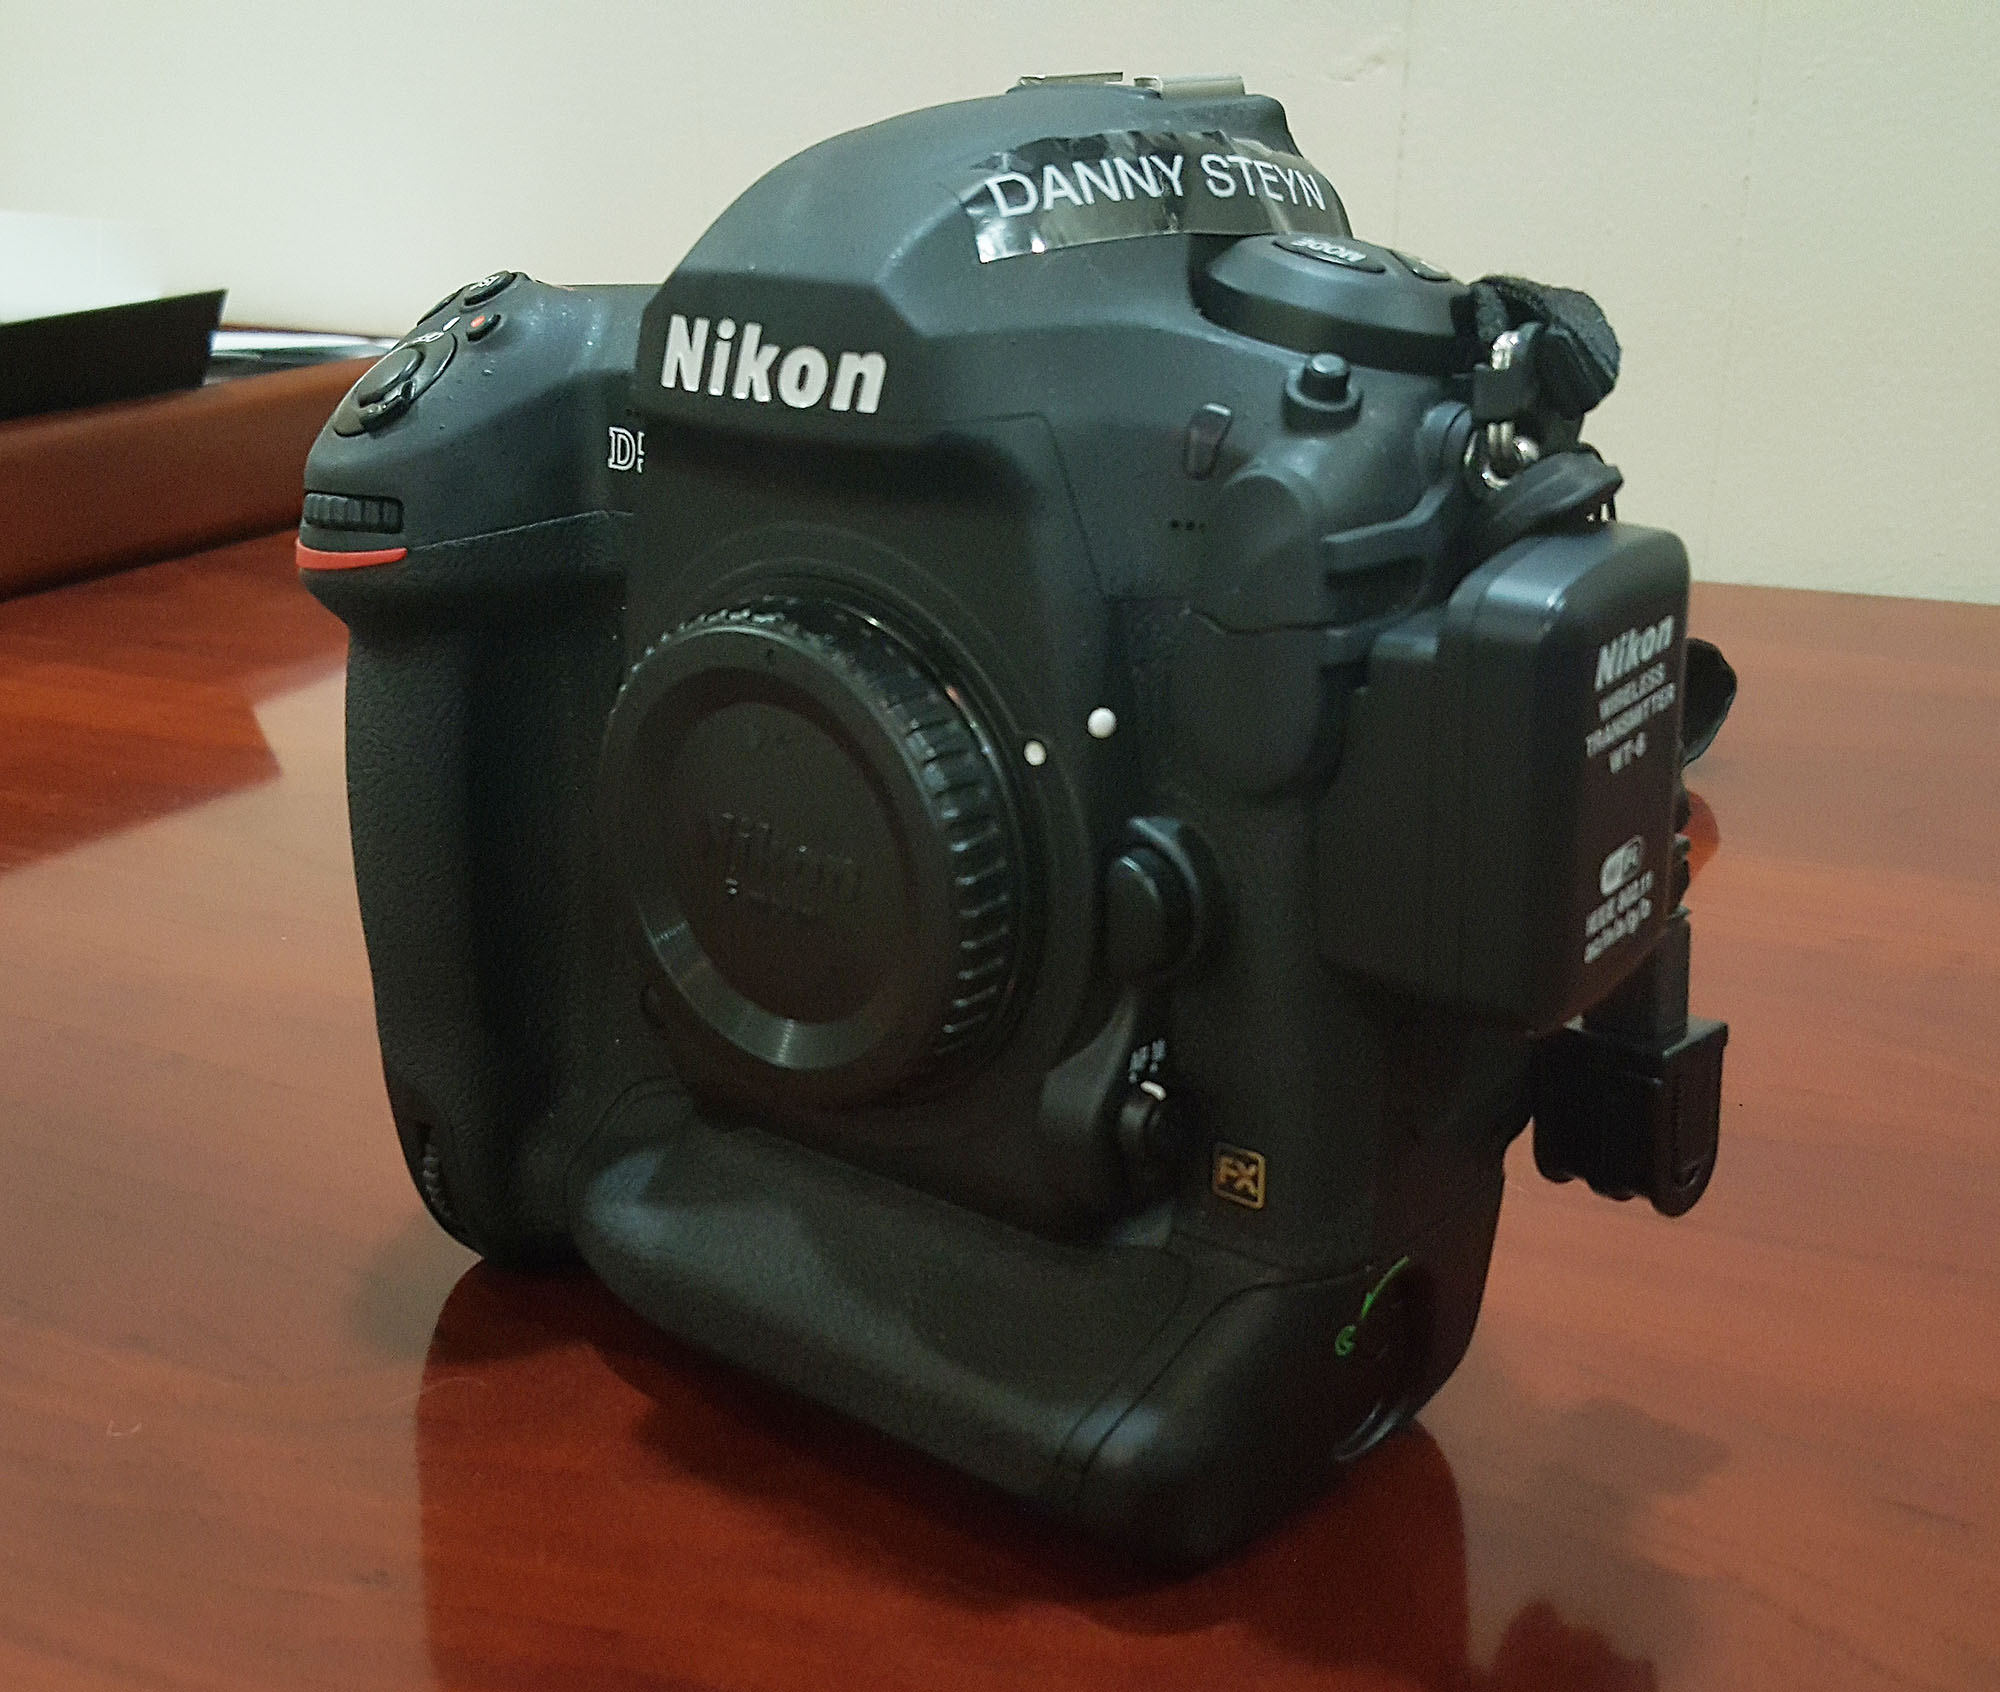
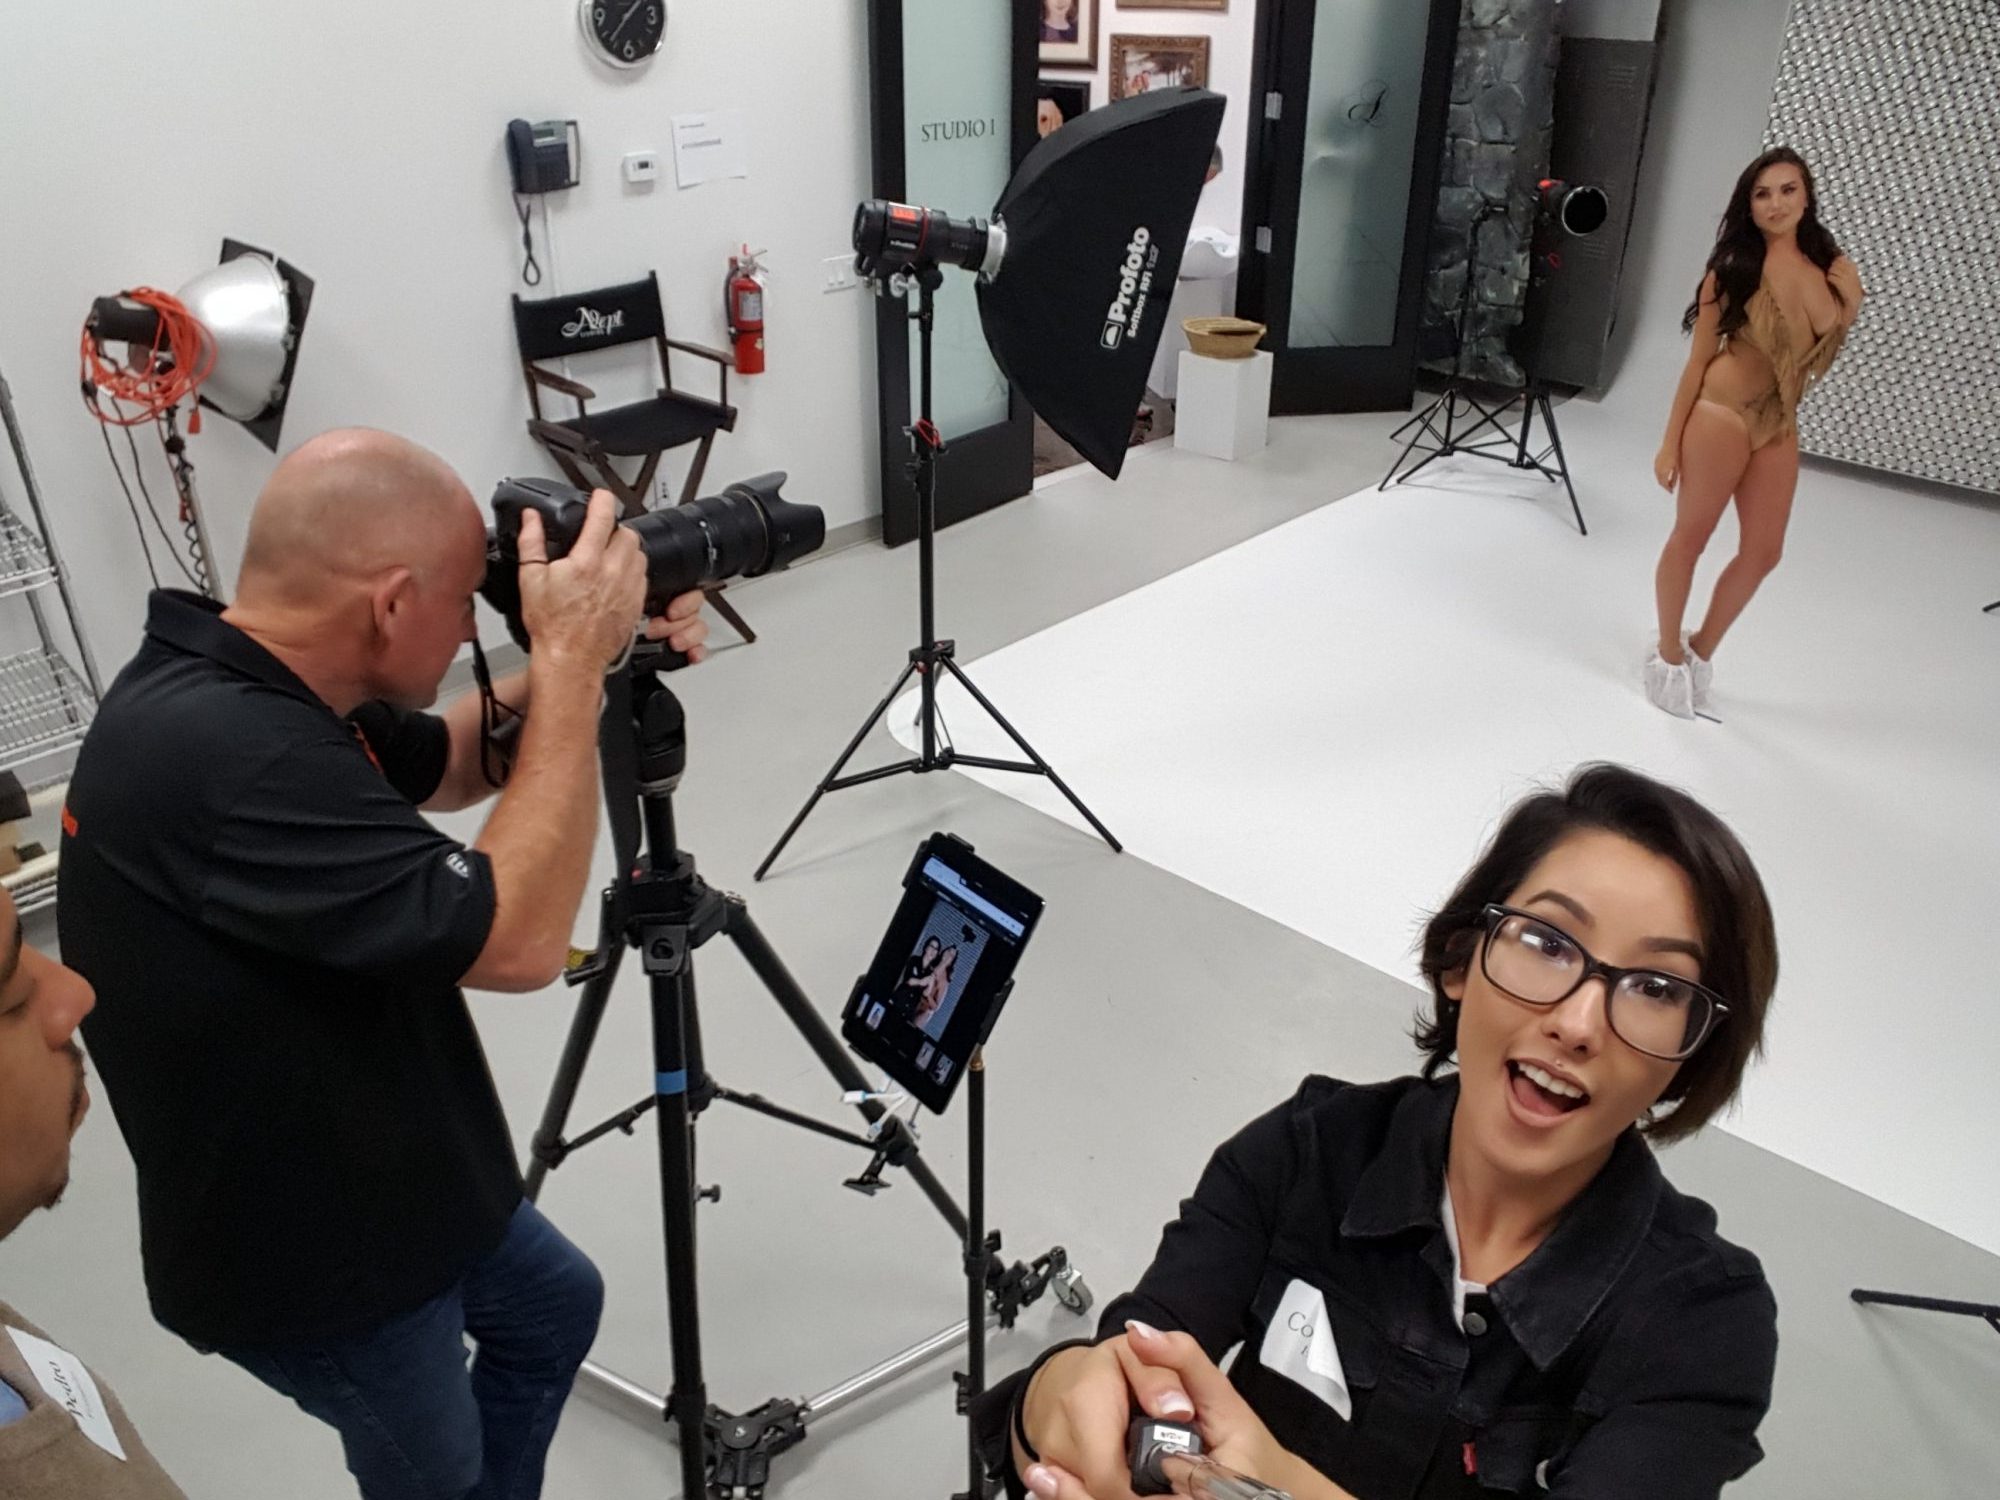
Having recently moved to the Nikon D5’s and the WT-6A transmitters, we are still shooting wirelessly direct to various mobile devices, and currently viewing images in the Chrome Browser.
Previewing of Images on Tablets using Wireless Transmitters. Nikon D5 with Nikon WT-6A
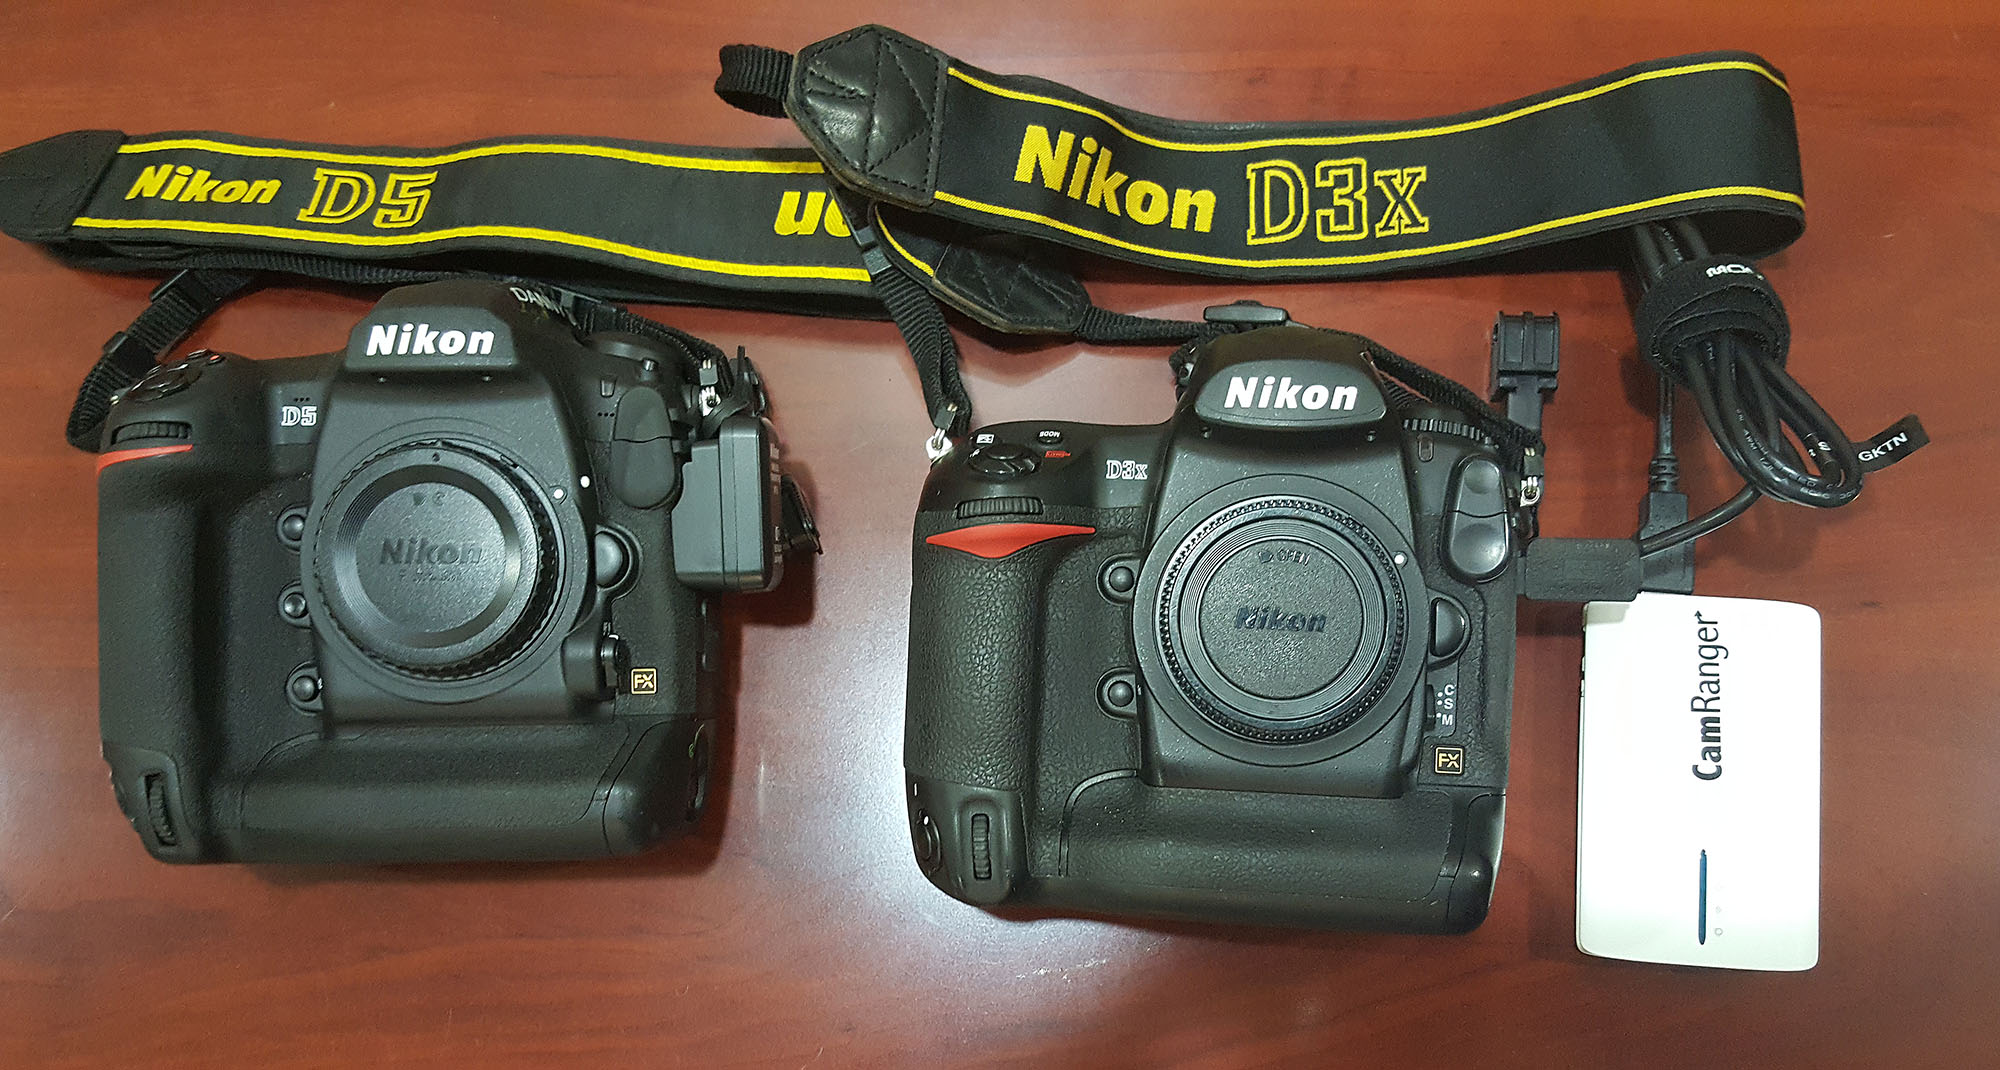
There are several pros and cons of each setup and I thought I would share my experiences with the photographic community, and of course would like to hear of other’s experience and approach
Previewing of Images on Tablets using Wireless Transmitters. Nikon D5 with Nikon WT-6A vs Nikon D3x with CamRanger
CamRanger
PROS
Very intuitive. Setup/configurations is simple and fast
Fast upload of preview image
I love that I can save the images to both the tablet and to the memory card. This provides image redundancy in the event of a corrupted card, and also allows us to continue to view the images, even when the camera is switched off during wardrobe / set changes
The CamRanger battery lasts an entire 8 hour day of shooting.
Inexpensive
CONS
Wireless connection to CamRanger drains the camera battery really fast. In a typical 8 hour shoot we will go through at least 4 D3-x camera batteries. I attach a small 3000mAh external USB battery pack with Velcro to allow our tablet to give us a full day of image viewing
Cannot pinch-zoom. You can double tap to view the full size image, but you cannot zoom to a specific area (say eyes to check catchlights)
You always have to think about the additional pack and USB wire. I hook the CamRanger to my belt / Monopod / tripod, but you have to remember to unhook when you put your camera down.
The CamRanger software isn’t as stable as it could be.
Overall I highly recommend CamRanger for simple inexpensive wireless tethering.
Here is a couple of shots from some recent shoots including my Playboy Playmate shoot with Nikki DuPlessis shot with my typical CamRanger Setup using a Manfrotto magic arm with the K&M Ipad Mount mounted to the side of my tripod.
Wireless previewing images on iPad tablet using CamRanger attached to Nikon D3xWireless previewing images on iPad tablet using CamRanger attached to Nikon D3x
WT-6A (so far only using it direct to HTTP connection, and viewing in a browser)
PROS
The adapter is tiny, attached to the camera, and it becomes part of the camera. There are no additional devices or wires that you have to consider, so it is way more convenient. I leave it attached to the camera even when I am not using it
Very fast, almost instantaneous upload of preview image (less than 2 seconds)
Interestingly, the wireless connection does not drain the camera battery. In a full day of continuous shooting, over 9 hours, we only changed the D5 battery once at around the 6 hour mark
Setup/configurations is simple and fast
Ability to pinch and zoom the image to a desired magnification is great
CONS
Really Expensive for what it is – just a wireless transmitter
The Nikon HTTP browser software approach is really clunky – will look into alternative viewing platforms
The inability in the browser to swipe left/right to load the previous/next images is SO unintuitive. Right now you have to hit a minute forward arrow key to view the next image. Cannot believe that Nikon would not resolve this ASAP.
Shooting with Nikon D5 with wireless transmitter WT-6A transmitting to iPad tablet running Nikon Software, supported on a mini light stand and a K&M iPad MountShooting with Nikon D5 with wireless transmitter WT-6A transmitting to iPad tablet running Nikon Software, supported on a mini light stand and a K&M iPad MountShooting with Nikon D5 with wireless transmitter WT-6A transmitting to iPad tablet running Nikon Software, supported on a mini light stand and a K&M iPad Mount
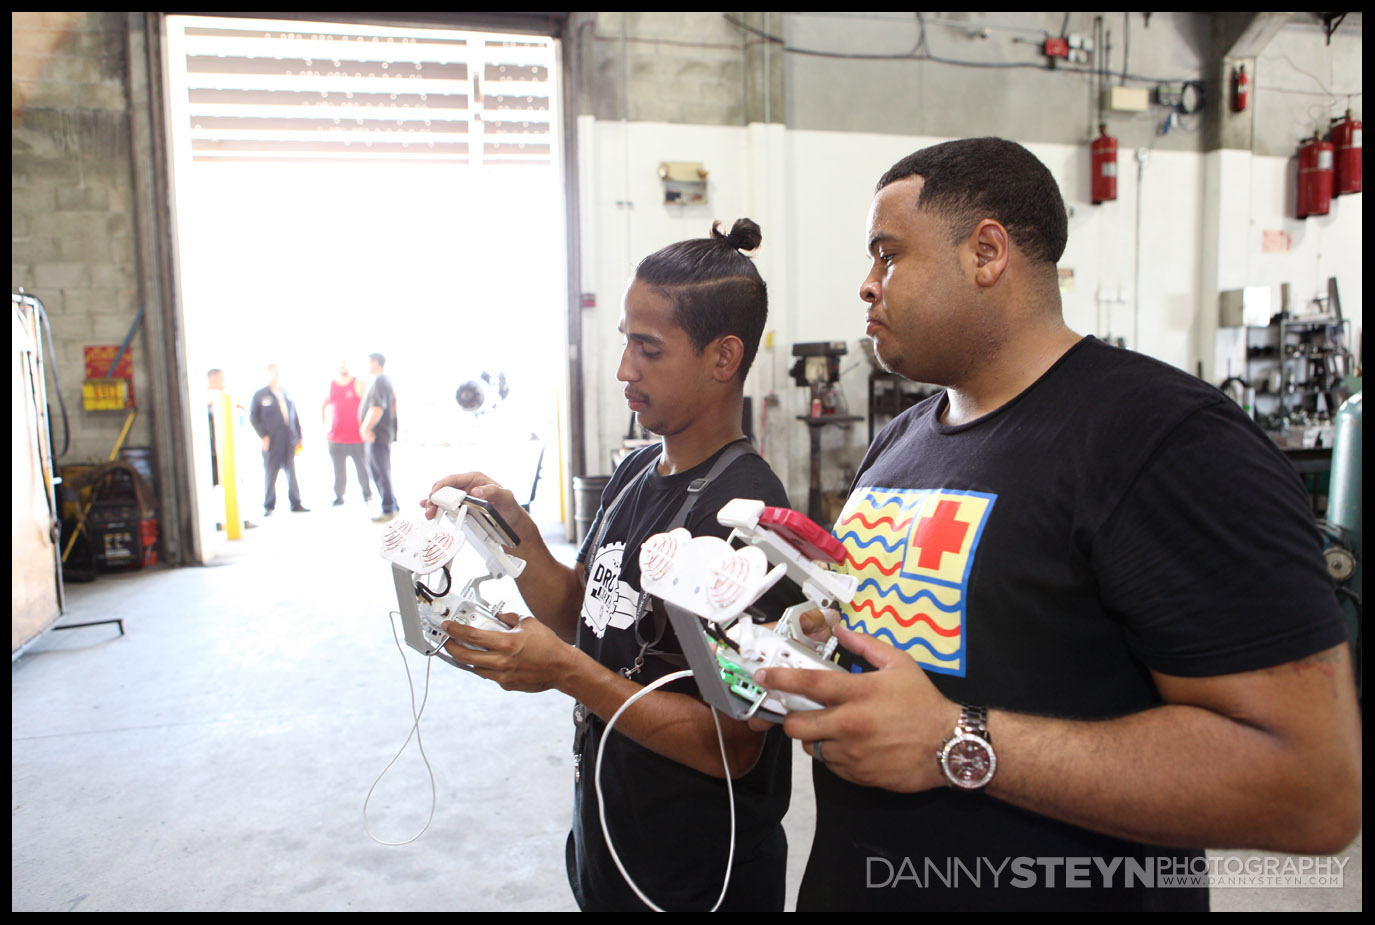
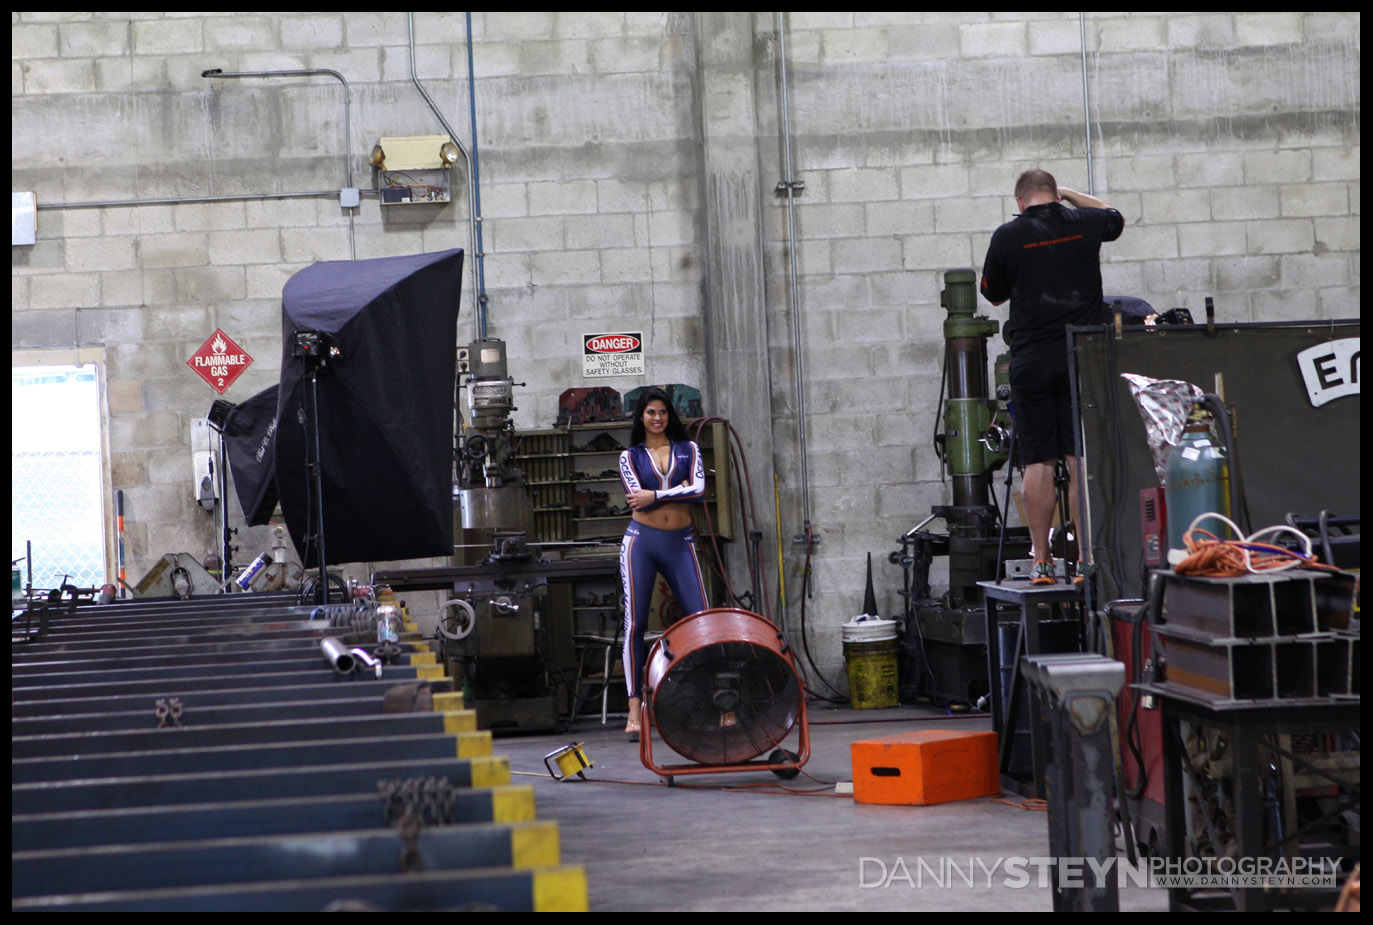
We had the distinct pleasure of shooting the 2016 Oceanette Calendar once again, this time for the 10th Anniversary of the Calendar. This calendar has become so popular all over the world and has featured many beautiful girls throughout the years. This year was especially fantastic as we had one of our original girls, Wendy, from the very first calendar shoot with us again after 10 years! The photographers, crew and everyone had such a great time and we are all very excited to see the final results and the Behind the Scenes video when it is realeased later this year.
Make Up Artists hard at work, making all the girls look stunning!
Prepping for the cover shot! Shooting some ariel inside with a drone!
If you have a calendar that you would like shot for your company, give us a call at the studio to inquire at 954-351-8884.
This test with Alexandria was a complete departure from my previous tests which had been conducted to establish that I that I could comfortably shoot at 1/2,000th of a second at 100 ISO and F2.8 in bright outdoor light with my Nikon D3, Alien Bees and Pocket Wizard transceivers. And I had established that I could shoot all the way up to 1/8,000th of a second with minimal cropping to the frame.
With that knowledge I wanted to try something completely different. I have played with freezing liquids in a studio setting using the fast flash duration of speedlights to freeze the liquid, but I wanted to see if I could use fast shutterspeed to freeze the liquid outdoors in bright sun, but overpowering the sun with studio strobes.
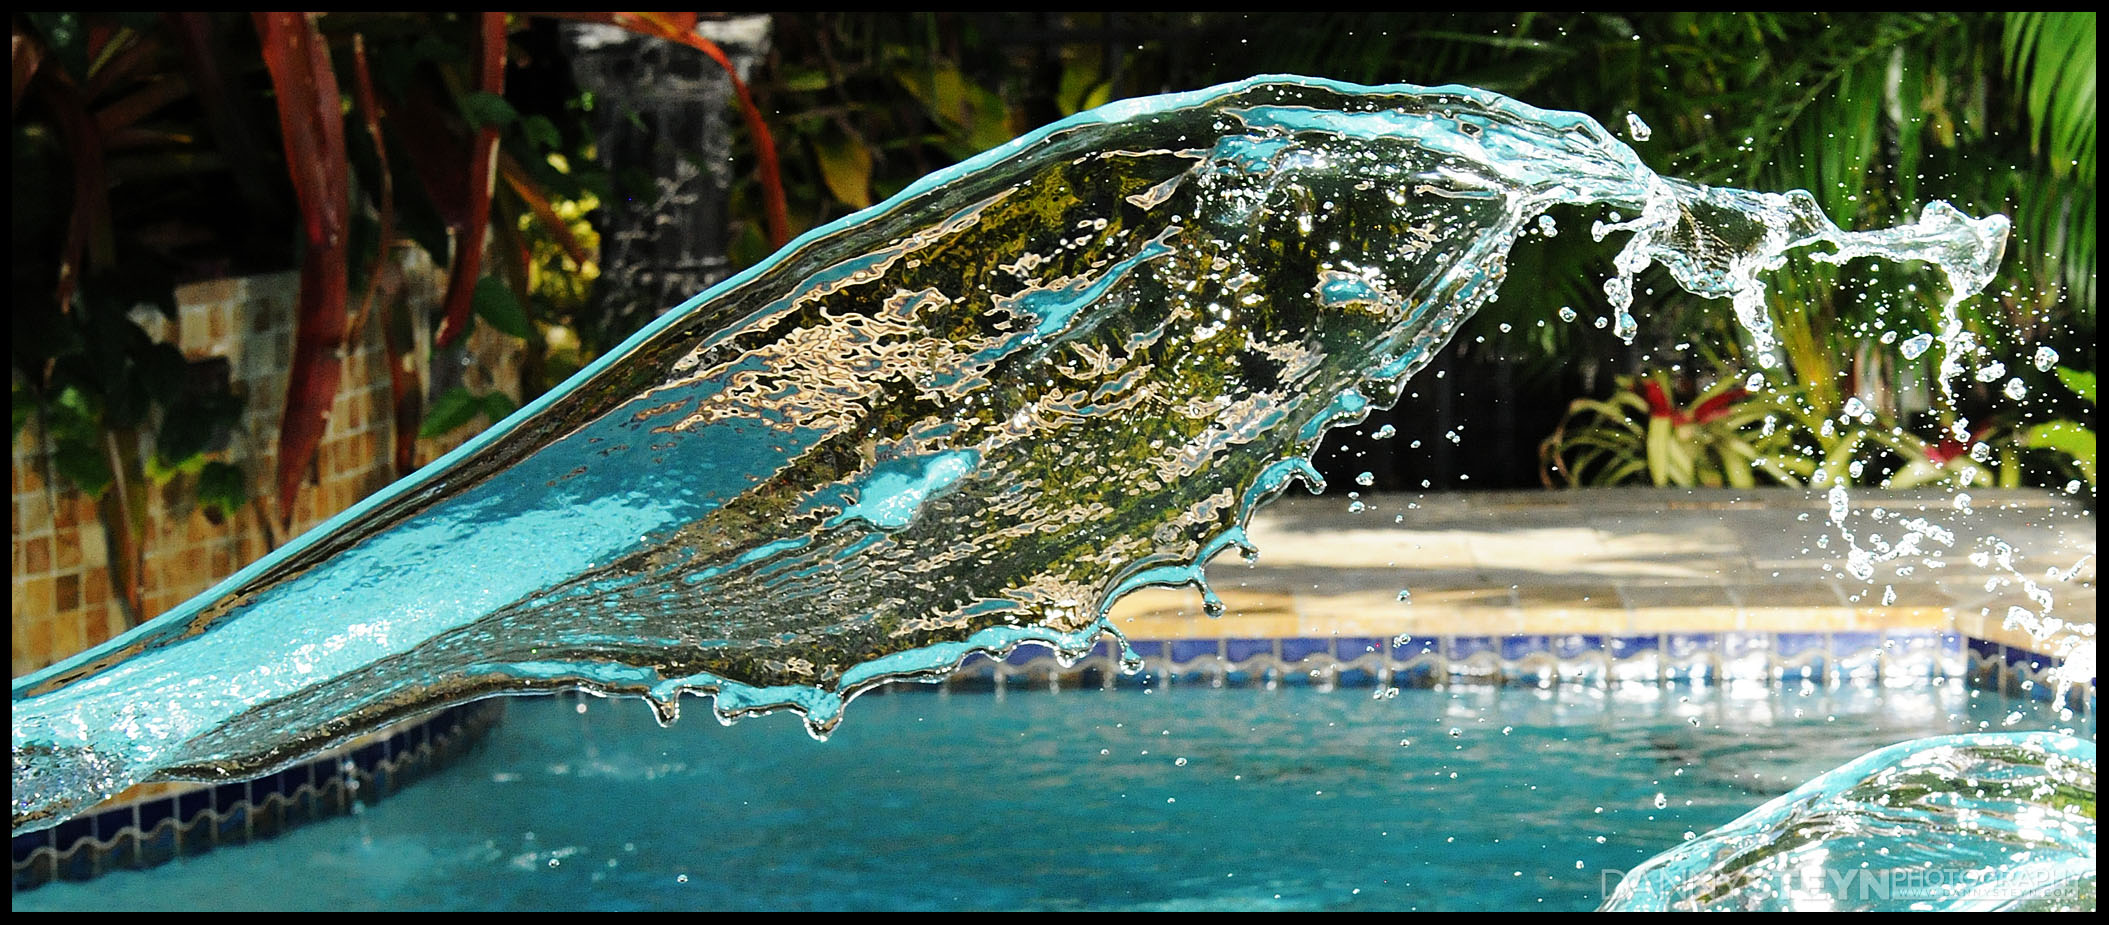
Freezing Liquids Outdoors Concept
You may ask, why do I want to freeze water outdoors in a bright setting?
Well, when you freeze liquids in a studio setting you are typically shooting against a dark background (typically black) and backlighting the liquid with the speedlights. There is generally no color in the liquid. For instance, frozen water looks like a lovely mass of molten acrylic, shiny, sparkly and totally clear with the back studio backdrop showing through the liquid. And of course when shooting opaque liquids like milk you end up with a frozen white liquid with droplets.
And the uniformity of color and background makes Photoshop work so simple that creation of composite “liquid dresses” whether they be water or milk, are relatively easy to shoot and composite in various ways.
But if you shoot outdoors in a bright colorful location, the clear water will refract all the colors of the background into the frozen mass, essentially creating a molten multicolored acrylic canvas, as you can see. And with the detail and color contained in the water, you really need to capture the full image in the camera, as it will be a total pain to build up a composite image in Photoshop.
Hypersync, Nikon D3, 1600 ISO, 1/4,000th sec, F8. Bright sunlight, Four Alien Bees 640WS flashes, using Pocket Wizard transceivers
Practice makes perfect
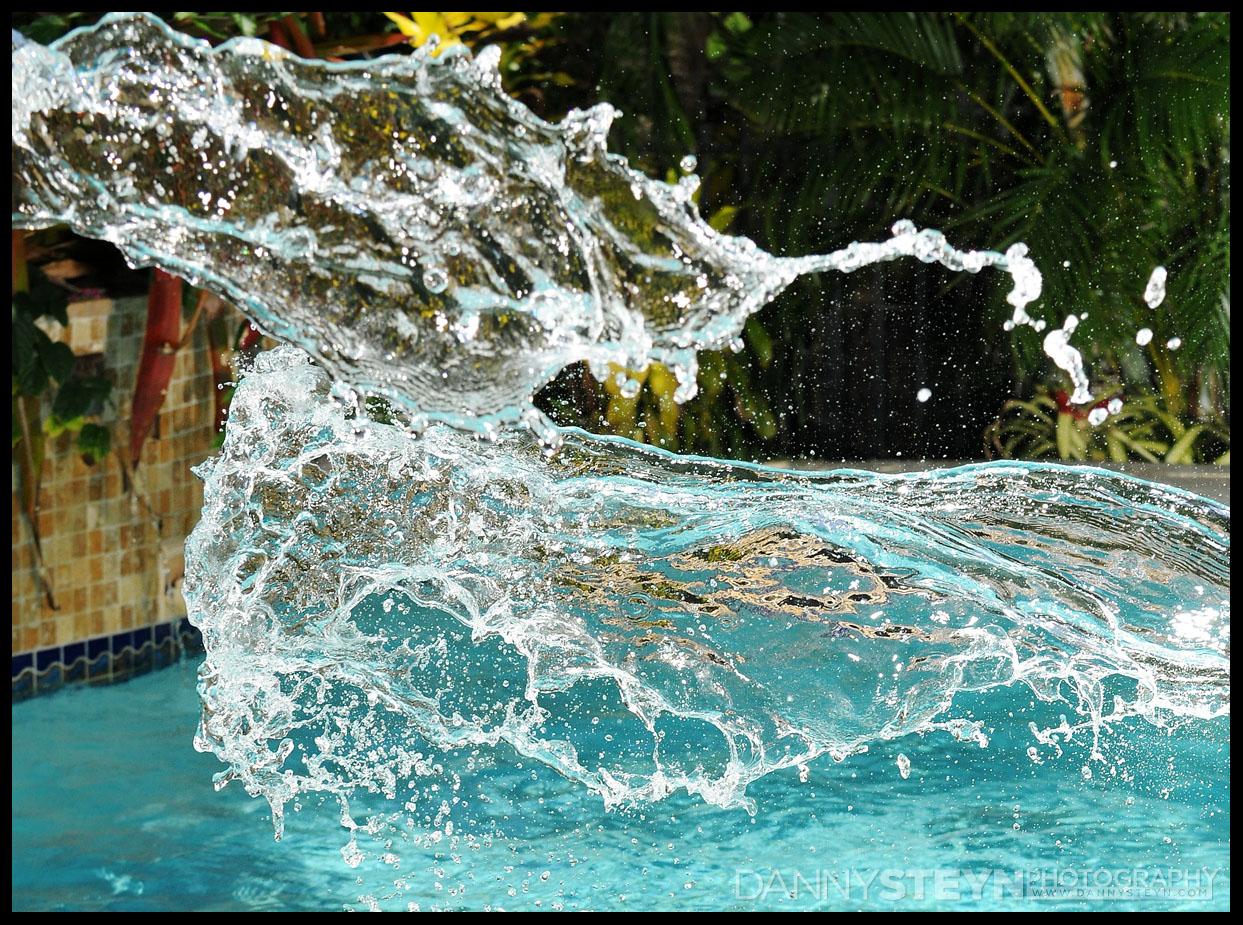
I have tried freezing water outside in bright sun with hypersync several times in the past all with less than perfect results. My main issue is that I always shoot glamour at around F2.8 to F4.0 with long lenses in order to have the sharp model pop off the blurred background. But when you throw water in front of or behind the model, now you need depth of field otherwise the water splashes will be out of focus, essentially destroying the intended effect (as seen in the image below with two water streams separated in by approximately 4 feet).
Hypersync, Nikon D3, 800 ISO, 1/4,000th sec, F5.6. Bright sunlight, Four Alien Bees 640WS flashes, using Pocket Wizard transceivers
So now this means you need to have a smaller aperture to create a larger depth of field to have both the model and the water in focus. Or you can shoot with a short lens, and have the entire scene in focus, something that I almost never do in glamour.
So during this shoot I was totally out of my comfort zone.
Also, shooting at smaller apertures with hypersync adds another wrinkle. When you shoot with hypersync you are not getting the full flash illumination that you would normally get at the standard camera flash sync speeds. You are getting the tail of the flash, very often a small fraction of the rated flash power of the head. And when shooting with hypersync, not only is the aperture affecting the flash illumination, but the shutterspeed now also has a linear relationship with the flash illumination. The faster the shutterspeed the less flash illumination provided.
Hypersync Settings – Nikon D3, 4 x Alien Bees 640WS at full power, Pocket Wizards
So, in trying to freeze water outside with flash, not only do I have to go to a smaller aperture, but I also have to shoot at a shutterspeed of somewhere around 1/4,000th to 1/8,000th of a second, both variables killing the already reduced flash power available. This only leaves ISO, so once again I am forced out of my comfort zone and I am forced with the flash power I have available to shoot at way higher ISO’s than I ever do in my glamour work. For this test I ended up shooting at around 1,000 to 1,600 ISO, and of course deal with the associated noise/grain.
The Shoot
I also had an idea to incorporate an assortment of balloons in the water to add excitement and add more specular highlights so we all spent an age inflating, tying off and weighting down 50 odd balloons, and trying to get them to cooperate. Unfortunately the translucency of the balloons meant that flash power the perfectly exposed the model completely blew out the highlights in the balloons, so that idea never really worked.
The gorgeous Playboy model Alexandria Kingsbury graciously collaborated with me on this project and I was ably assisted by two Art Institute students Brian and Lazaro. I tried all aperture, shutterspeed and ISO combinations, along with a host of lighting approaches, using scrims, modifiers, barn-doors and flags and finally nailed down something that worked. And of course there were hundreds upon hundreds of buckets of water tossed in front, behind and on top of our lovely model, all trying to nail that one defining shot that I had visualized in my mind. Of course, converting the visual idea into a finished product was way more difficult than I had imagined and as far as I am concerned the defining shot never materialized.
Hypersync, Nikon D3, 1250 ISO, 1/5,000th sec, F8. Bright sunlight, Four Alien Bees 640WS flashes, using Pocket Wizard transceivers. Model Alexandria KingsburyHypersync, Nikon D3, 1250 ISO, 1/5,000th sec, F6.3. Bright sunlight, Four Alien Bees 640WS flashes, using Pocket Wizard transceivers. Model Alexandria KingsburyHypersync, Nikon D3, 1250 ISO, 1/6,400th sec, F8. Bright sunlight, Four Alien Bees 640WS flashes, using Pocket Wizard transceivers. Model Alexandria Kingsbury
Once again Hypersync allowed me to do something that would not be possible using HSS or standard flash sync speed, and I am pretty encouraged with the results. However, Hypersync once again proved to be problematic by not being consistent throughout the shoot. This further reinforces me experience that the technology is great for personal work but is not reliable enough for me to use with my commercial clients.
In my previous testing I made the comment……. “Well Hypersync works for me ….. sort of!”
I felt that it was too unstable to be relied upon under pressure, but I suspected that part of it might be me, so this time round I took way more care to make copious notes during my testing to figure out what was causing the instability.
This time I had the benefit of working with a personal friend and model Emilee, who has worked with me many times before and is used to the stop-start process that goes along with trying out a new technique
As mentioned before in my previous posts regarding hypersync, my main objective was to be able to use wide open apertures around F2.8 in bright sunlight, and to use flash to fill the shadows and possibly overpower the sun. Shooting at wide open apertures with long lenses provides the shallow depth of field that makes the model pop off the blurred background. But shooting at the maximum sync speed allowed by the camera, typically around 1/250th, in bright sunlight means that you have to stop the aperture down around f8 and this unfortunately brings the background into focus.
So we started with an ambient exposure of 100 ISO, F2.8 and shutterspeeds initially in the range of 1/,1000th to 1/2,000th of a second. I shot with my Nikon D3x, Pocket Wizard Mini TT1 transmitter fitted with the Pocket Wizard AC3 zone controller to separately adjust the power of each flash head. I used one, two and three 640WS Alien Bees moonlights, powered by Vagabond batteries. On each Alien Bees flash was a Pocket Wizard Flex TT5 transceiver each set to a different group, and mounted to each of the TT5’s was a Pocket Wizard AC9 Alien Bees Adapter. The main light was fitted with the 18” Omni reflector to create more punch, and the rim lights when used were fitted with the standard 7” reflectors and 30 degree grids to kill the spill back to the camera.
In order to try and develop a repeatable lighting approach, I systematically measured the model to flash distance for each shot and kept copious notes of flash power and camera settings, so I would be able to replicate it in future. I mainly shot with the 70-200mm f2.8 lens but also used my 200-400mm F4 lens which narrows the depth of field even more when shooting at longer focal lengths.
During this test I was able to obtain better lighting consistency from shot to shot, so I suspect that part of my frustration in earlier shoots was merely a lack of familiarity. However there still remained some instability, particularly in adjusting the light output, but overall I was very encouraged by the results. Hope you like them too.
Hypersync testing with Emilee in bright sunlight – 1/2,000th second, f2.8, 100 ISO, Nikon D3x Alien Bees, Pocket WizardHypersync testing with Emilee in bright sunlight – 1/2,000th second, f2.8, 100 ISO, Nikon D3x Alien Bees, Pocket WizardHypersync testing with Emilee in bright sunlight – 1/800th second, f2.8, 100 ISO, Nikon D3x Alien Bees, Pocket WizardHypersync testing with Emilee in bright sunlight – 1/1,250th second, f2.8, 100 ISO, Nikon D3x Alien Bees, Pocket WizardHypersync testing with Emilee in bright sunlight – 1/500th second, f4.0, 100 ISO, Nikon D3x Alien Bees, Pocket Wizard – Nikon 200mm – 400mm f4