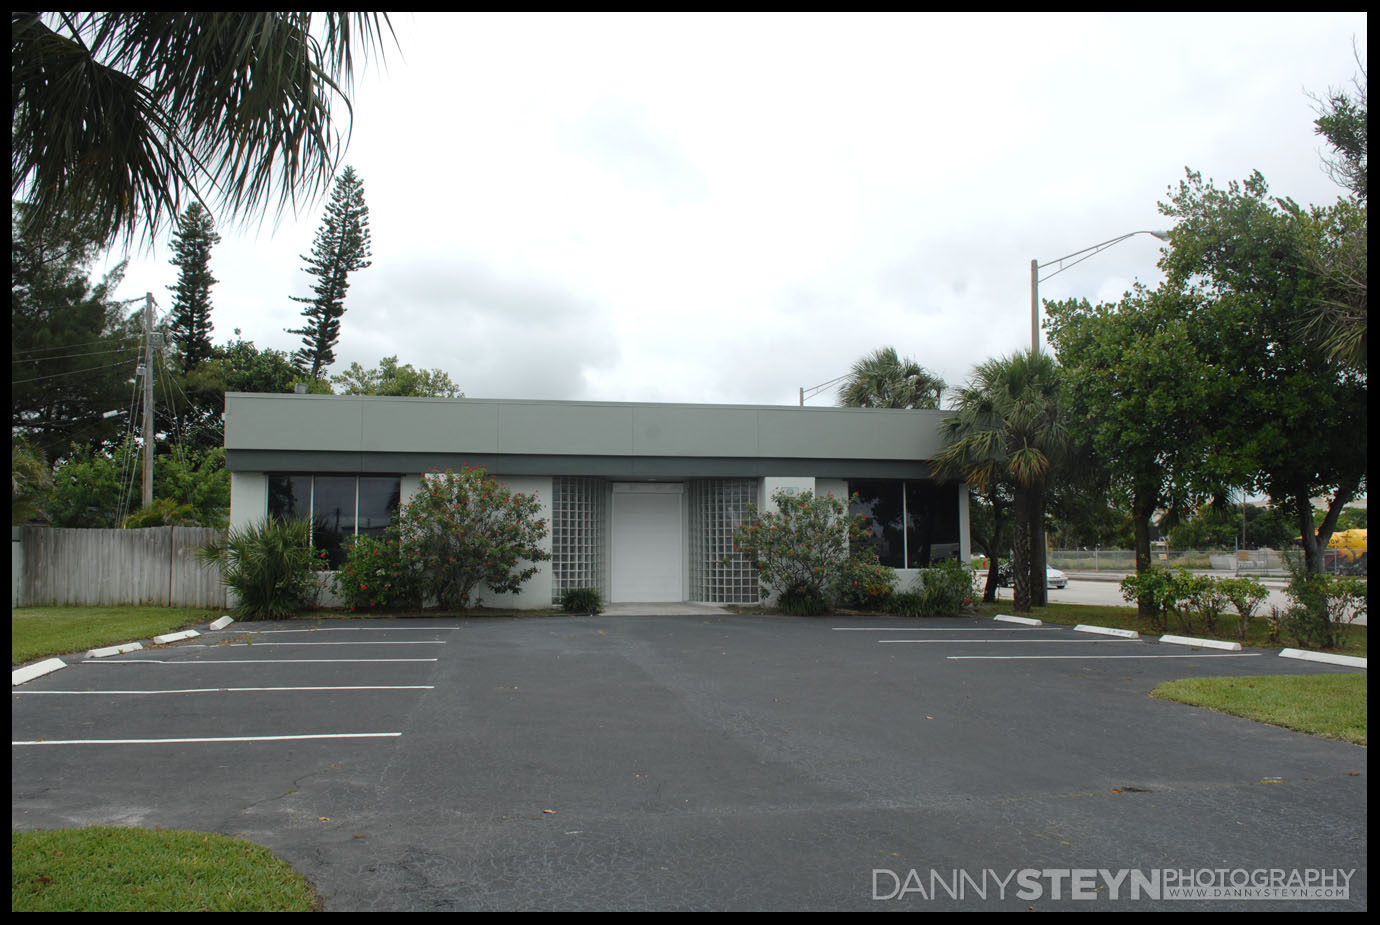
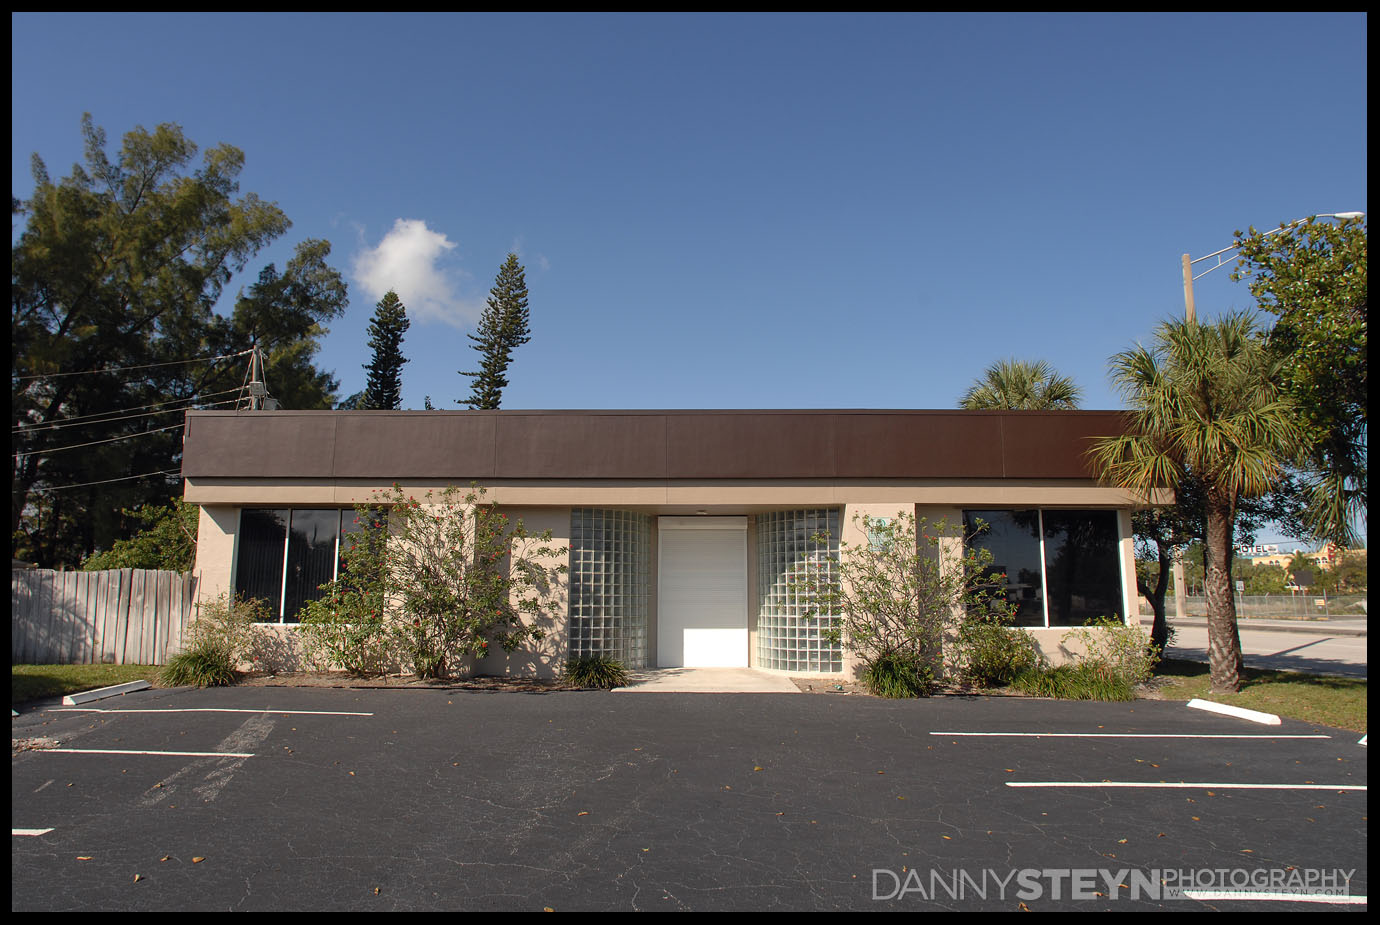
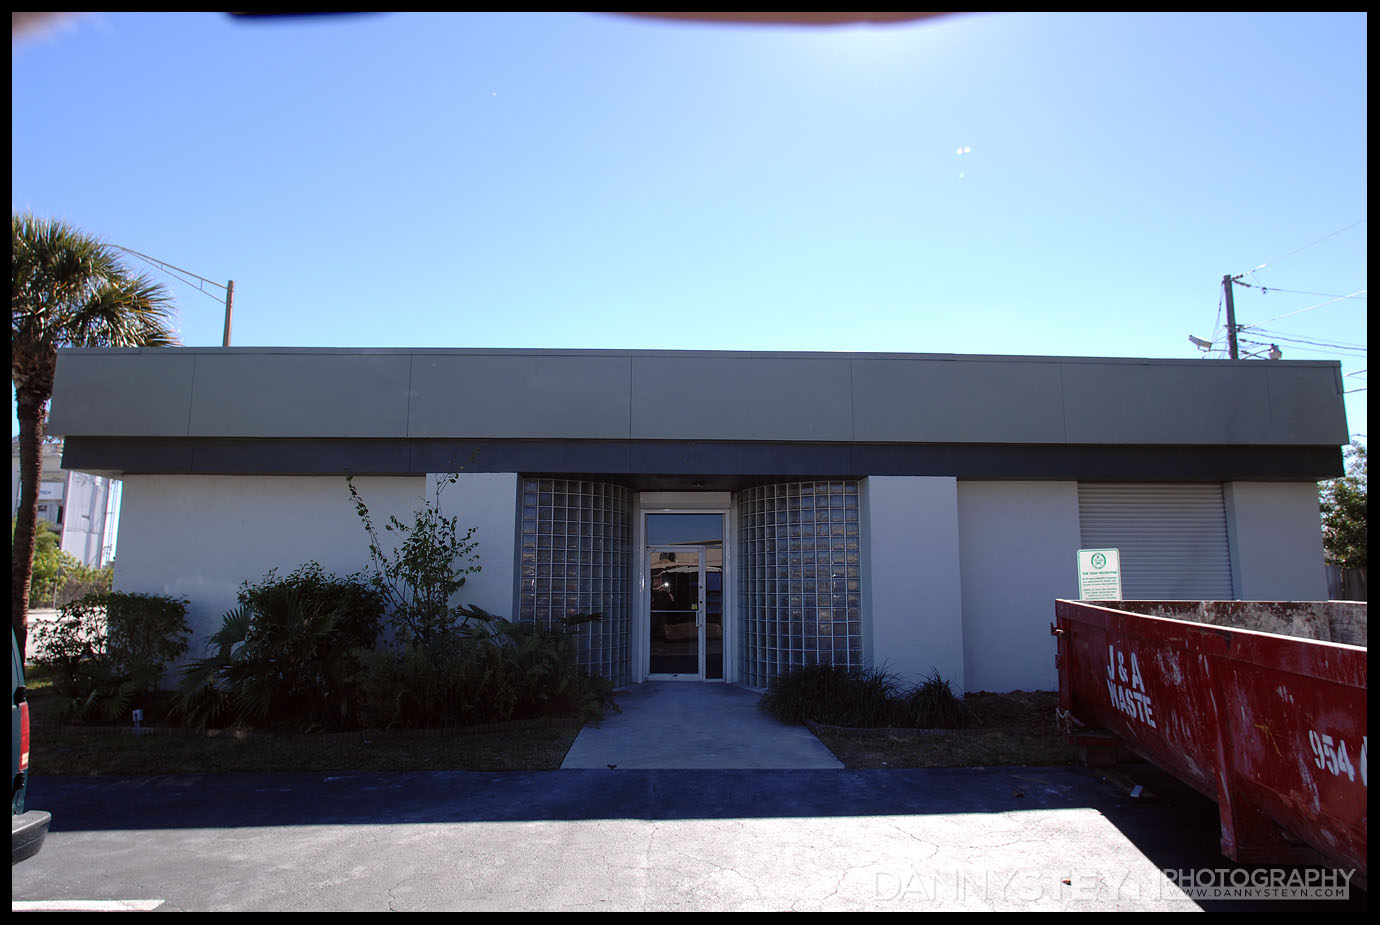
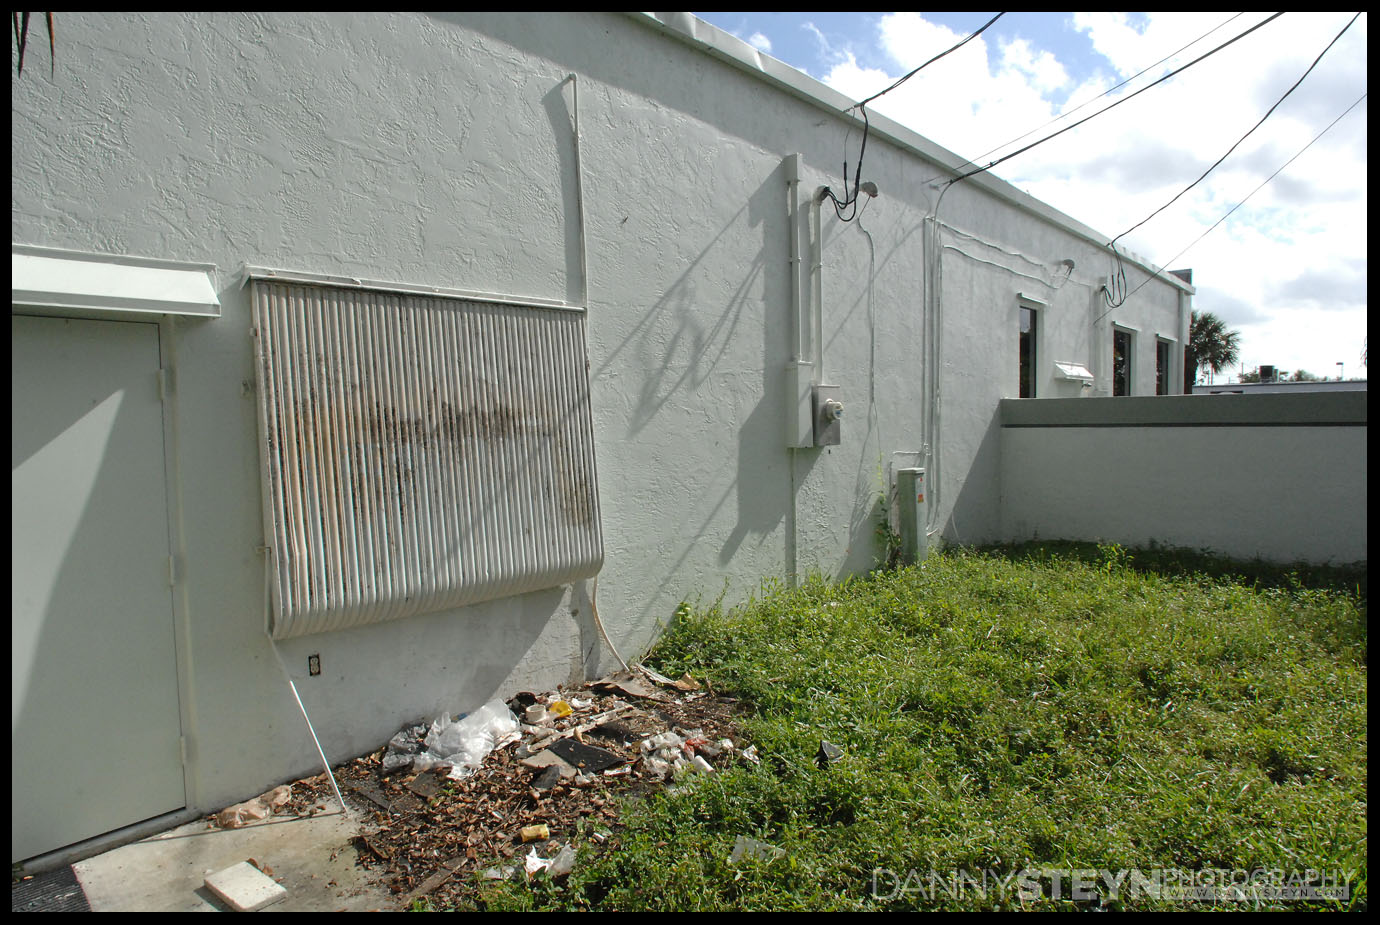
South Entrance and parking – New photography studio – prior to purchase
Prior to selling the studio the previous owner had a done a great job of painting the studio, but s you can see in the image above, the green colors they had chosen did not fit our color palette, and more importantly they blended in too much into the background.
With over 50,000 cars a day passing by we wanted a color scheme that would attract attention, be in line with our corporate color palette, and not be too un-Florida!
So we chose the color palette similar to our current web design – a darker coffee color at the called black raisin, a medium taupe waistline below and a light taupe for the majority of the walls. The back-lit store front signs that are being designed are in white and with the dark background they will easily be visible in both daytime and nighttime.
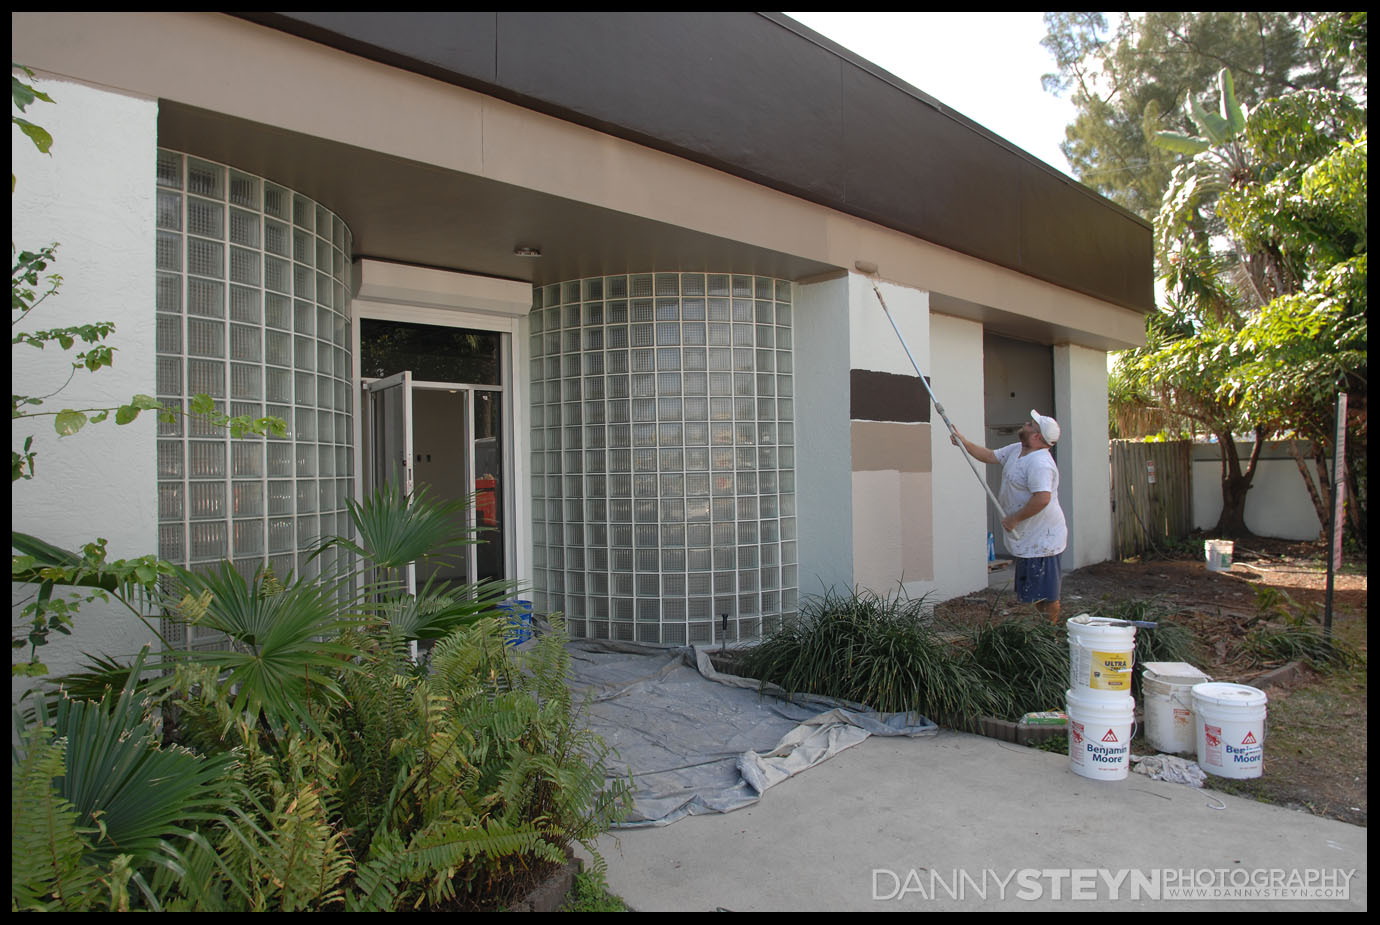
Painting the new Danny Steyn Photography StudioPainting the new Danny Steyn Photography StudioSouth Entrance with the new paint colors – new Danny Steyn Photography Studio
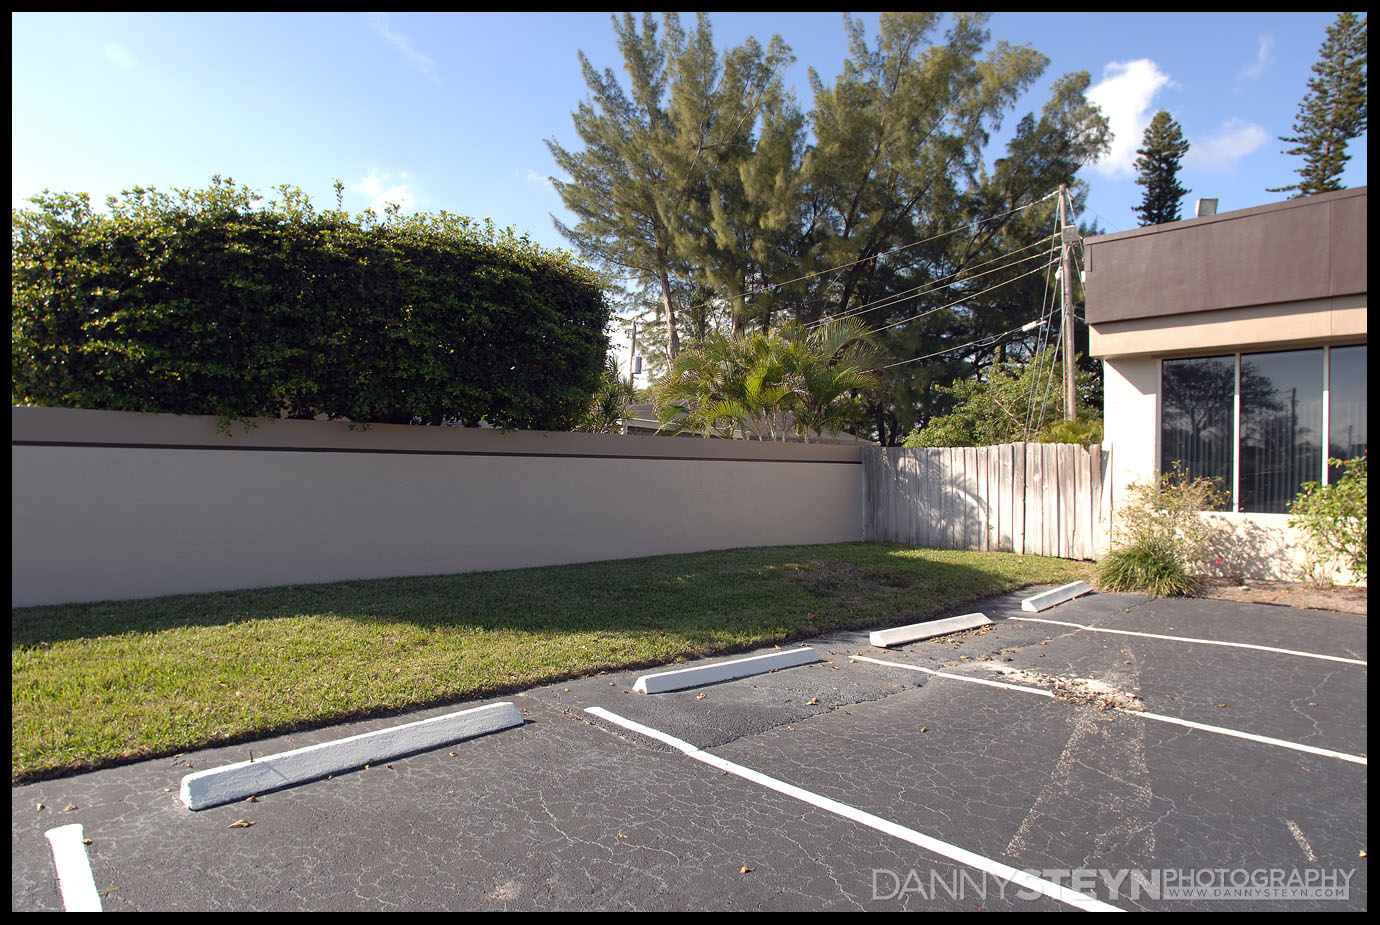
While we like the dark black raisin as the top color for the building, we inverted the colors for the wall as we did not want to white bird droppings to show up on the boundary wall where they often congregate, so here the dark raisin color is used as the waistline to separate the two shades of taupe
Boundary wall – new Danny Steyn Photography Studio
We are 6 weeks into the project, and allowing for the break between Christmas and New Year, things are going pretty smoothly. The GC is keeping the project moving along, but to date we have drifted about 2 weeks behind our original schedule. Not a train smash but still a bit disappointing.
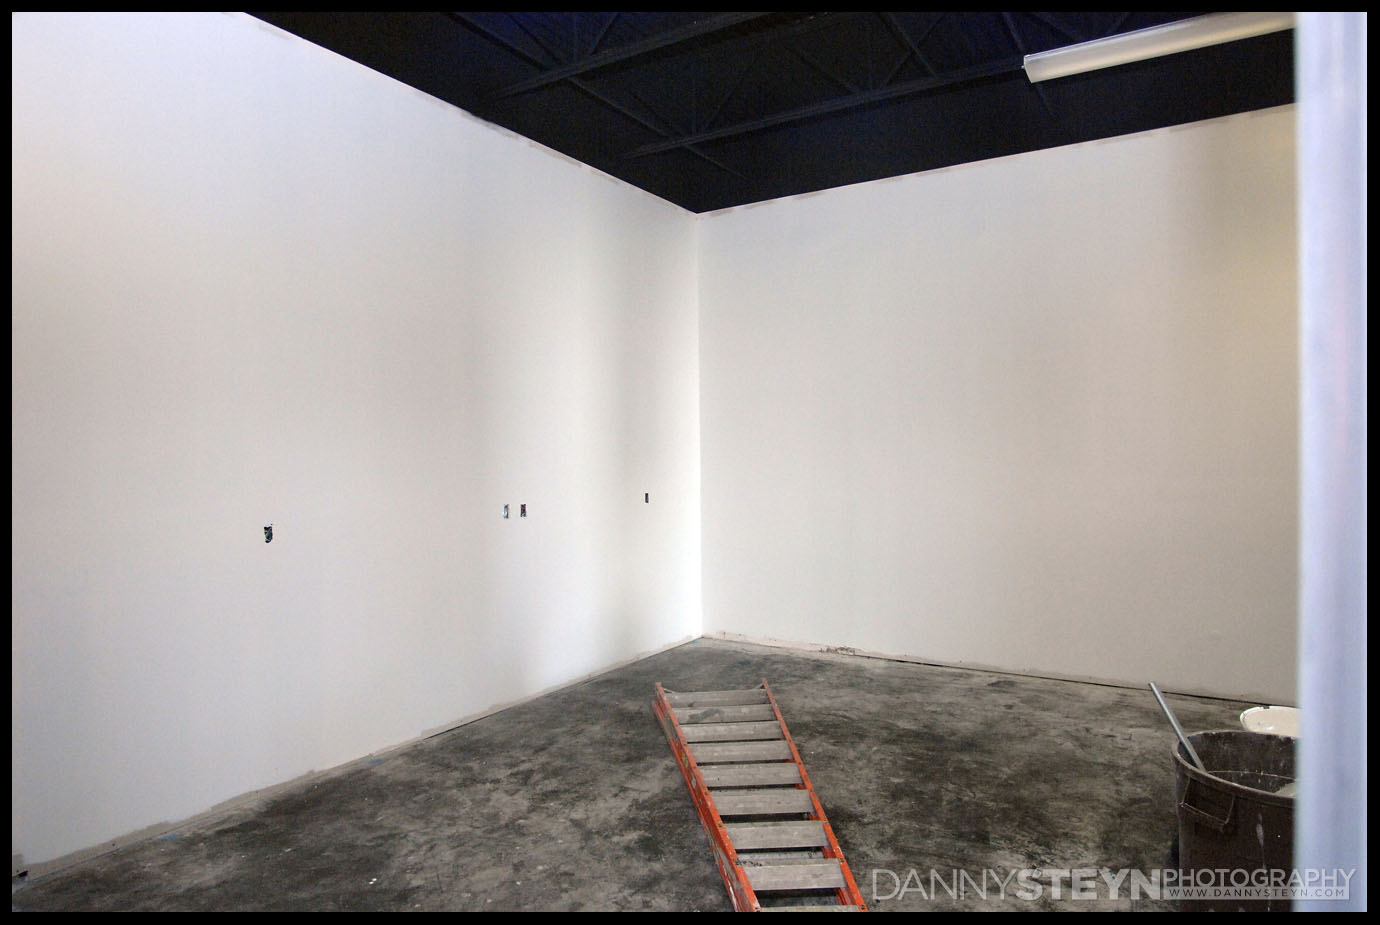
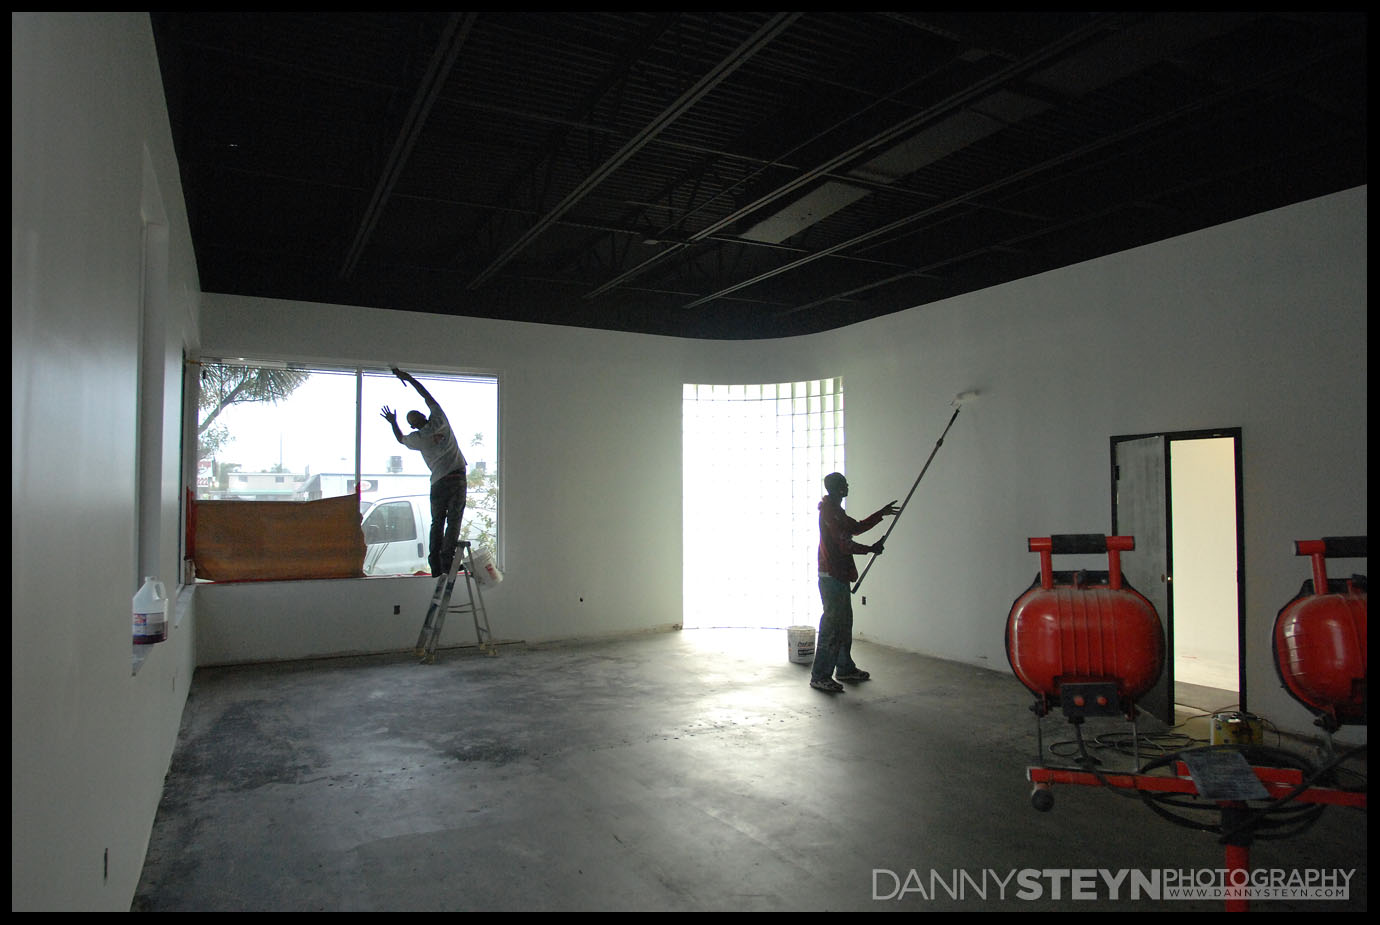
All the interior drywalls are all complete. Both Studios as well as the Prop Room and the Gallery will have open ceilings, and these areas all received their dose of matte black paint. There will be some touch up required with the new AC vents that are still being installed.
Photography studio Editing Office dry-wall completePhotography studio Prop Room dry-wall completePhotography studio Lobby dry-wall complete.
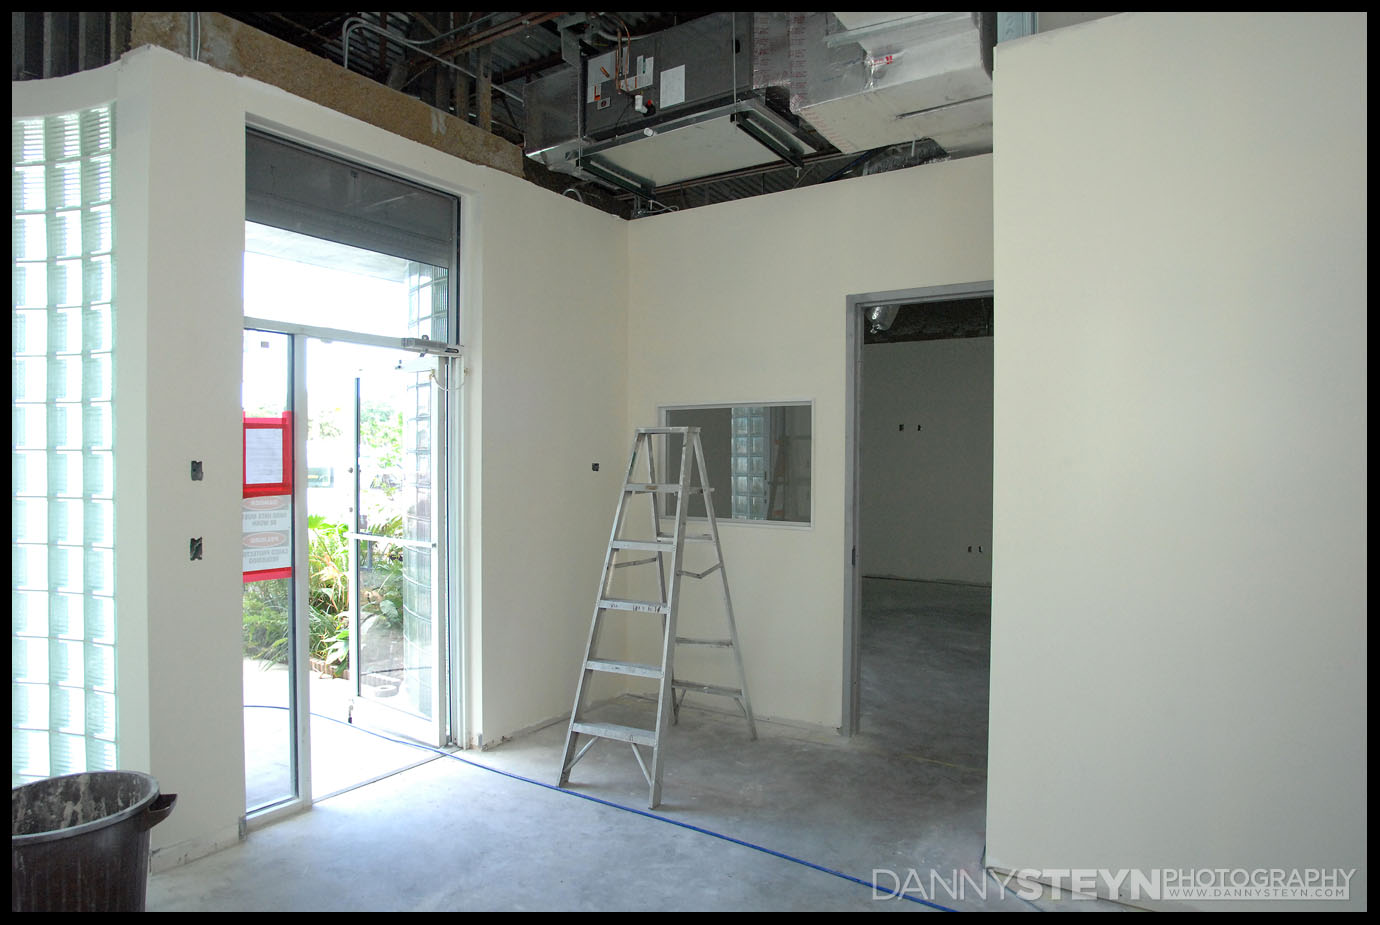
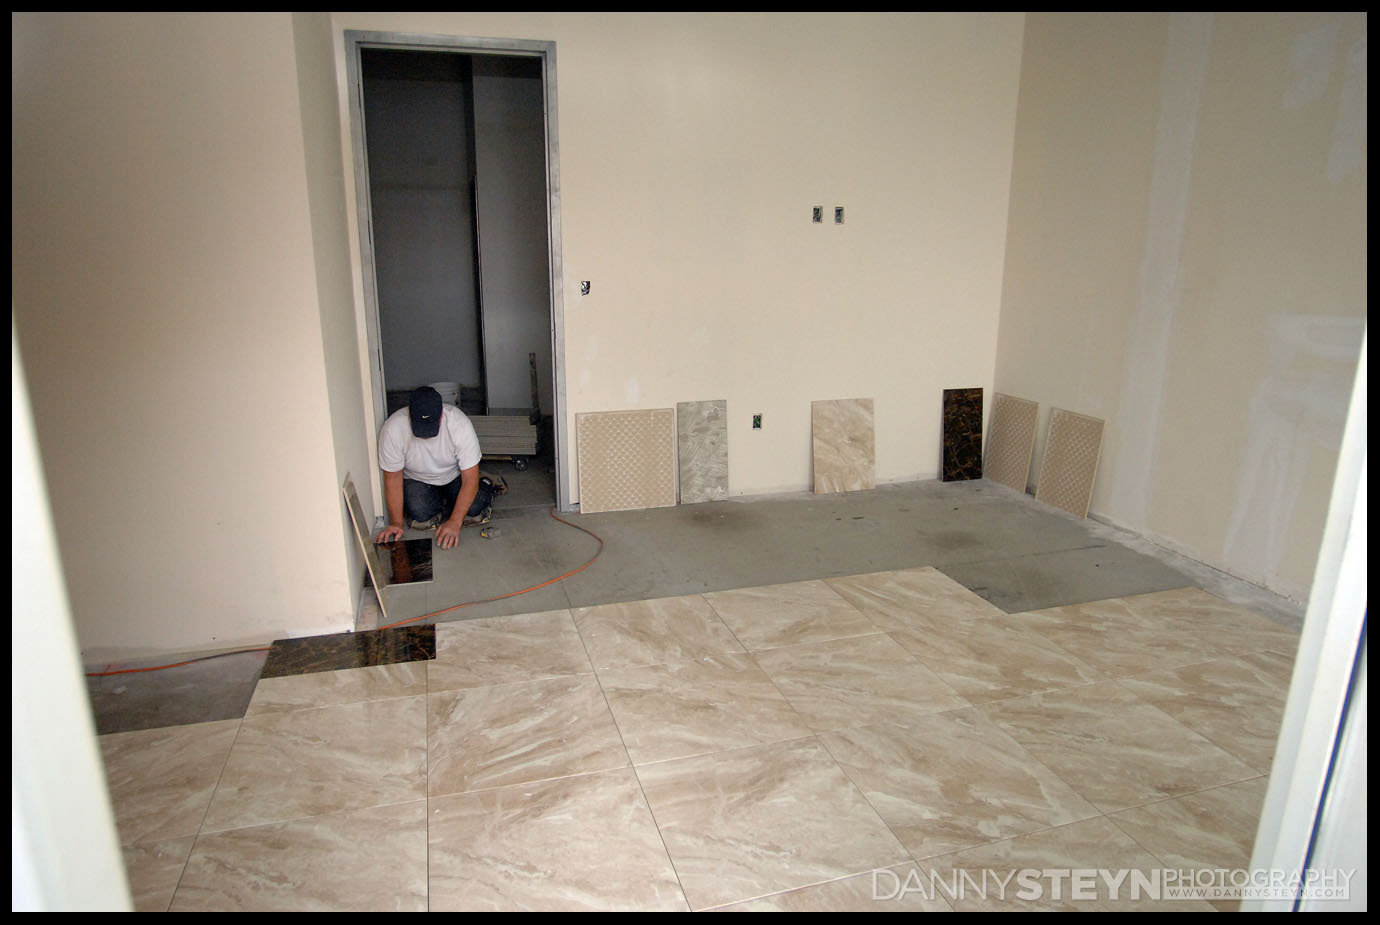
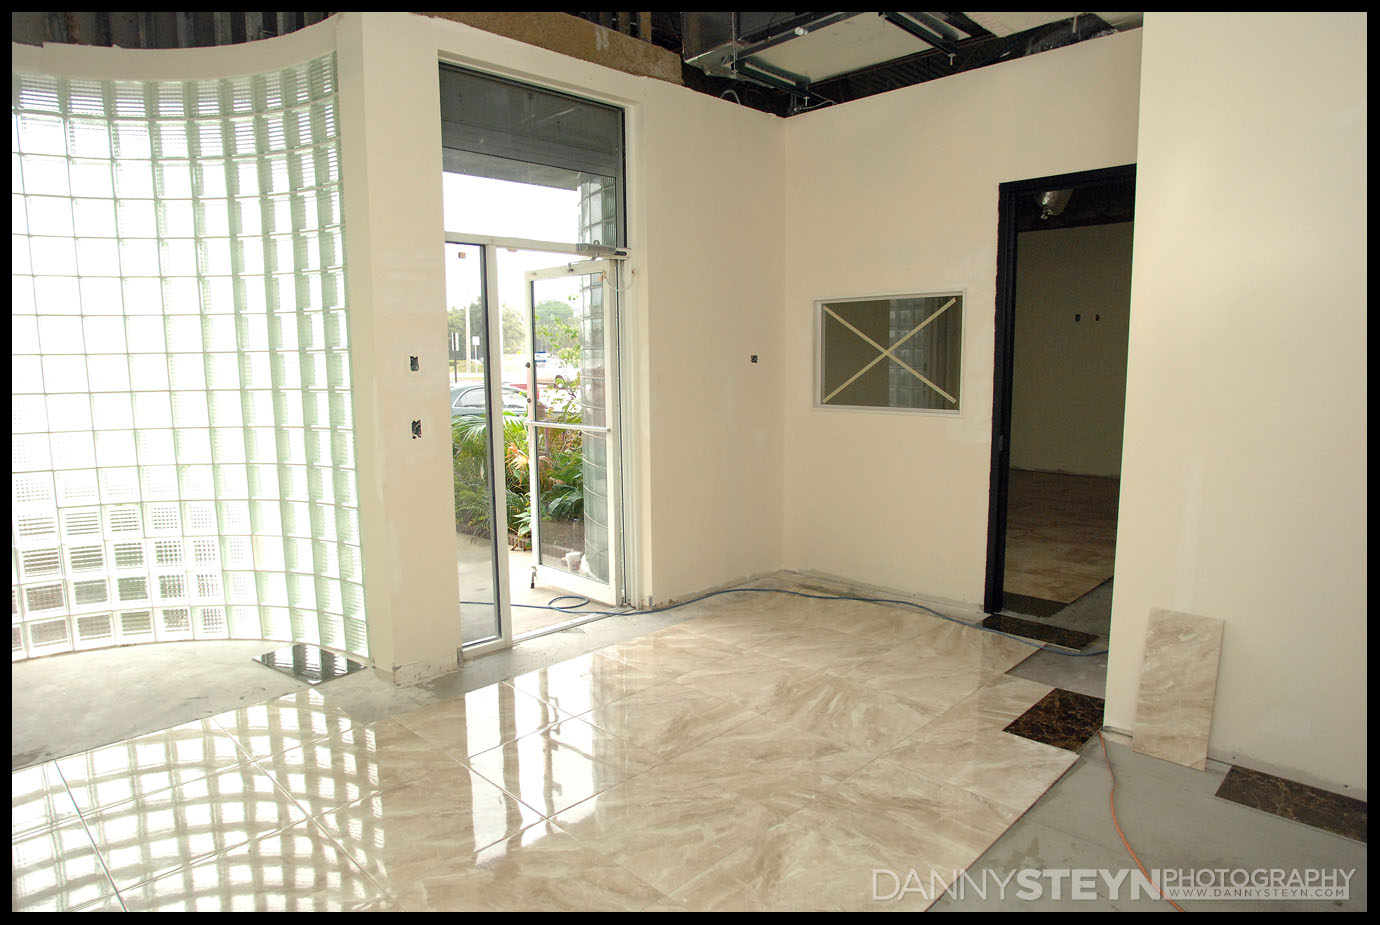
Floor tiling has commenced
The floor guys have started laying tile in the Lobby, Office and Gallery areas. We had to make a small design change in the Lobby due to the layout of the doors. Unfortunately this means more of one tile and less of another so the lobby will only be completed on Saturday. We had so many compliments on the lobby of our old studio that we have stayed with the same floor design; a dark marble border around a light marble fill. Doors will be black with frosted glass panels.
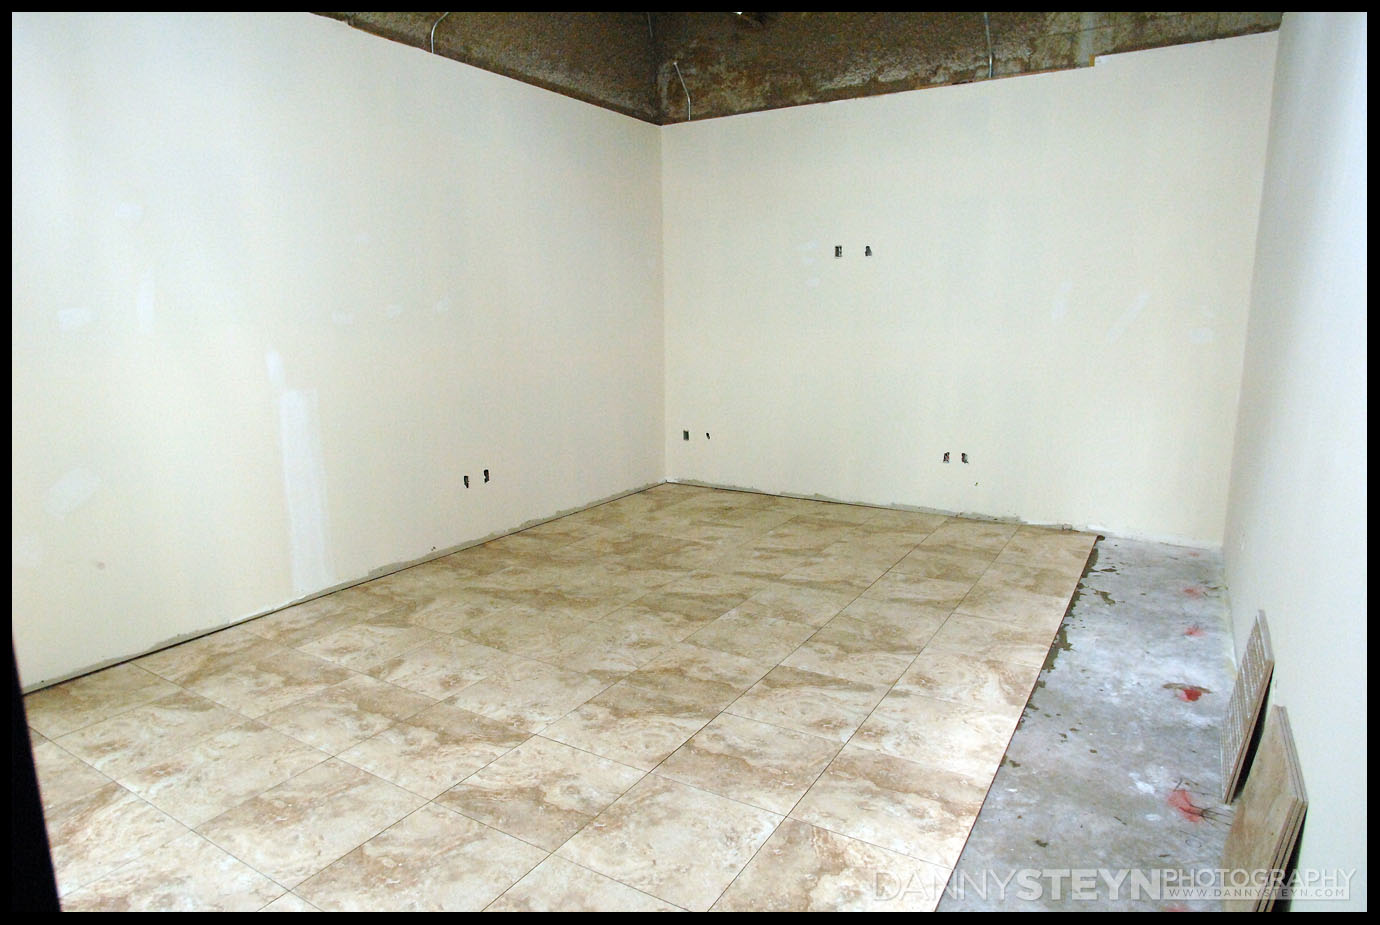
New Photography Studio construction – Entrance Lobby tiling underwayNew Photography Studio construction – Entrance Lobby tiling underwayNew Photography Studio construction – Editing Office tiling underway
We chose a busier and slightly darker tile for the Editing Room as the light cream tiles in our previous studio editing room showed the dirt too easily.
New Photography Studio construction – Studio walls and window frames being painted
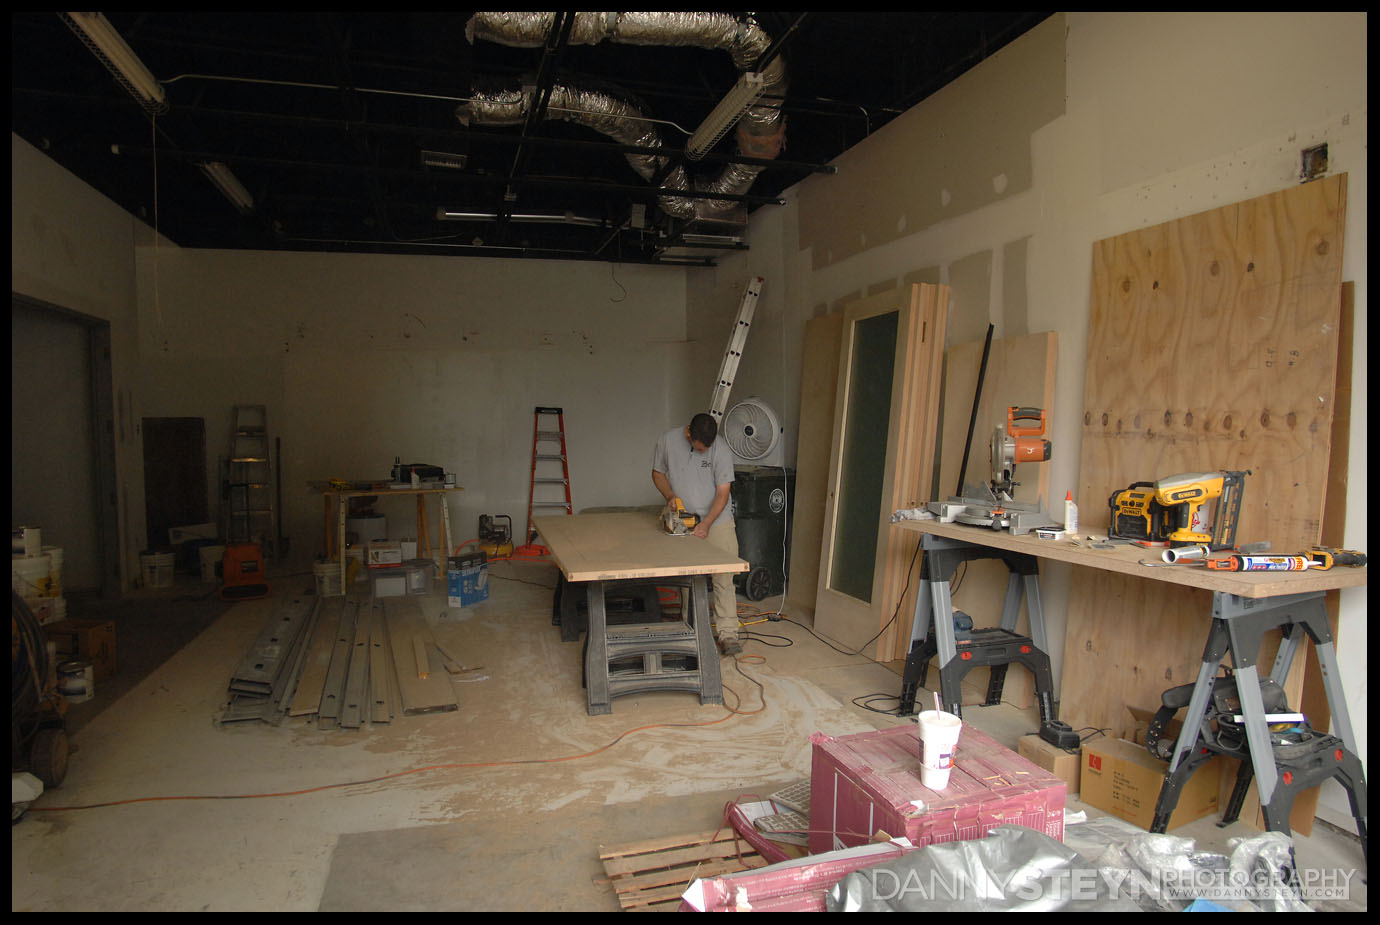
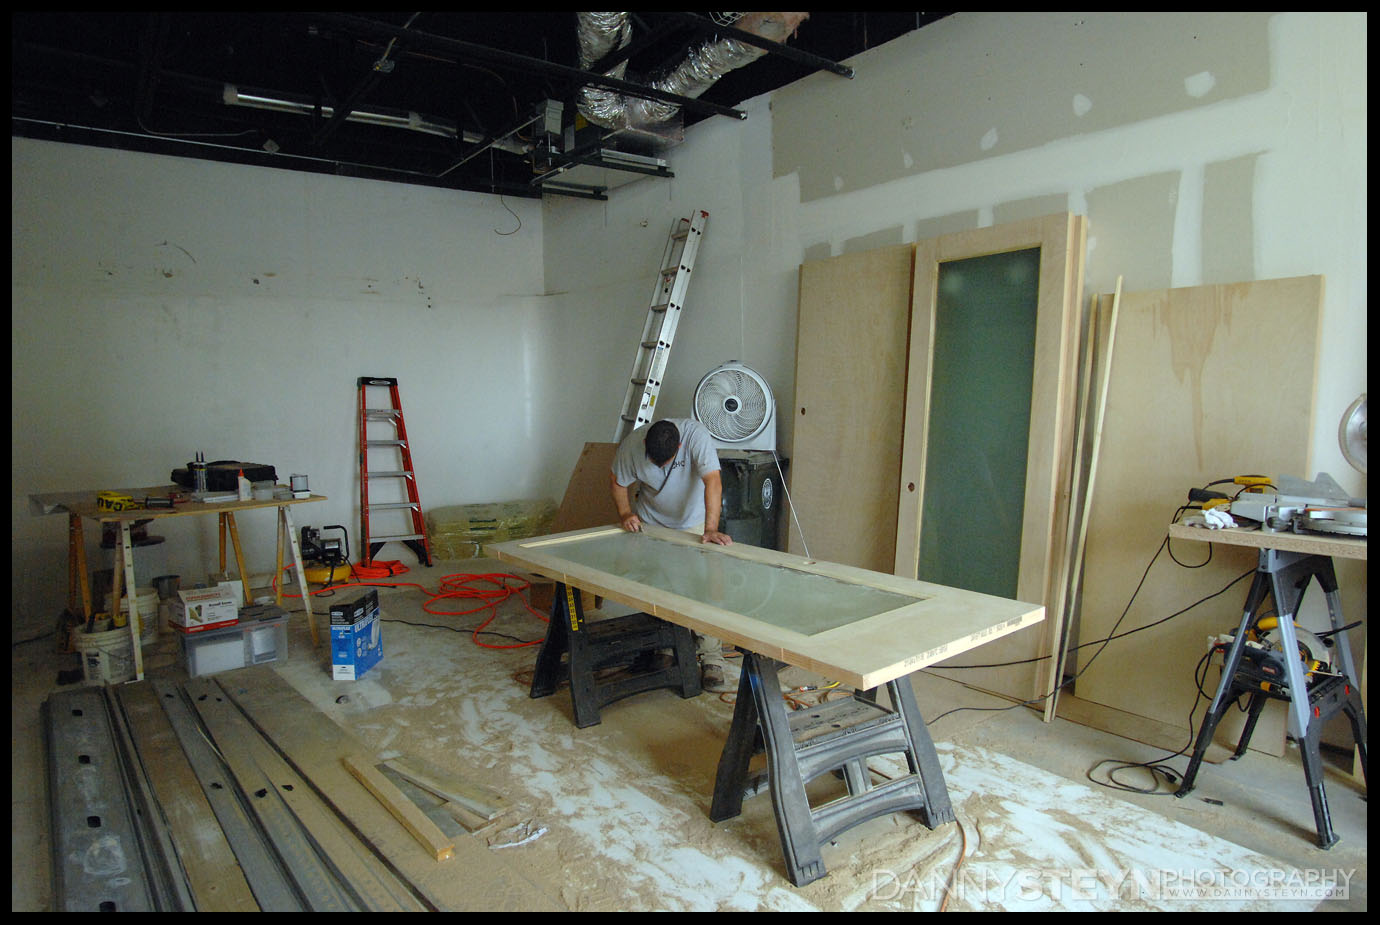
Interior oors are being custom made on site
Due to long lead times we were unable to purchase finished doors so we are having the GC custom make the doors on site. The finish carpenter is doing a great job with the 8ft tall wood doors that we purchased. He has cut out the recesses and is painstakingly installing the frosted glass panels
New Photography Studio construction – 8ft tall doors being custom made on siteNew Photography Studio construction – 8ft tall doors being custom made on site
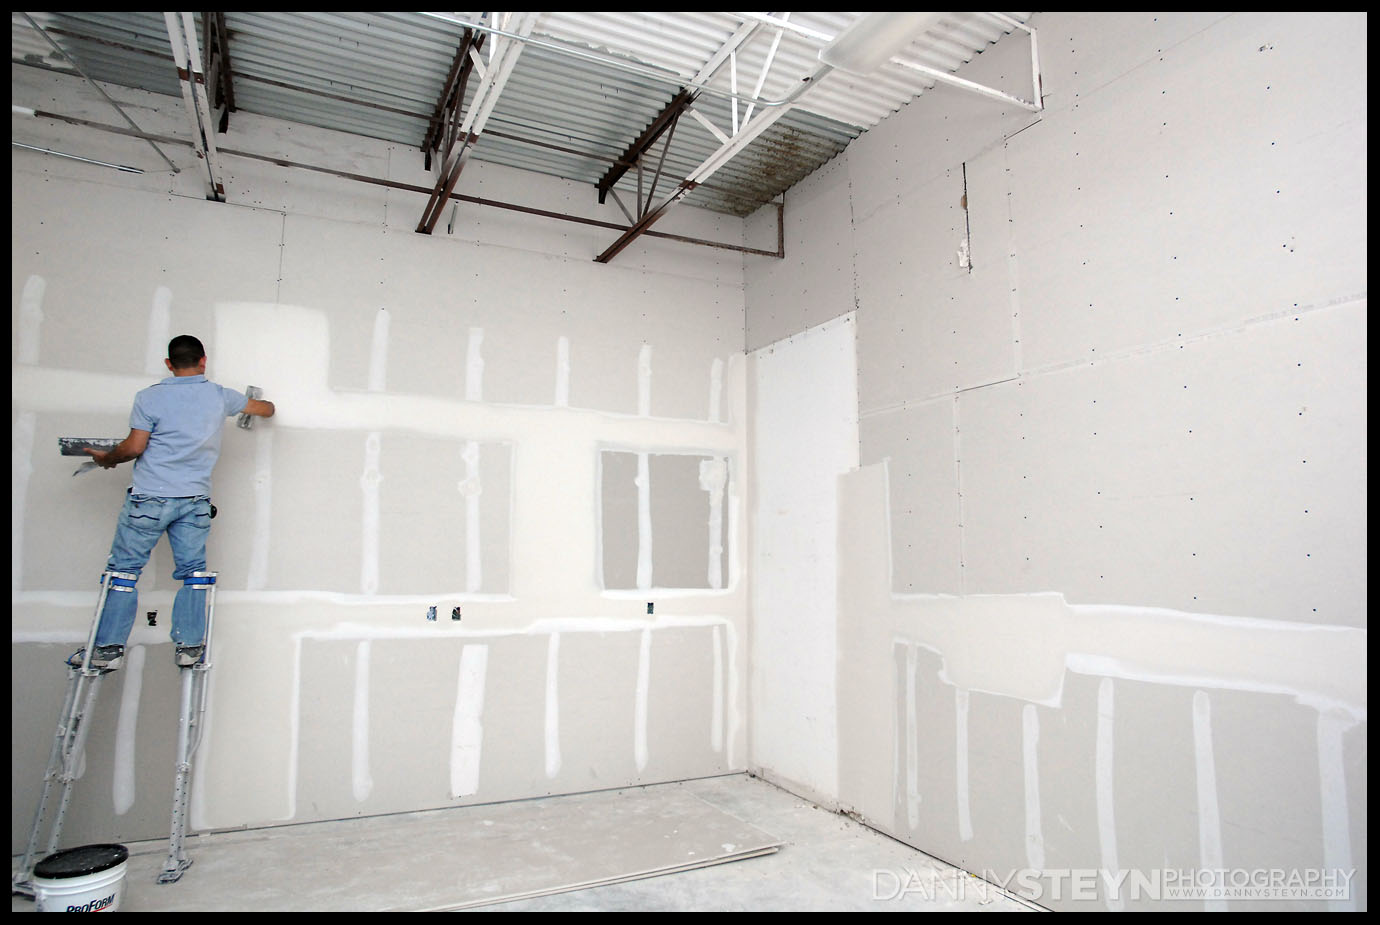
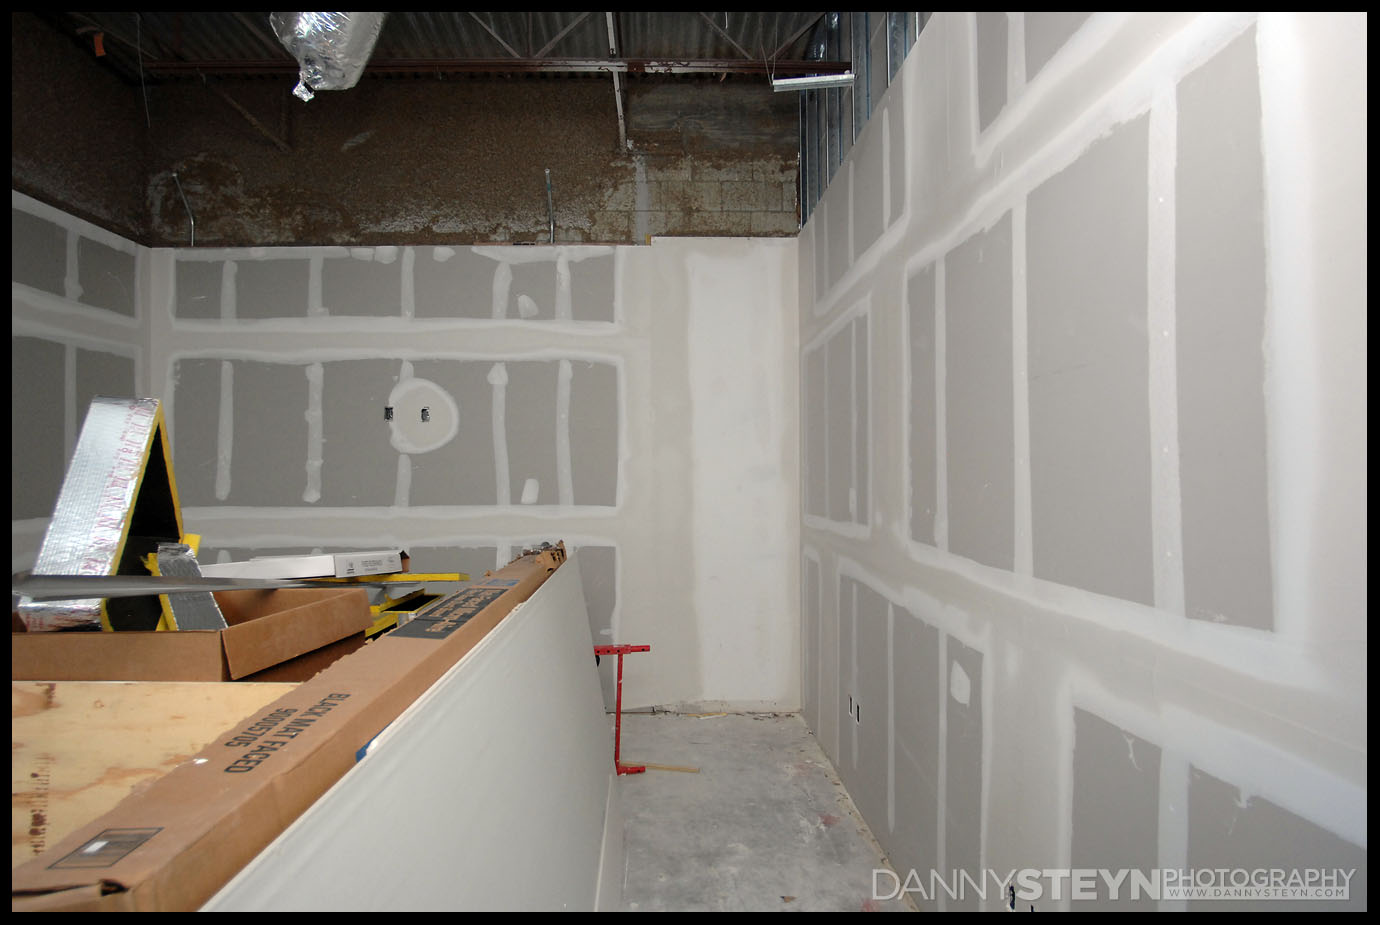
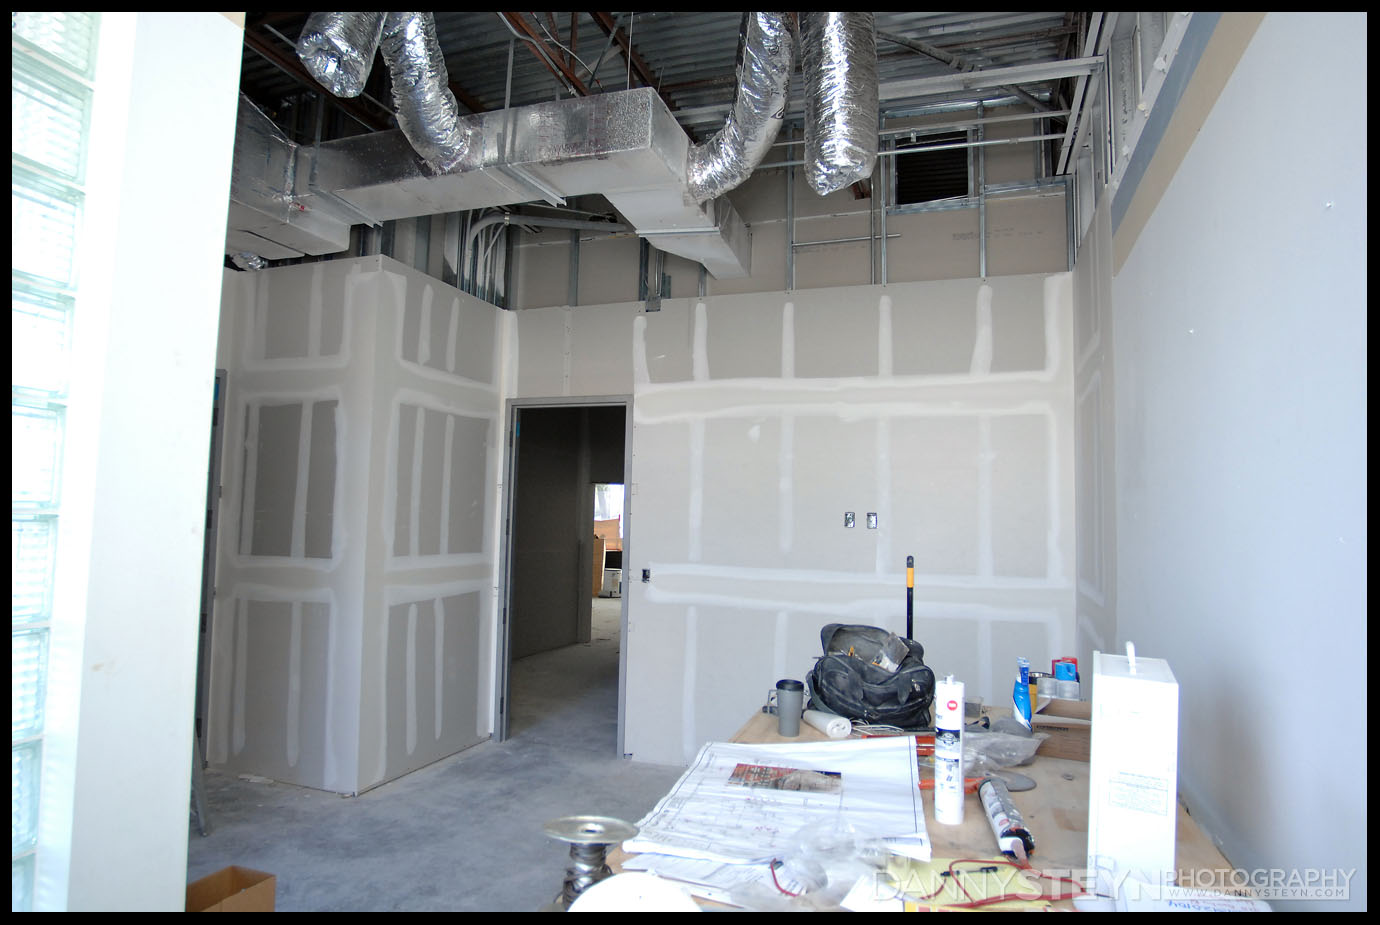
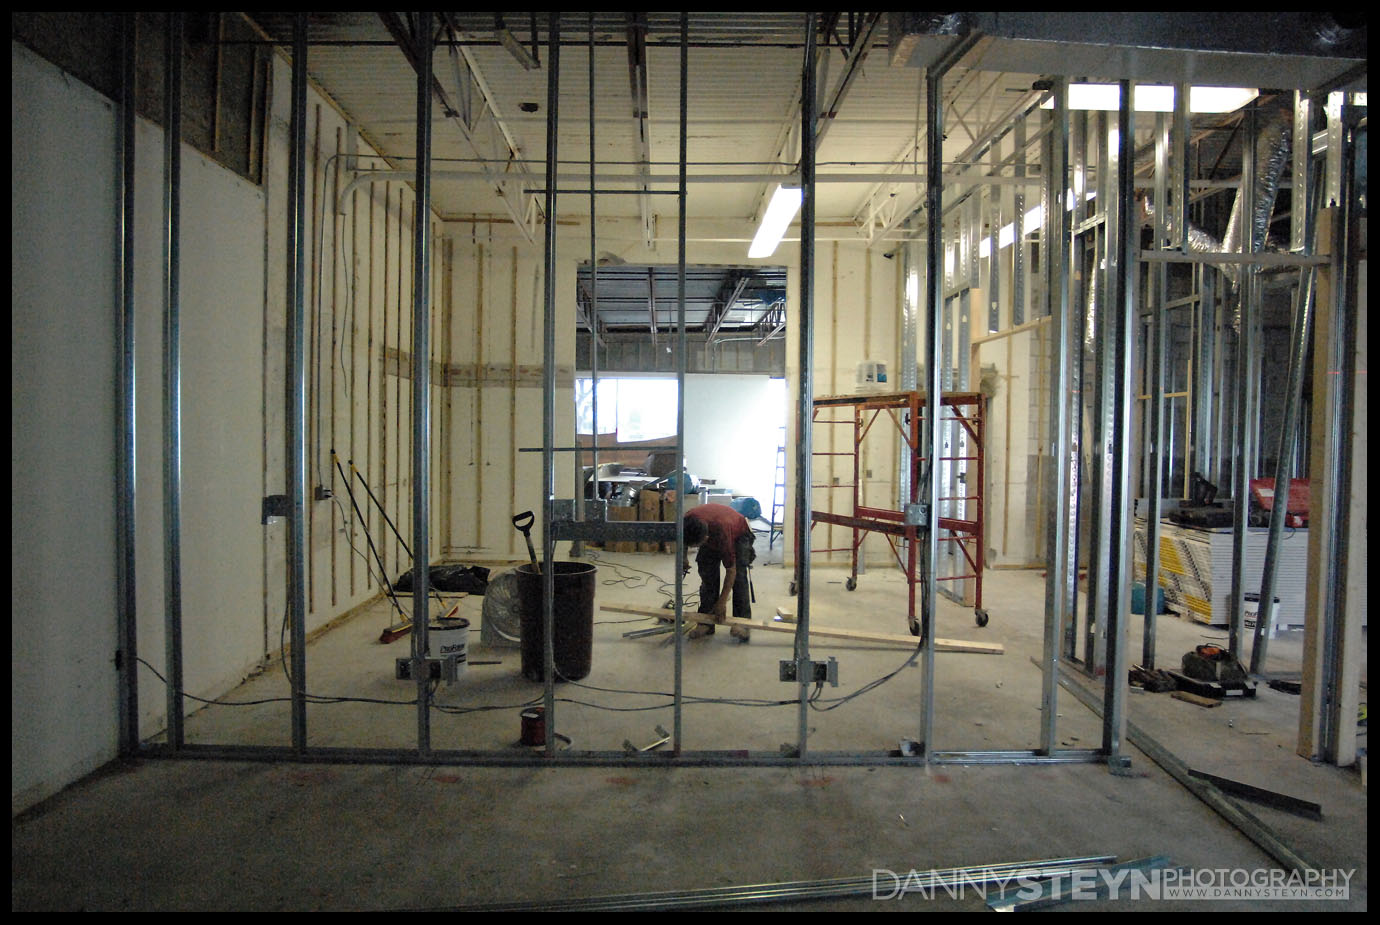
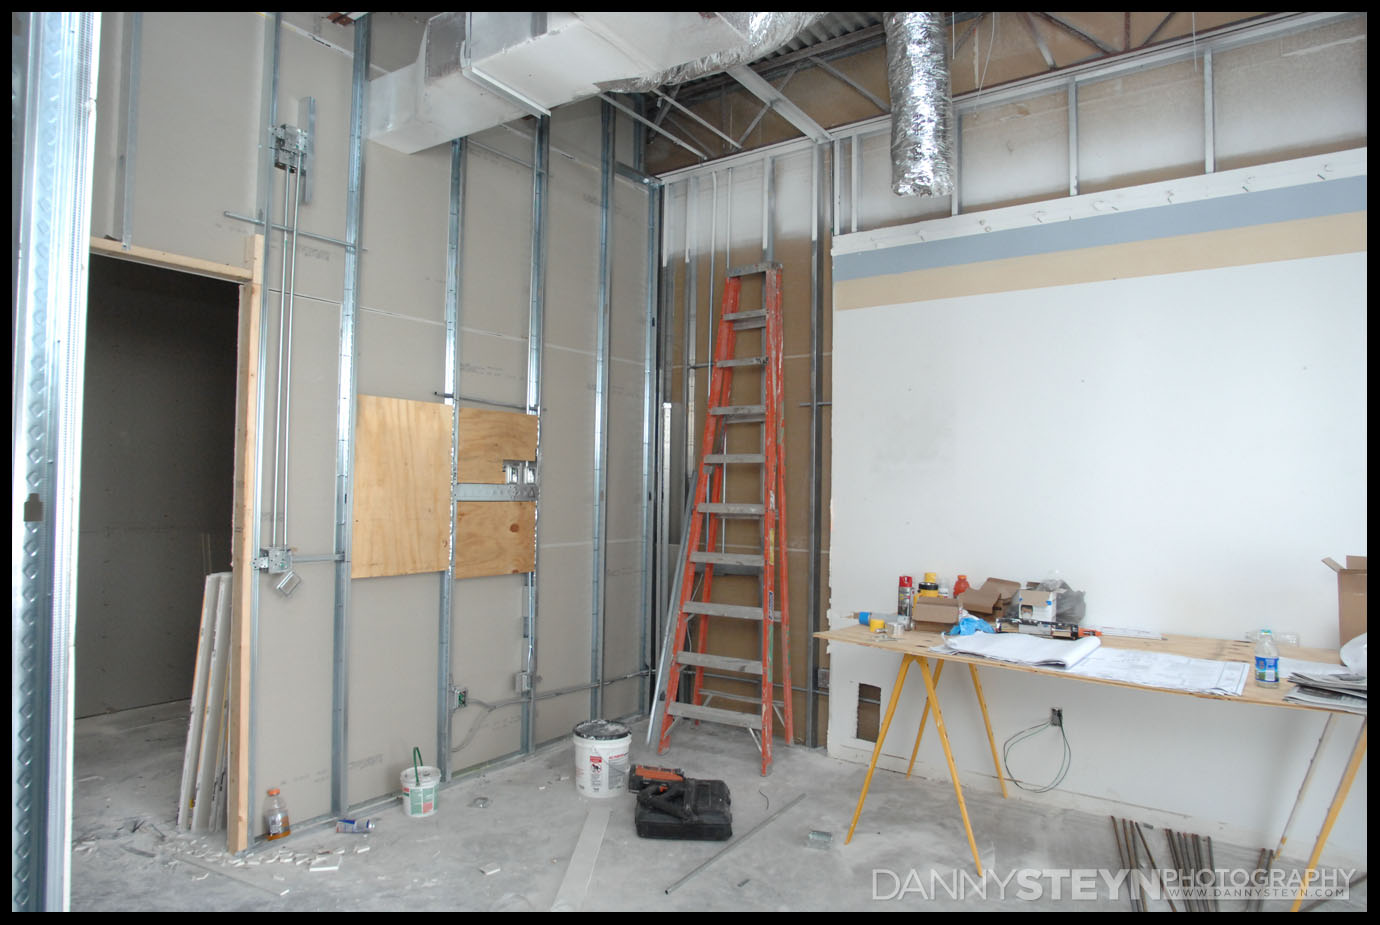
With the structural inspections complete the drywall crew continued their task and now the tape and mud is being applied. Open ceilings in the two studios, gallery and prop room mean 12ft tall walls have to be dry-walled and smoothed. Looking forward to seeing the crew’s tall stilts on the high walls! There will be a drop ceiling in the lobby, editing office, bathrooms and kitchen/makeup areas.
Danny Steyn Photography Studio – Drywall framing, taping and muddingDanny Steyn Photography Studio – Drywall framing, taping and mudding – editing office
Danny Steyn Photography Studio – Drywall framing, taping and mudding – Main Lobby
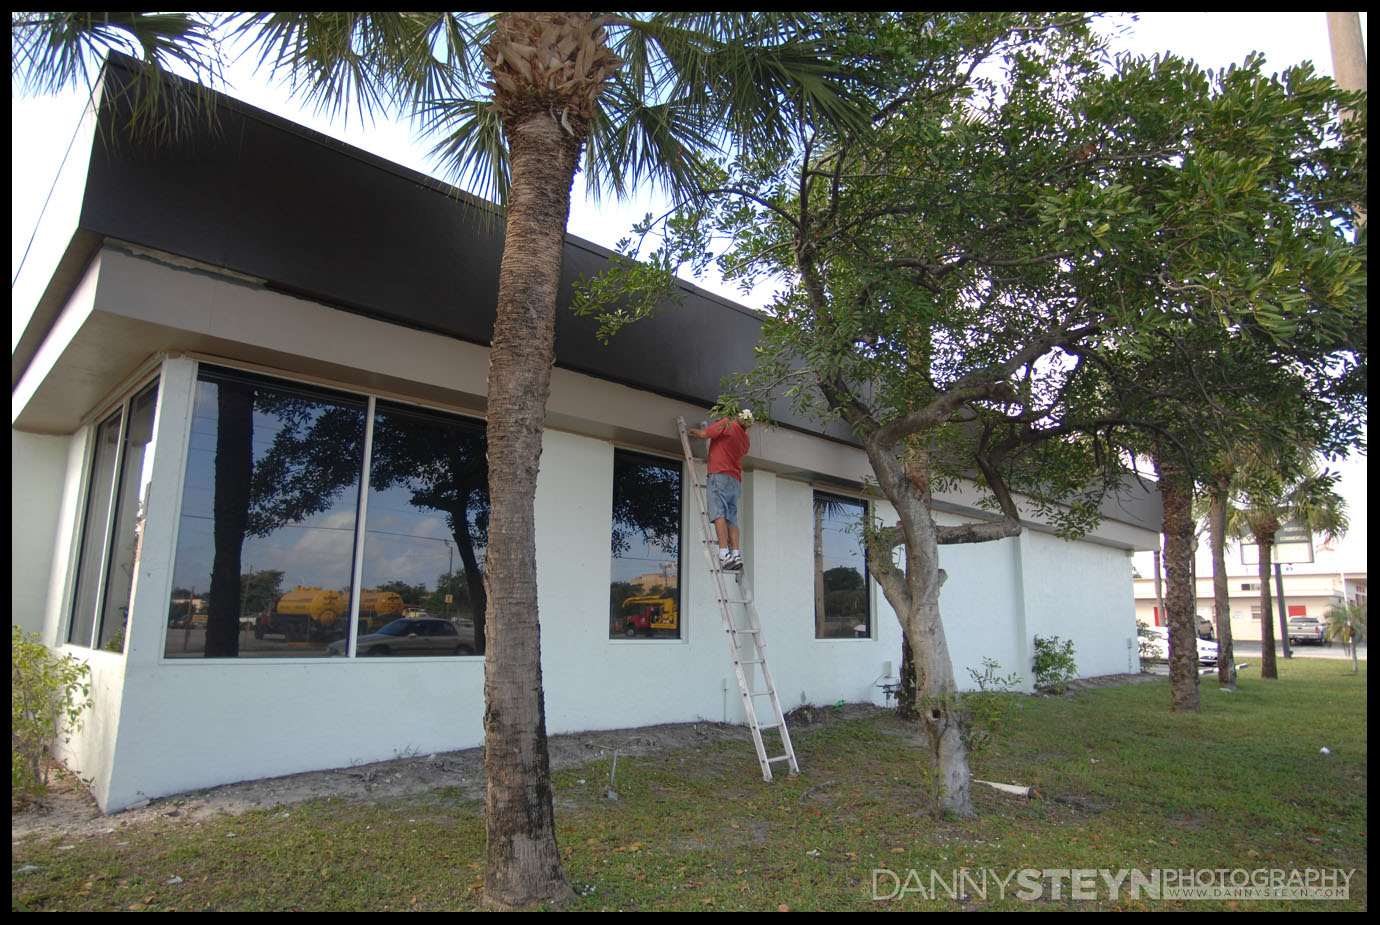
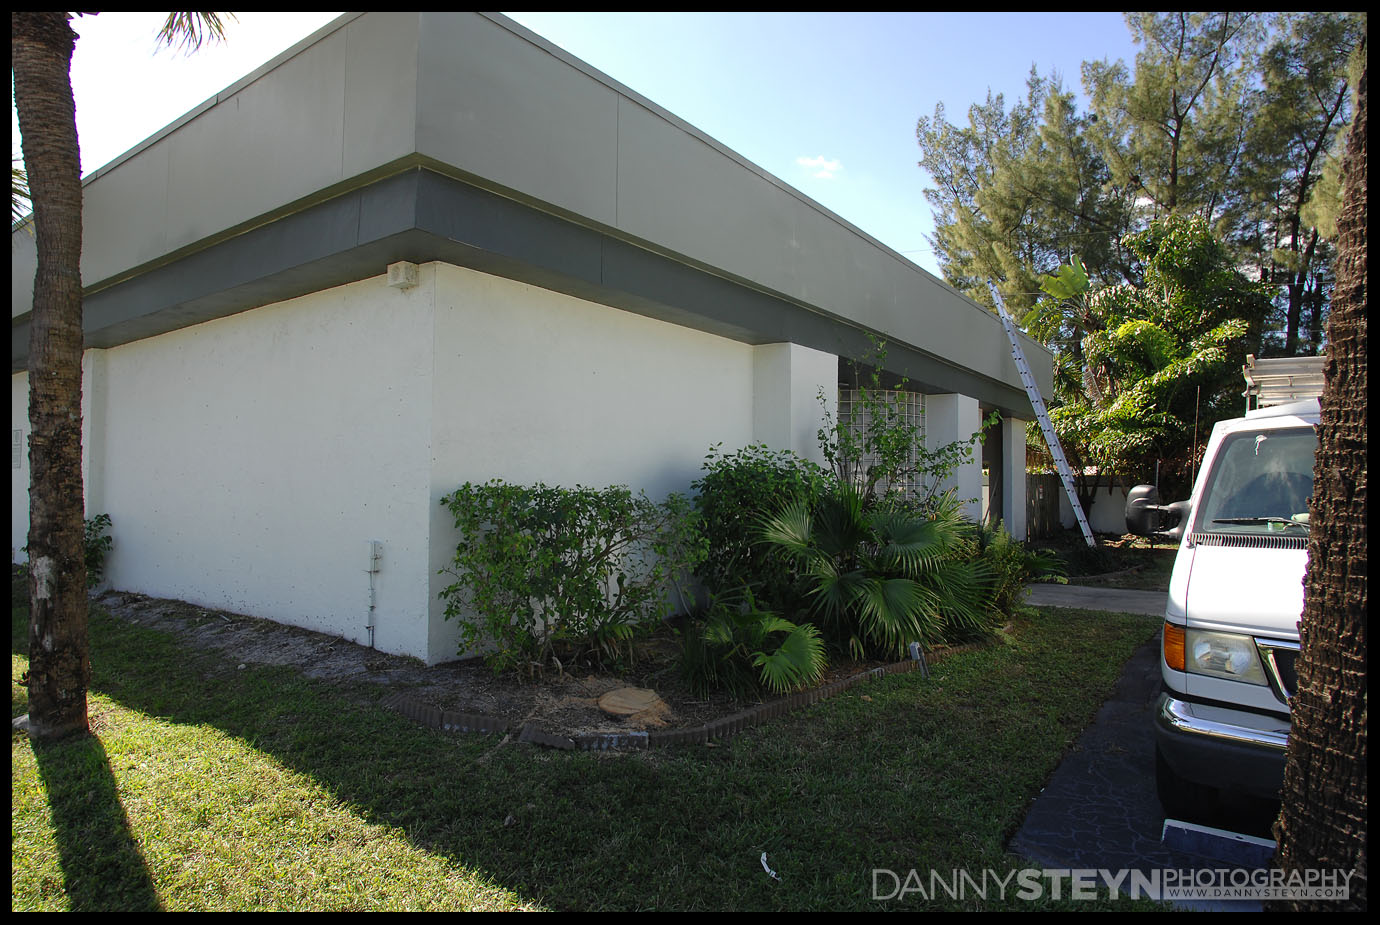
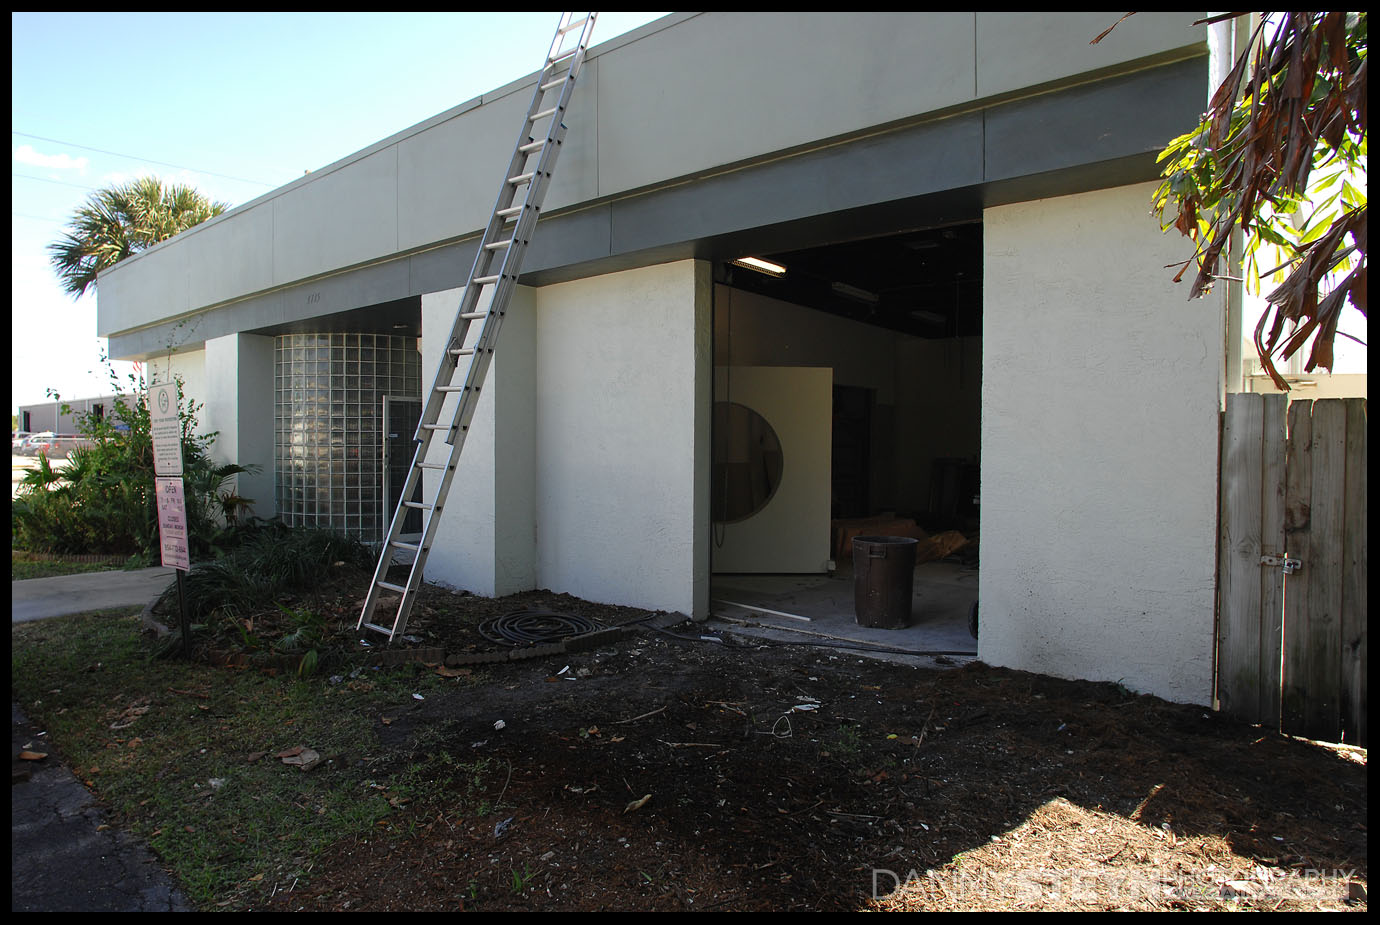
We decided to remove some of the overgrown vegetation to reveal the front of the building so that the signage will be visible to the 50,000+ vehicles a day that pass the studio. We are playing with signage design, paint colors as well as exterior landscaping. Kind of cool to see the exterior moving along as well.
Danny Steyn Photography Studio – Exterior – North EntranceDanny Steyn Photography Studio – Exterior – North EntranceDanny Steyn Photography Studio – Exterior – North Entrance – And vehicle entrance to main studio
No construction project goes as planned, and conventional wisdom says it will cost you double what you originally budgeted, but we are fighting like crazy to ensure that that will not happen here. Nevertheless, we have discovered that a lot of work was done to the building over the past 20 years will not meet the current Florida building code and the minute you pull a construction permit, all work, past and present, has to meet the current code. So it looks as though we will have to
Completely upgrade the AC system with 4 new units supplying 12 Tons. It’s pretty obvious that the 20 year old A/C system will not be able handle the demand of the new studio design. The plan is to run the A/C every day to cool the editing office, lobby, gallery and bathroom, but only run the A/C in the studios during shoots. So the ability to rapidly drop the temperature in the two large studios is essential. Without dropped ceilings, and a relatively low R19 roofing system, excess capacity will be important to get the temps down fast enough in the summer months.
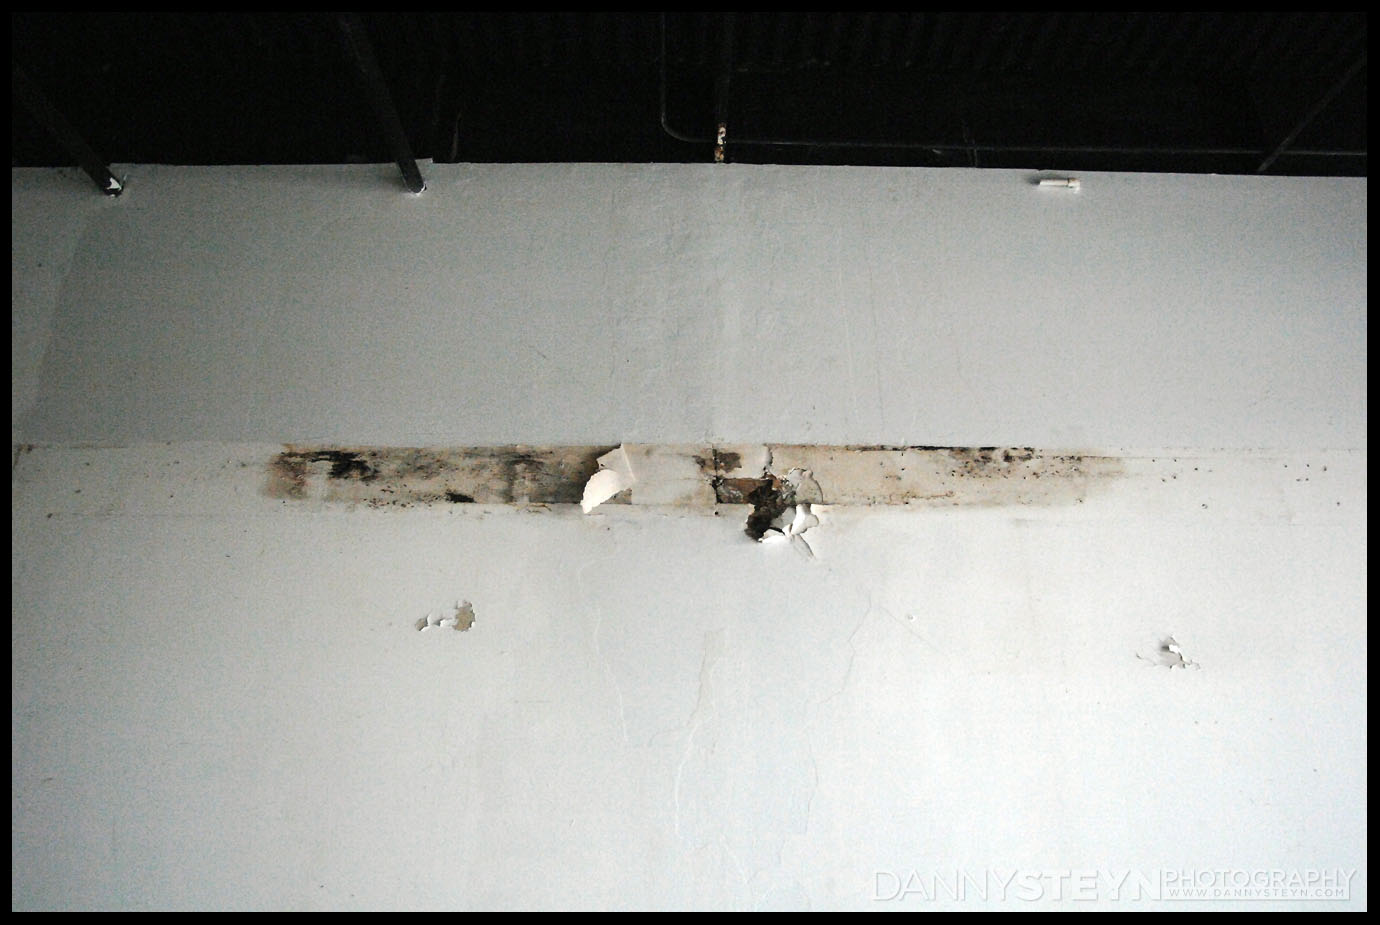
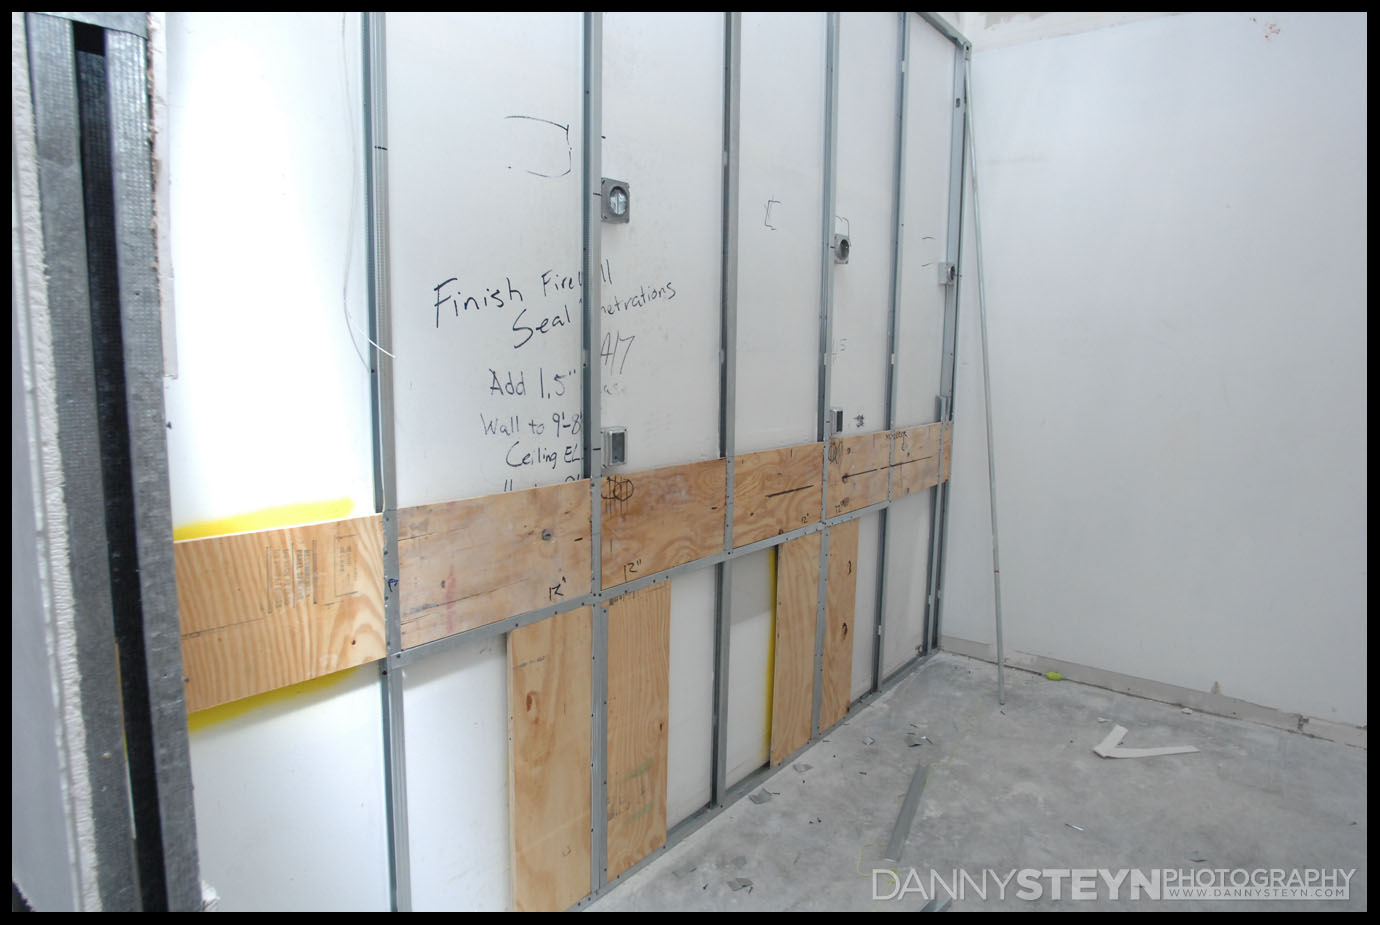
Repair a leak in the roof and wall that caused quite considerable damage to the drywall in the main studio area
Re-look at the wiring of the building. Several electrical penetrations through both the exterior walls and the interior fire walls do not meet current building code and need to be addressed
It’s also time to decide on tile treatments for the lobby and gallery areas. Fortunately Kim’s excellent taste for interior decoration will make my life so much easier.
THE FRUSTRATION
Dealing with the city building department for building permits and inspections can be a trying process. Sometimes it goes well, other times it can be a nightmare. I guess this time around ours was smack in the middle. All our drawings and permits were passed without revision, however our plans got stuck (and lost) within the building department for almost 2 weeks, delaying all progress. And delays cost money.
THE START OF THE BUILD OUT PHASE
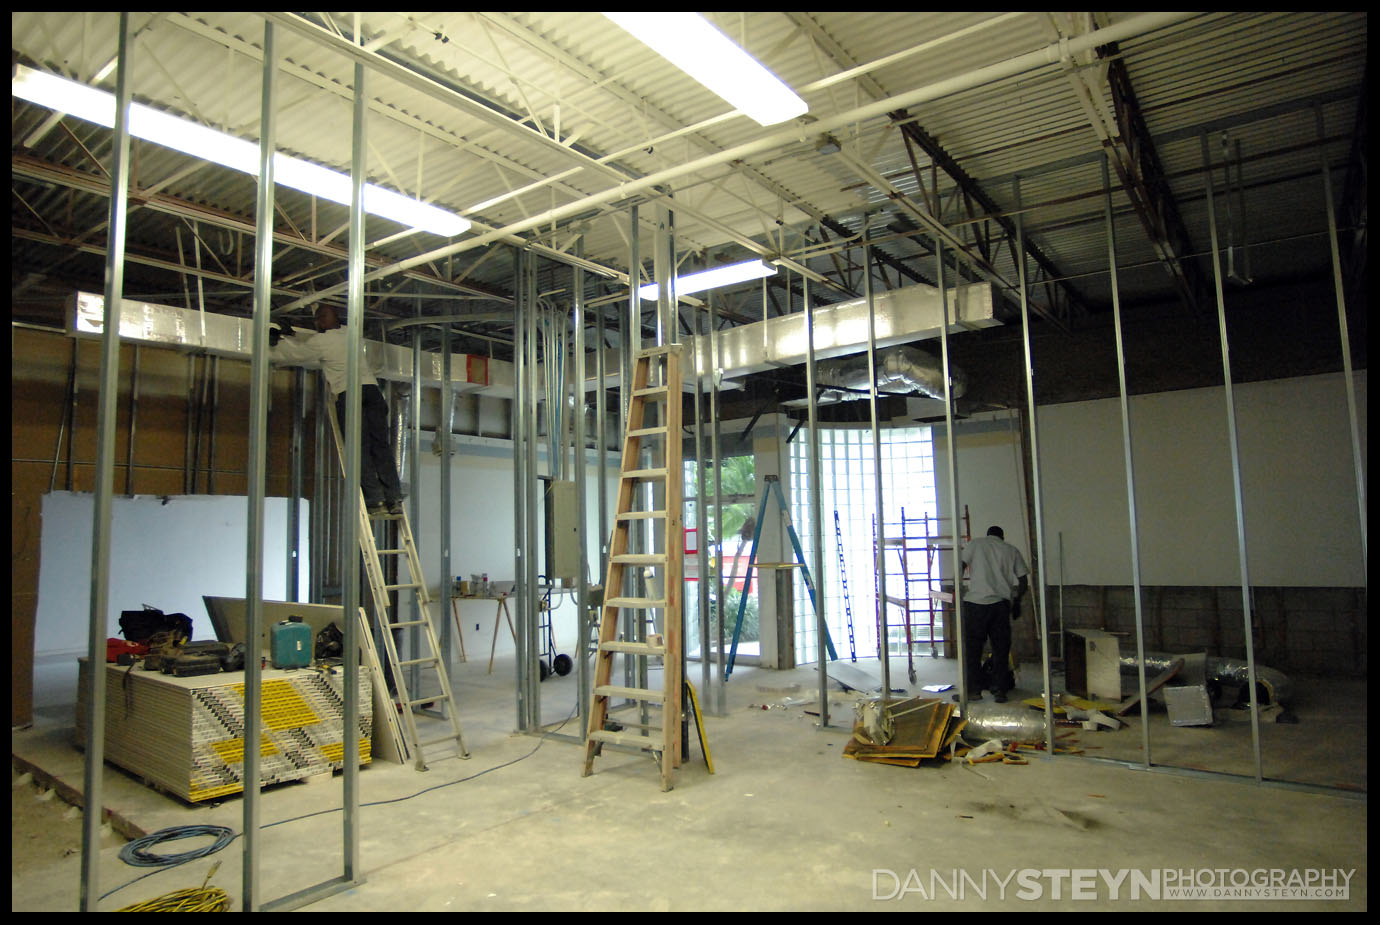
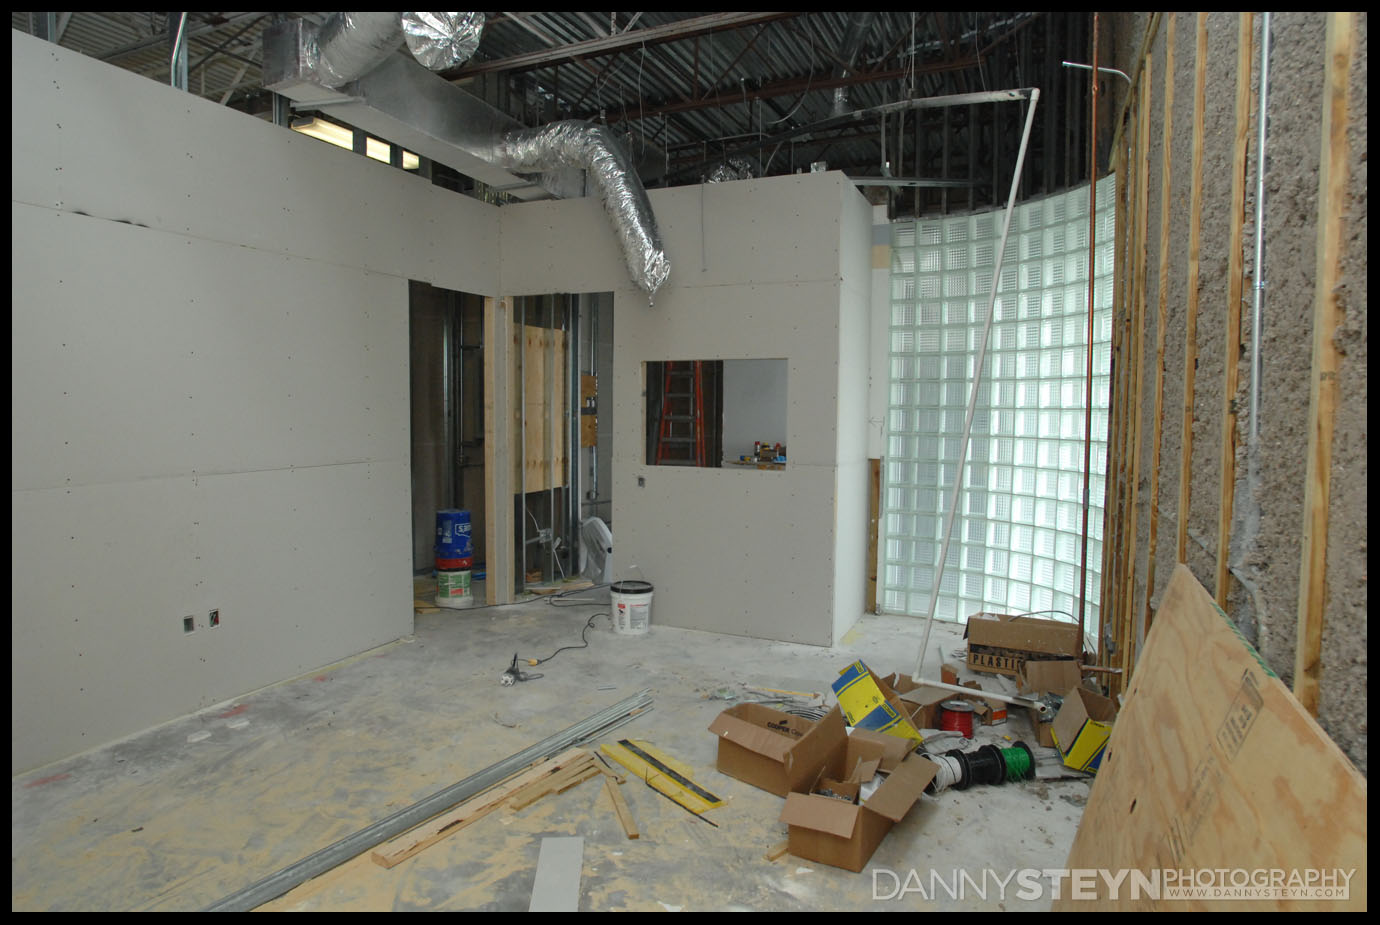
Now that we have the permits the build-out has started. Drywall framing is going up, plumbing for the new ADA bathroom and kitchen, duct work for the new AC units and more.
Despite having tried to incorporate as much pre-planning into the design of the new studio as possible, there are several changes that we have implemented through the project and sometimes construction delays give you time to reflect and rethink your strategy!
Damaged drywall due to leaking window seals that needs to be replaced in the Daylight StudioAfter removing a storage shelf we discovered this drywall rot in the Main Studio. Need to establish what is causing this.The newly discovered rot in the Main Studio drywall, still need to resolve the source of this leakThe empty main Portrait Studio with cyc wall and newly discovered leak and drywall rot!Drywall framing startsLooking from the Main Portrait studio, through the Gallery into the Prop room. Lobby to the left, new ADA bathroom to the rightLooking from the Editing Room, through the Prop Room into the Natural Light StudioFurring strips for drywall going up in the Prop Room, looking into the Natural Light StudioDrywall going up in the Editing Room, window and door to Lobby, door to Prop Room and Server stationPlywood bracing for wall cabinets in the Prop Room. Dedicated AC ducting for server in Server EnclavePlywood bracing for makeup counter in the Makeup Room. One full width mirror with lighting for 3 stations and outlets for hairdryers, curling tongs etc.Plywood bracing for large HD 4K TV Monitor in the Lobby.
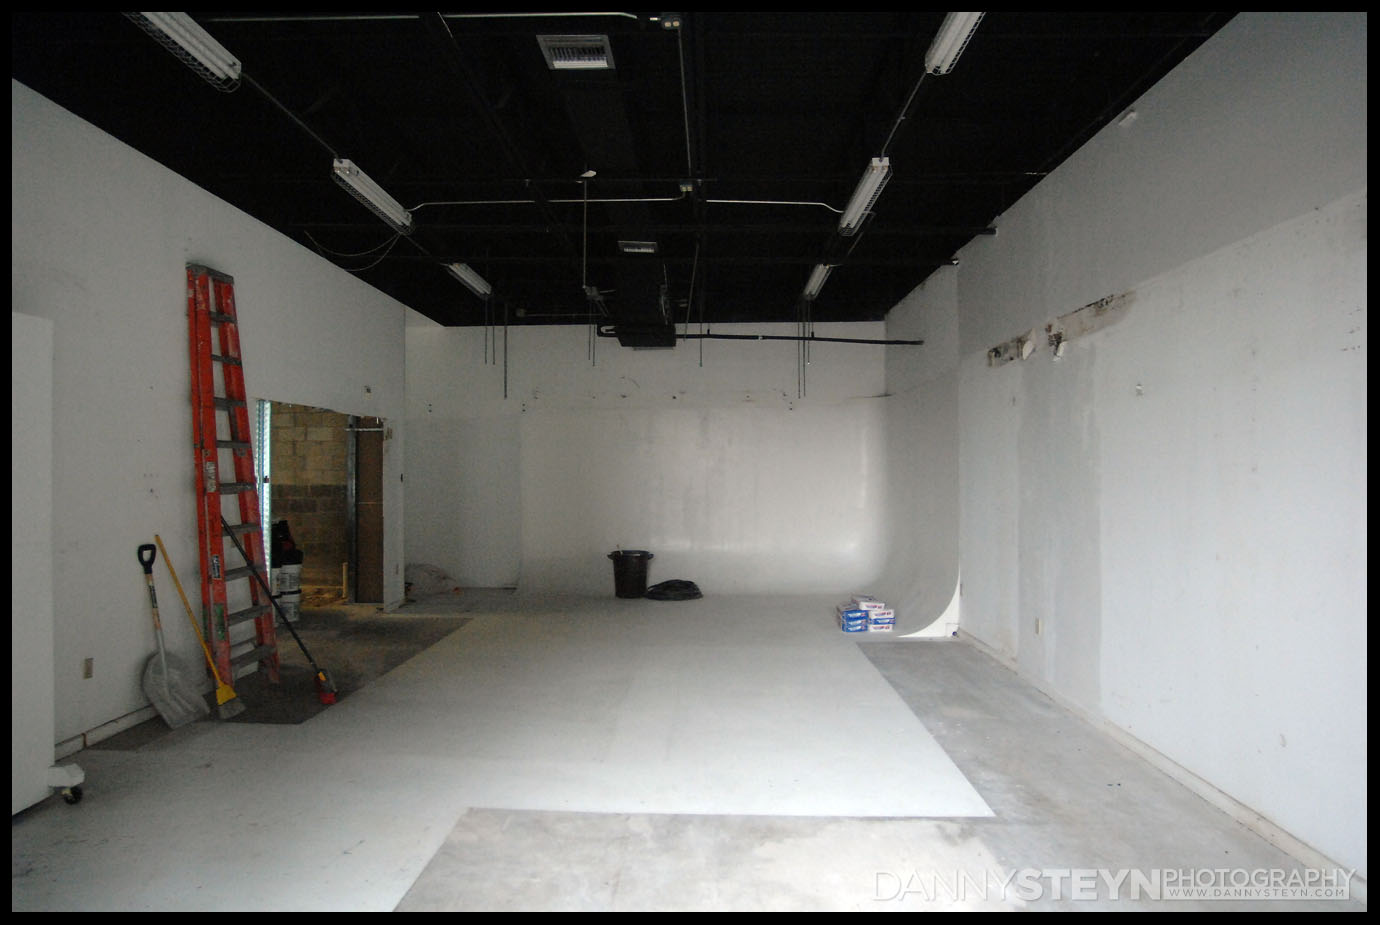
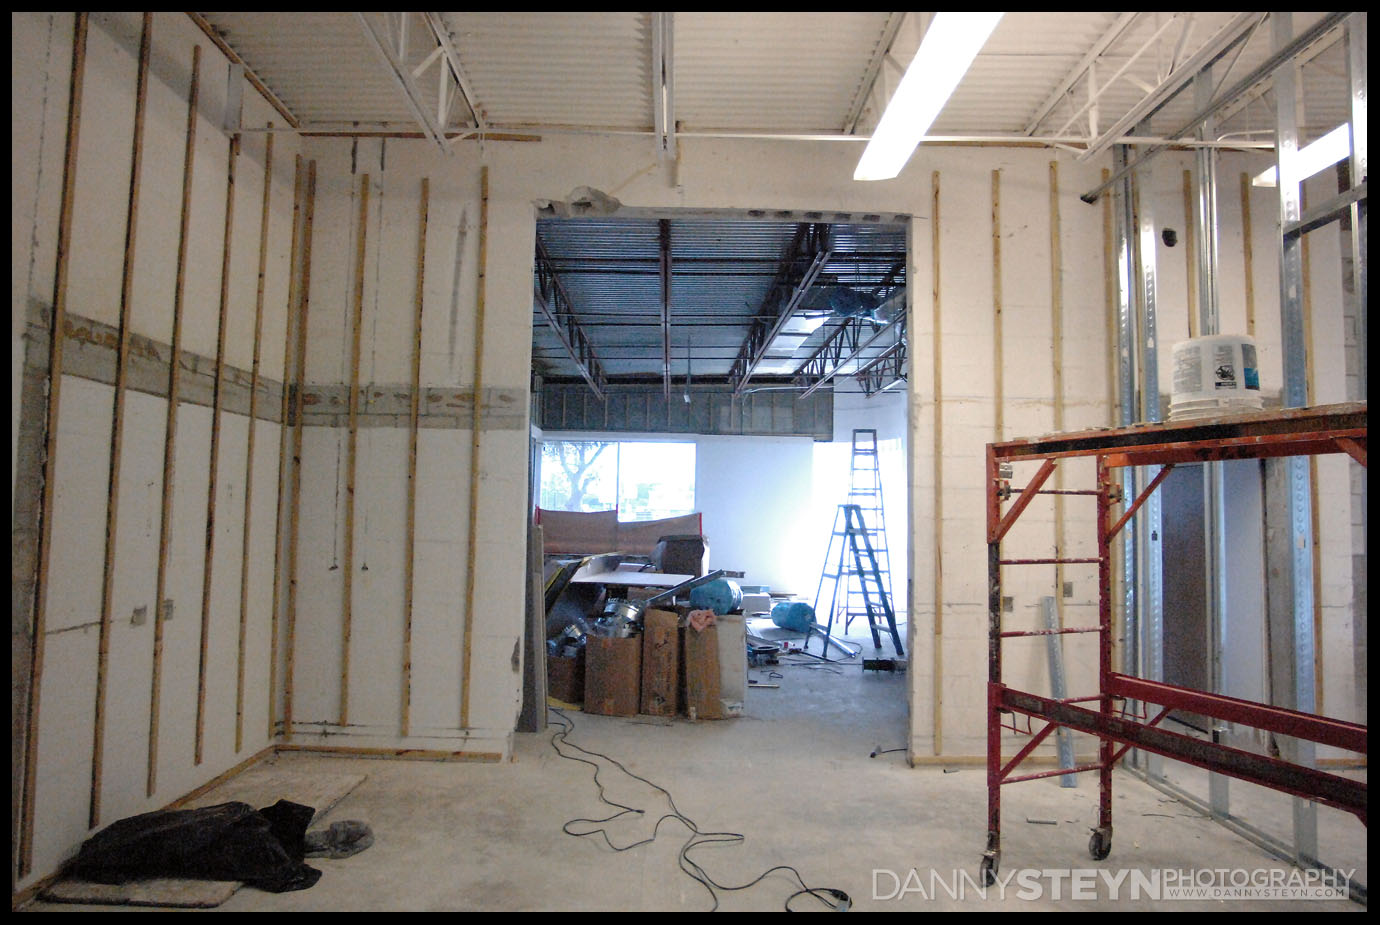
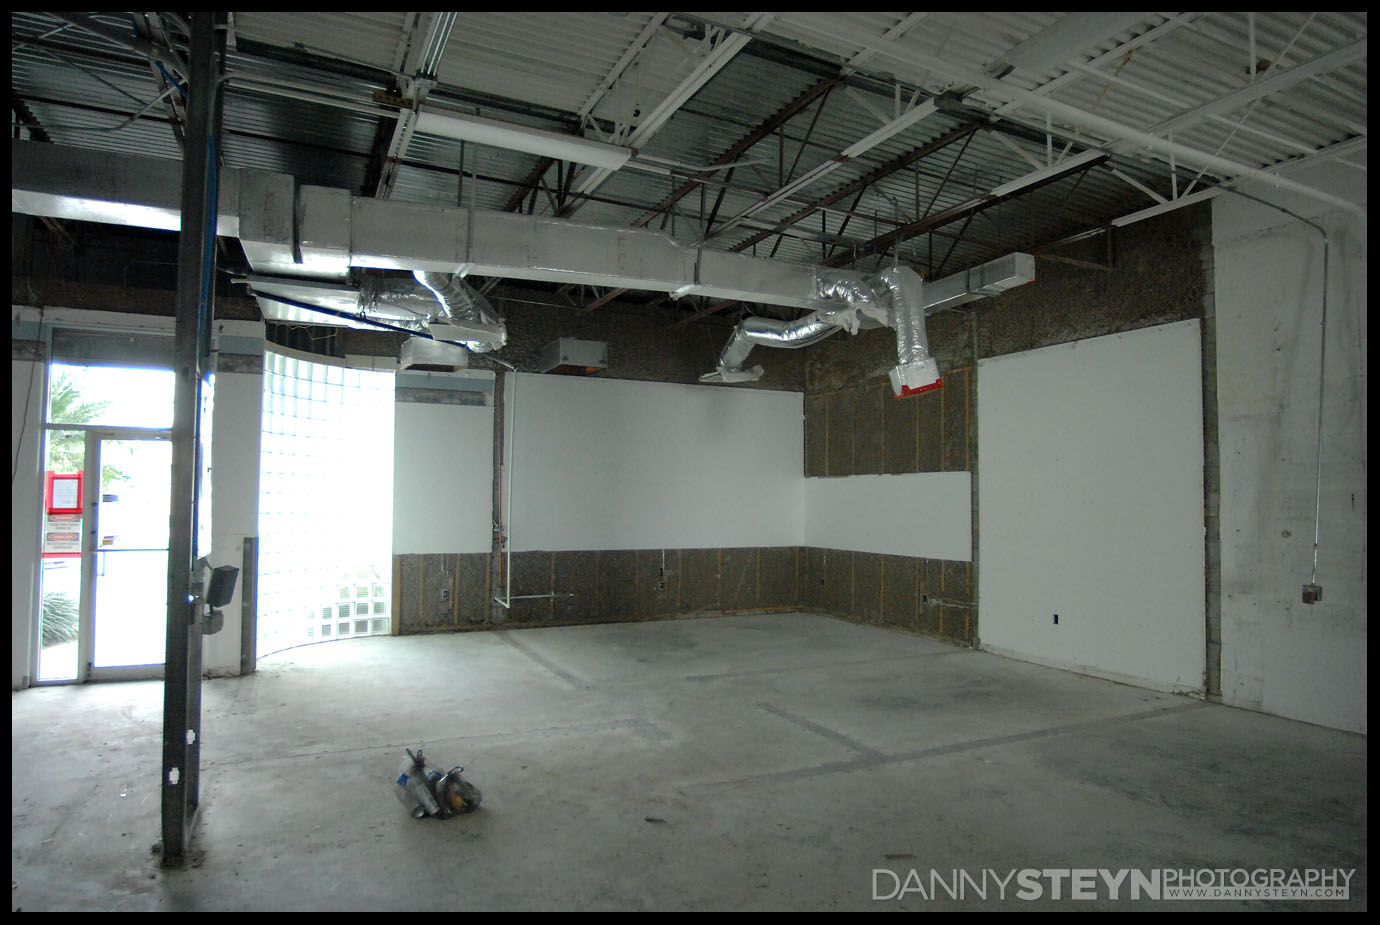
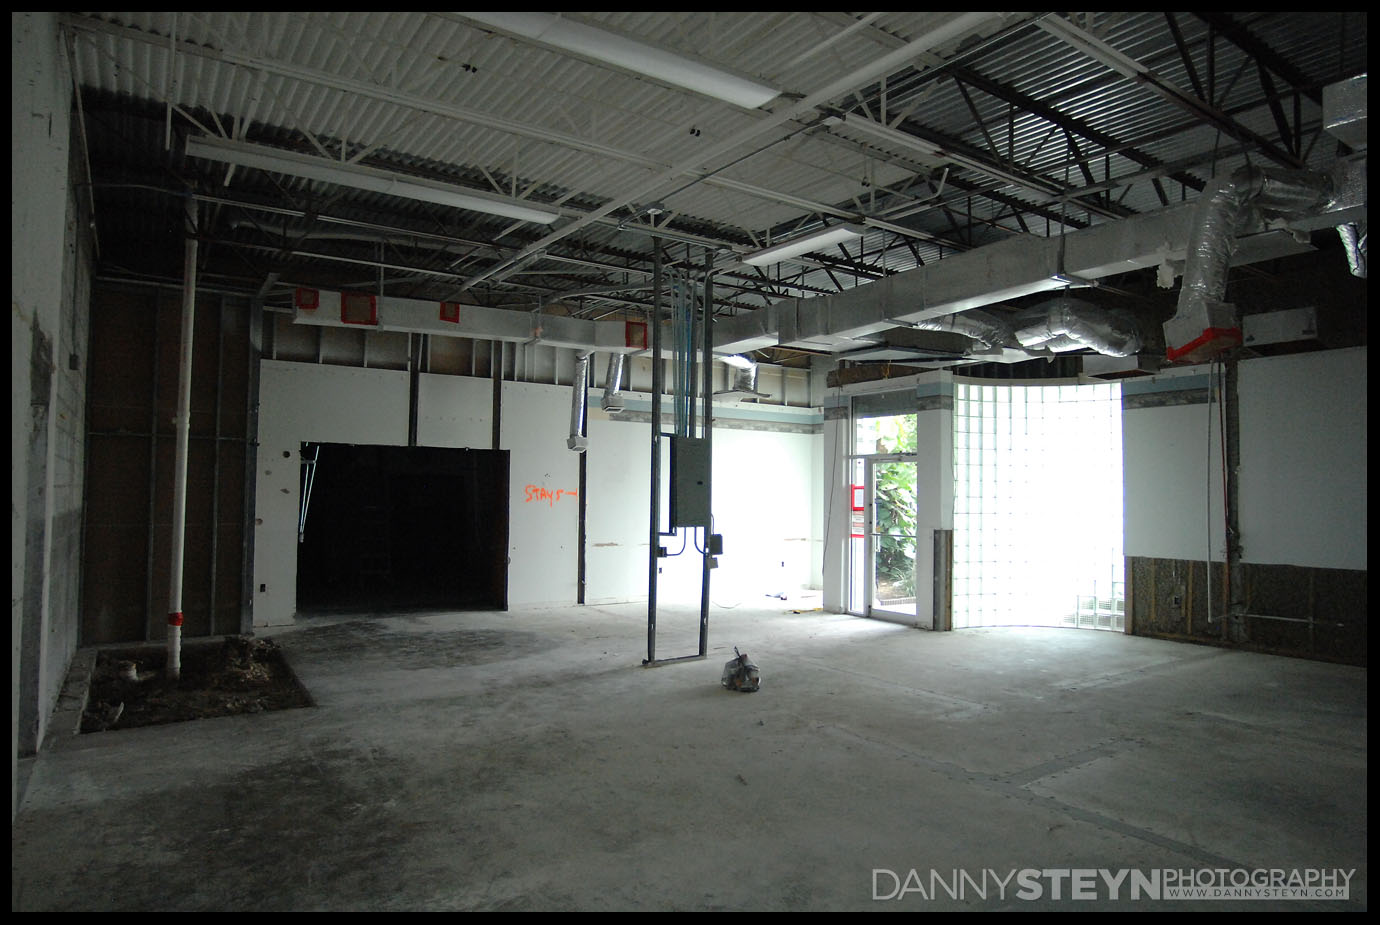
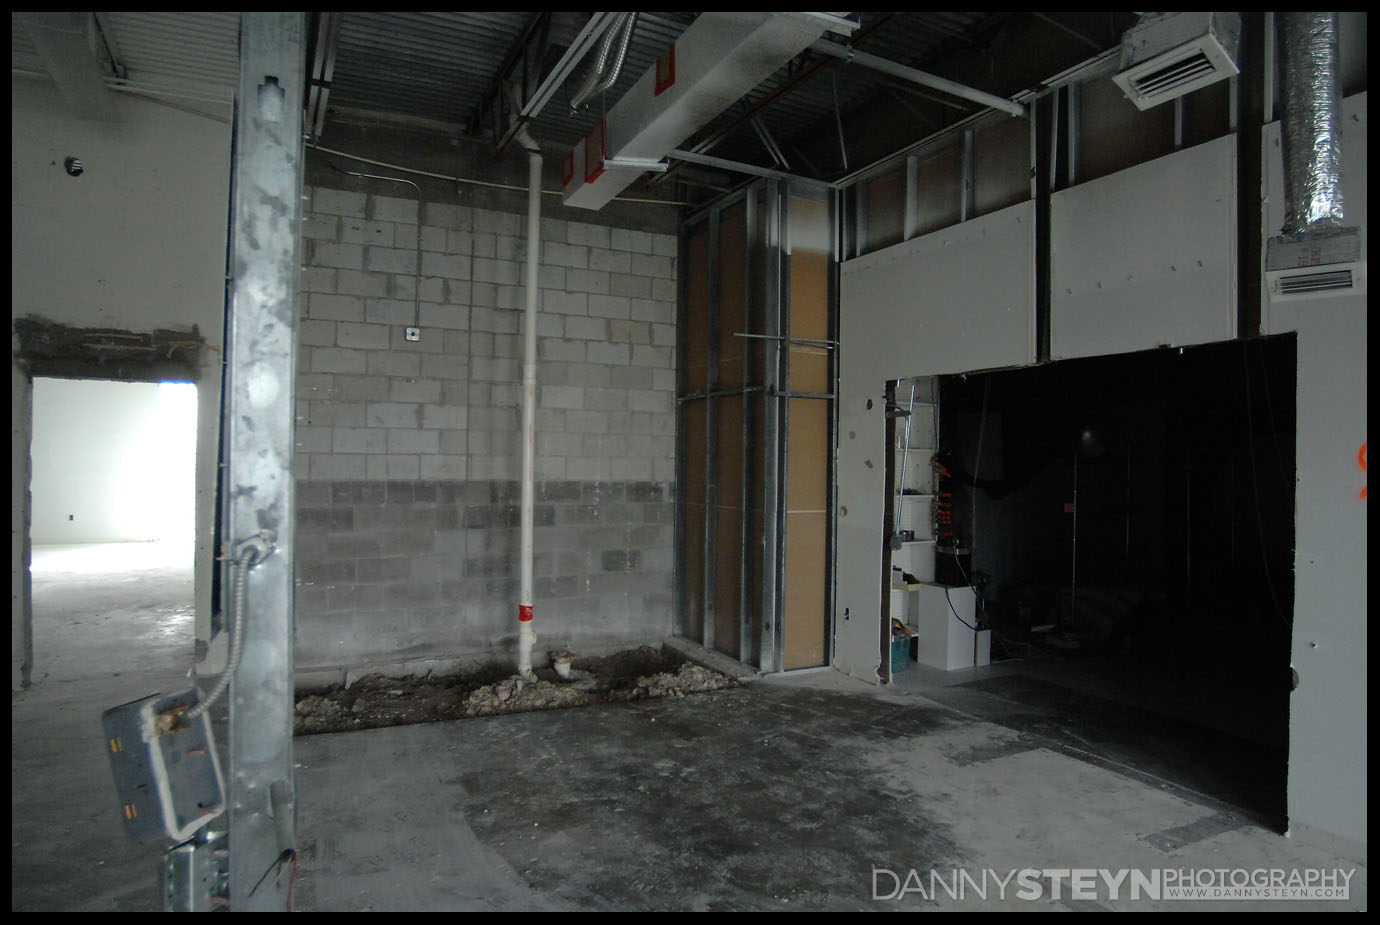
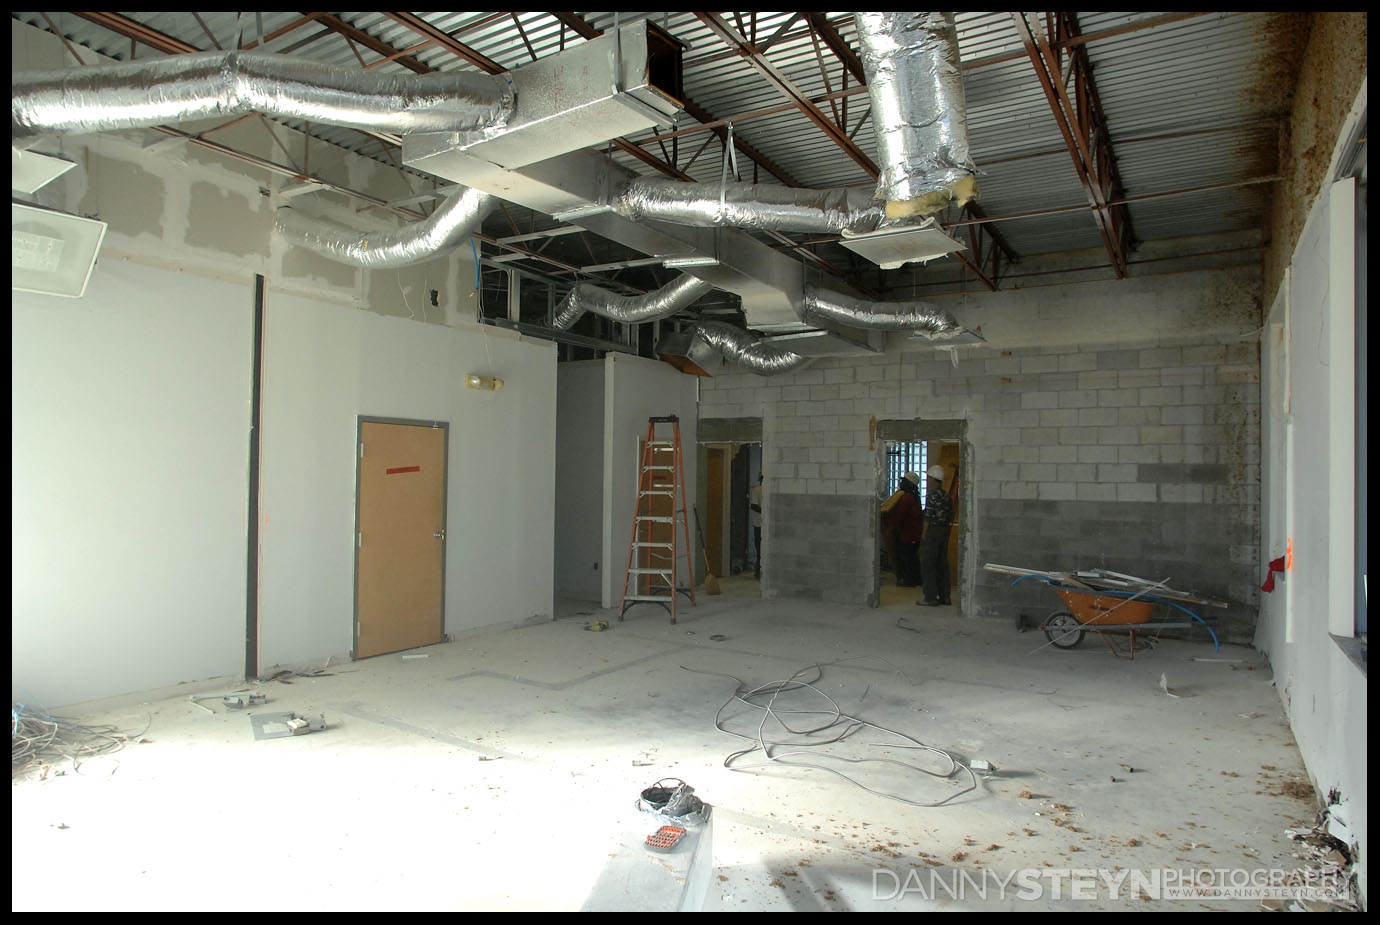
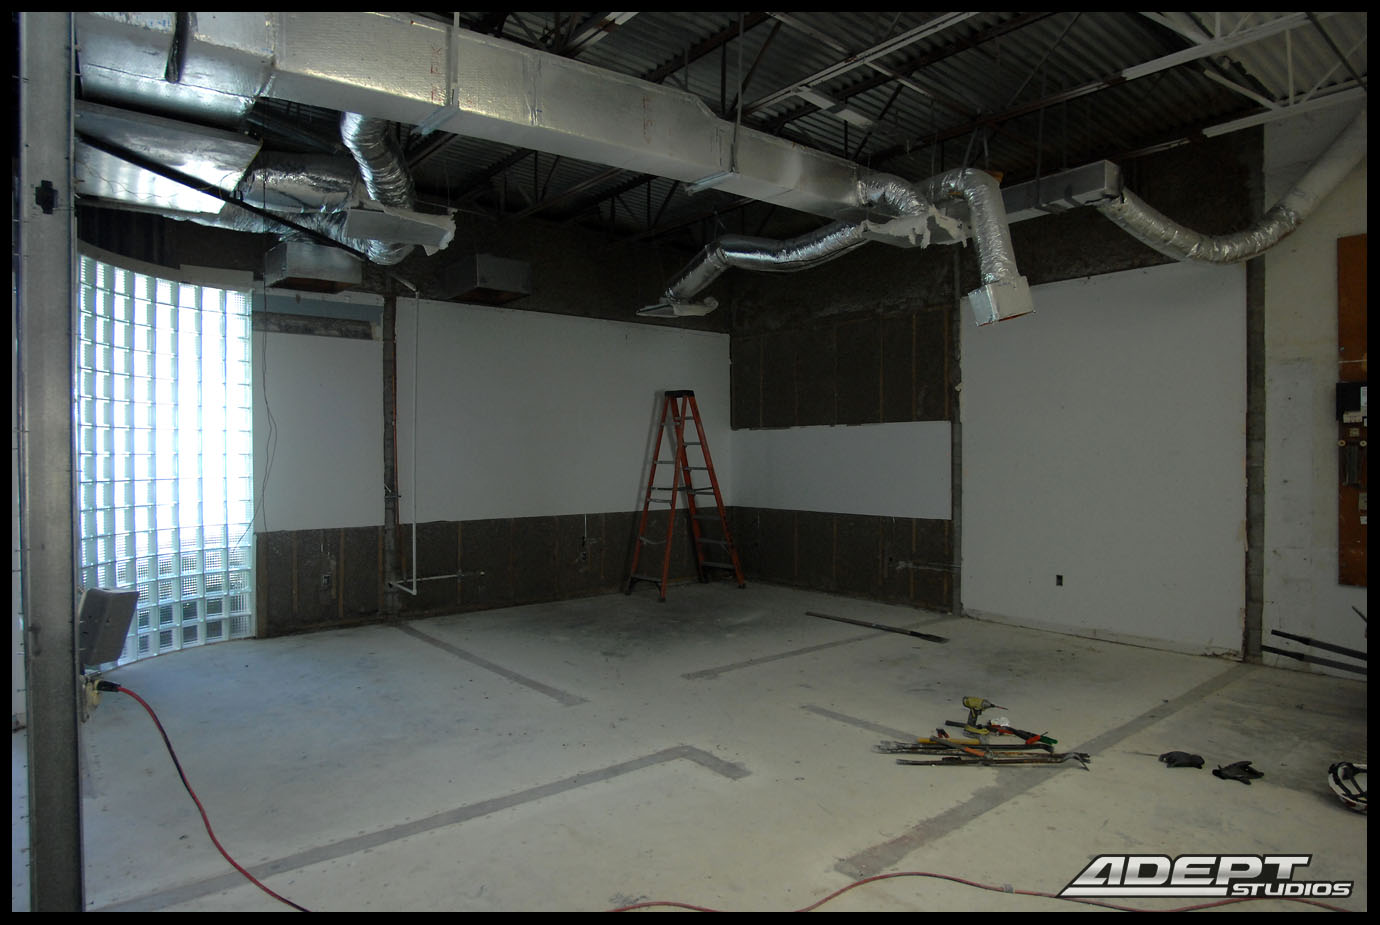
Now that the demo is complete the empty structure looks so full of potential. While we love the idea of on large completely open shooting space, the reality is that we are able to get more out of the studio with two separate shooting spaces and a prop room that services them both.
So, for now, we are enjoying the wide open space as it will soon be framed out in our new layout.
Front entrance to the left – the glass brick wall will add daylight to the editing roomFront entrance, lobby, new bathroom and entry to the portrait studio visible in this empty spaceDaylight studio, looking towards the prop room and front entranceLooking from the editing room, through the prop room into the daylight studioThe new ADA bathroom required cutting the concrete to re-position the drain lines
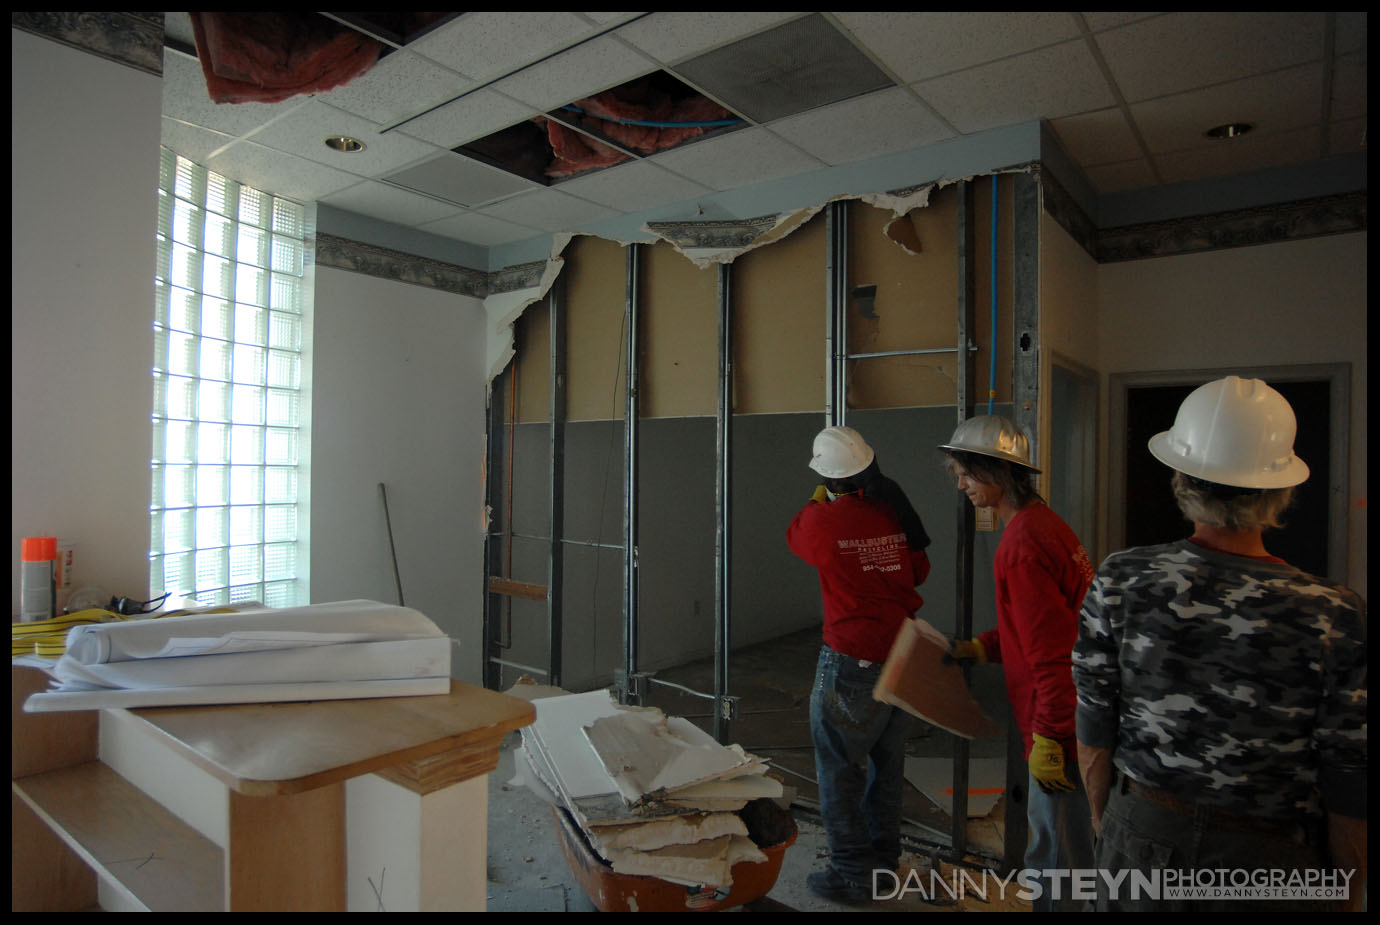
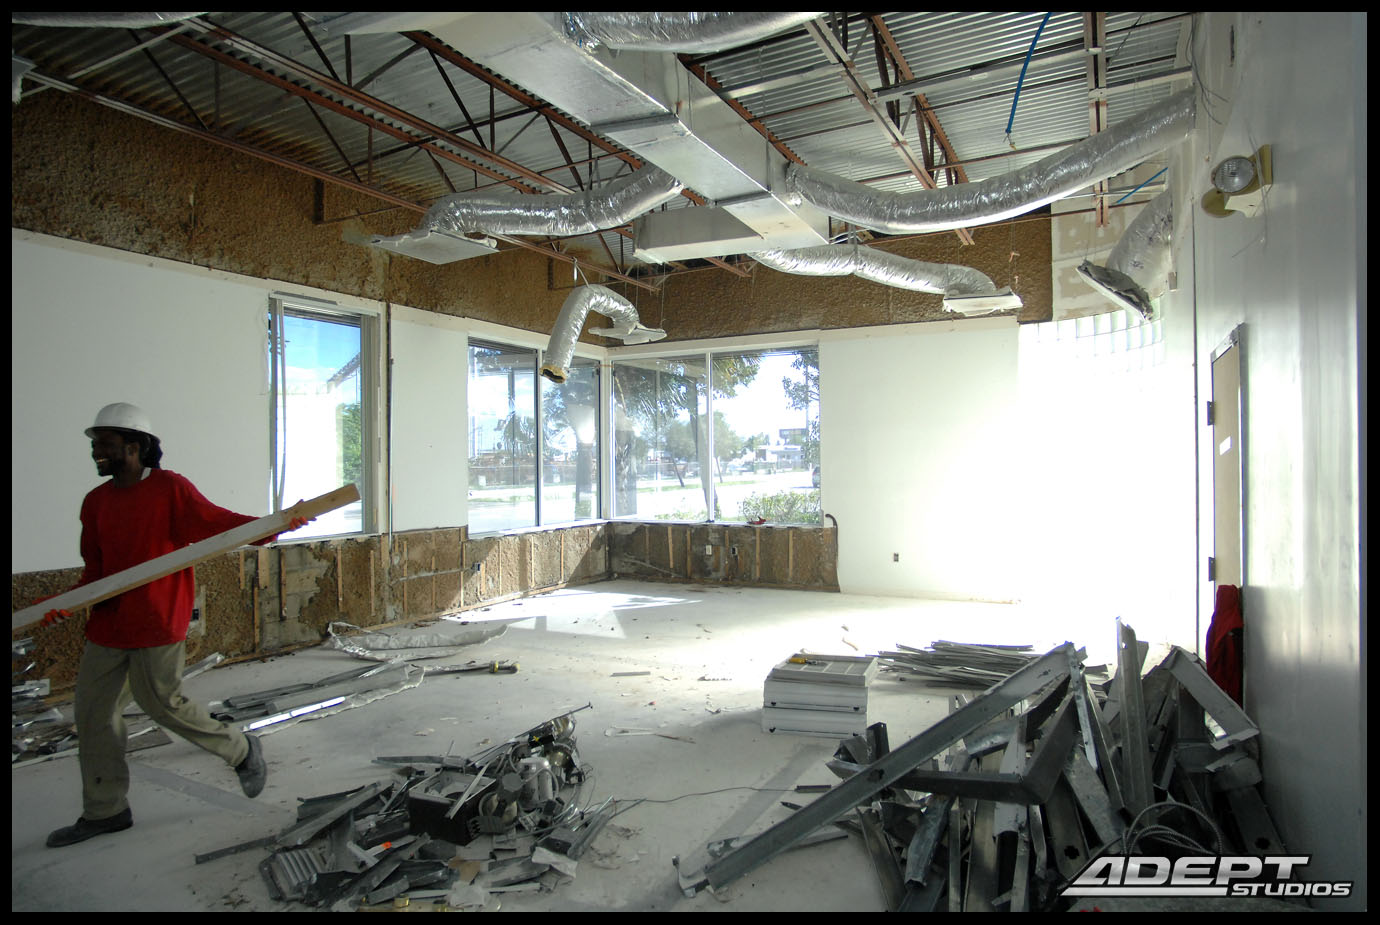
The demo team had three days to knock down all the interior dry walls, remove all the ceiling panels, old electrical wiring, demo two of the bathrooms and open up the concrete block dividing wall to allow for moving large props between studios. Also there was an old silver halide recovery shelter outside that had to come out – talk about photography from another era!
We stood back and watched them work. Brian and I continued to shoot and work at our existing studio and we took turns to visit the new studio and record the demo process under way.
DEMO PROJECT – DAY 1
Progress photos from Demo Day 1
Studio demo – day 1. Photography studio construction project photosStudio demo – day 1. Photography studio construction project photos
Studio demo – day 1. Photography studio construction project photosStudio demo – day 1. Photography studio construction project photosStudio demo – day 1. Photography studio construction project photos
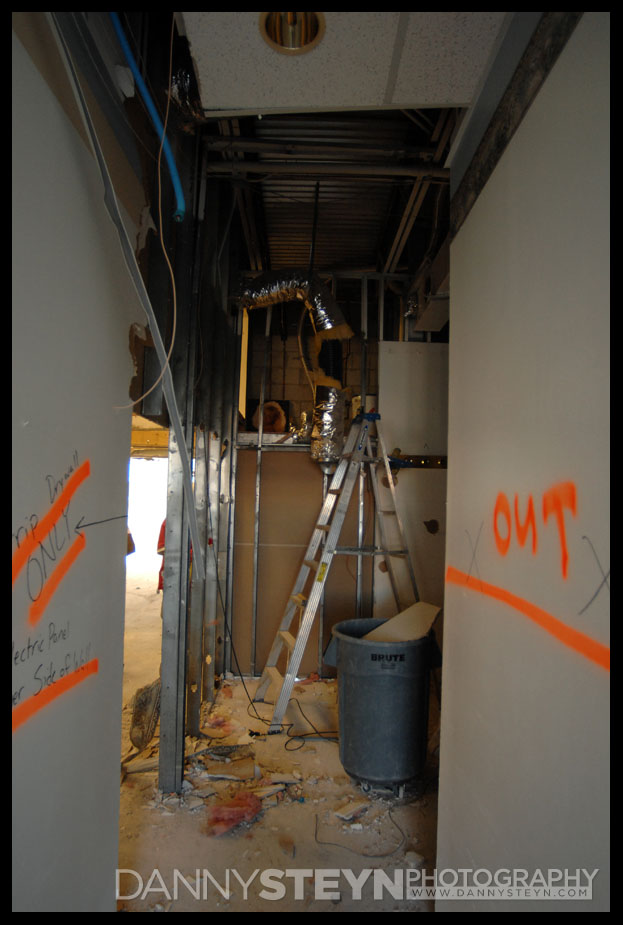
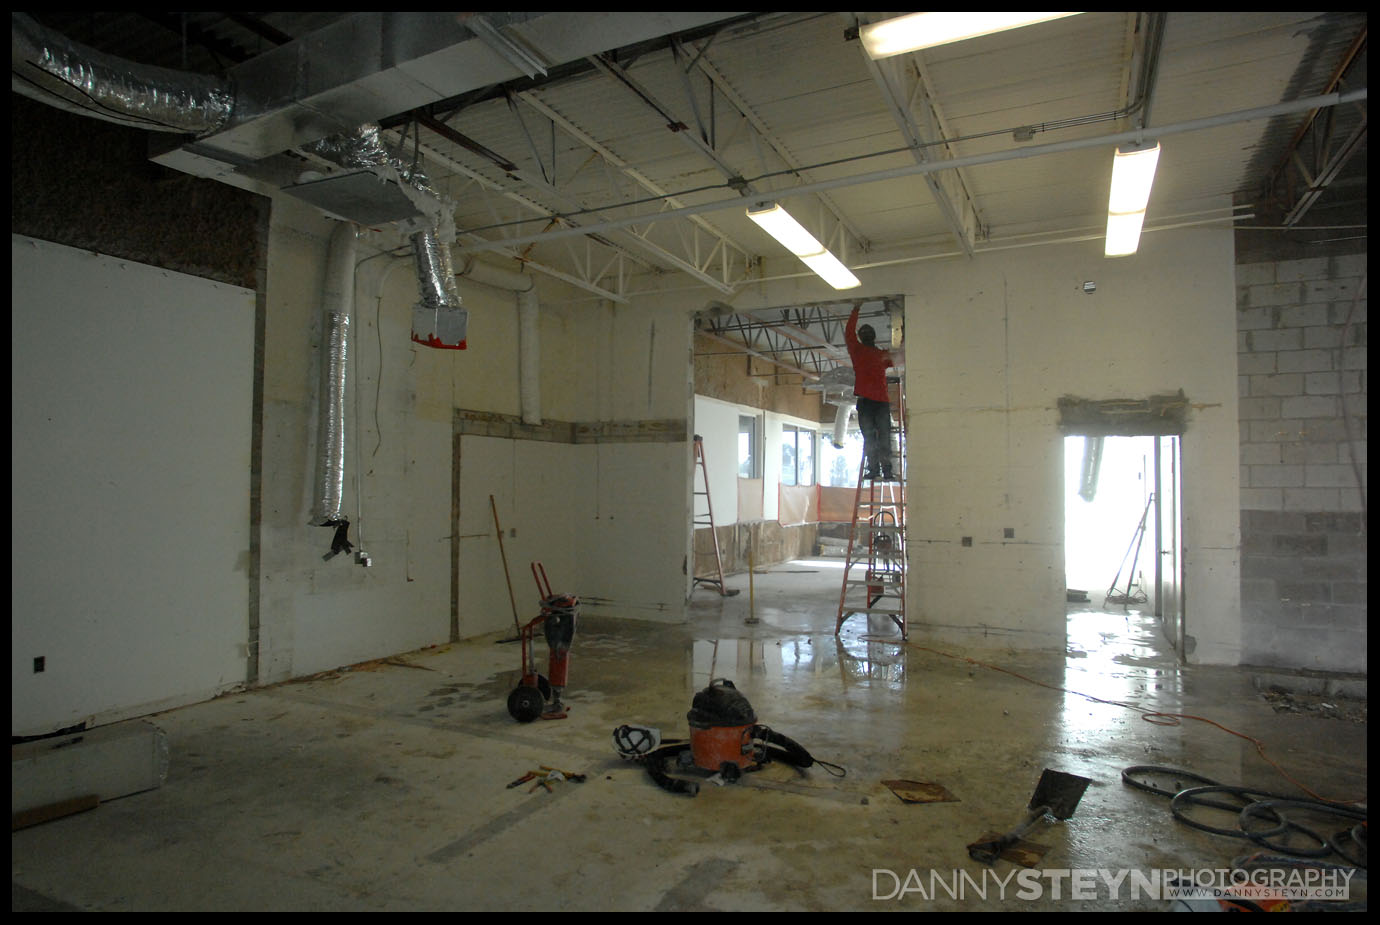
DEMO PROJECT – DAY 2
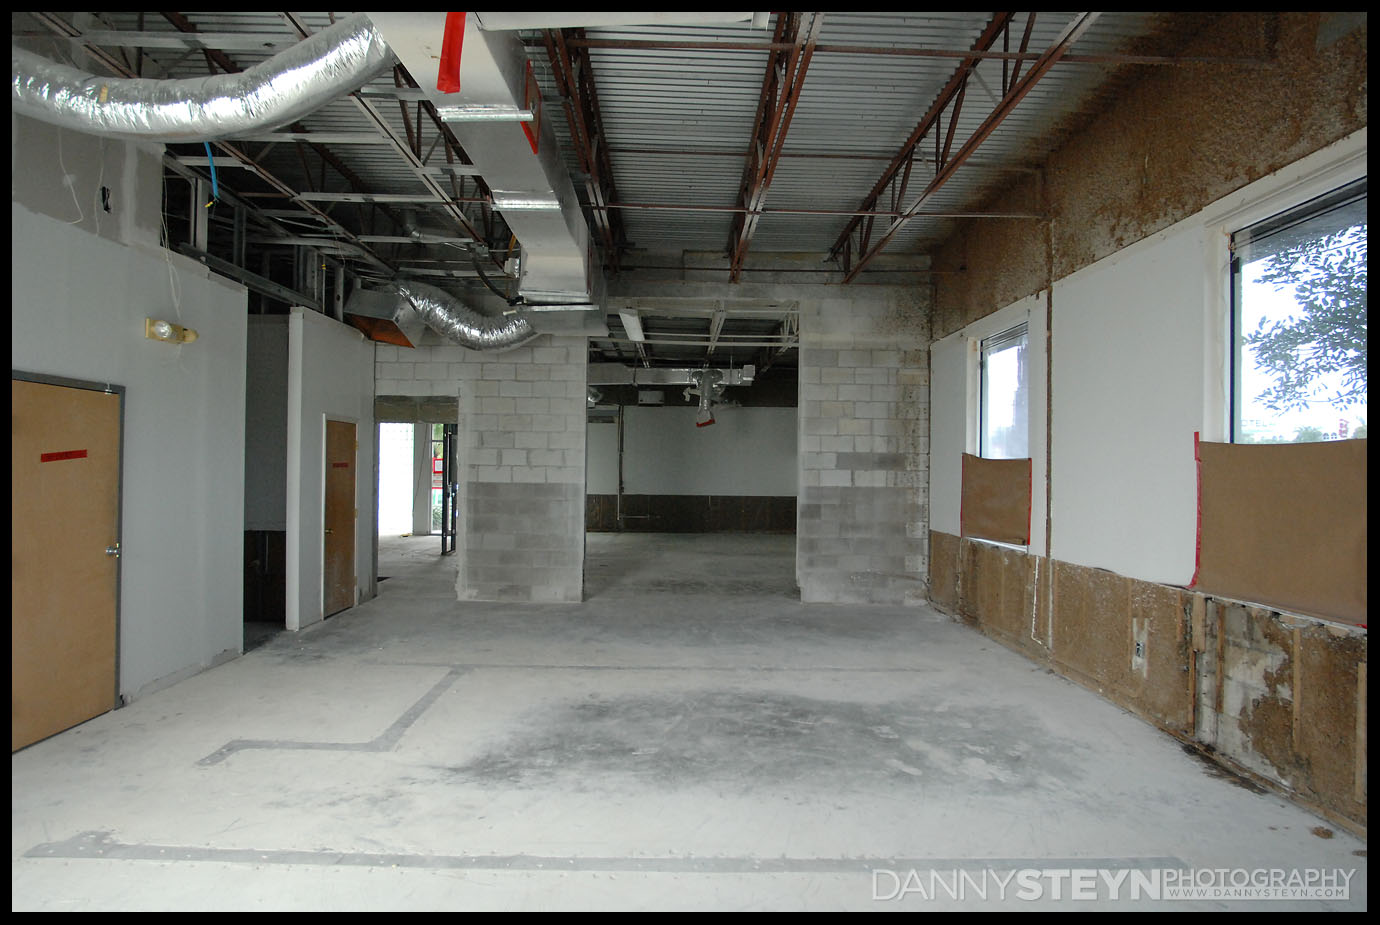
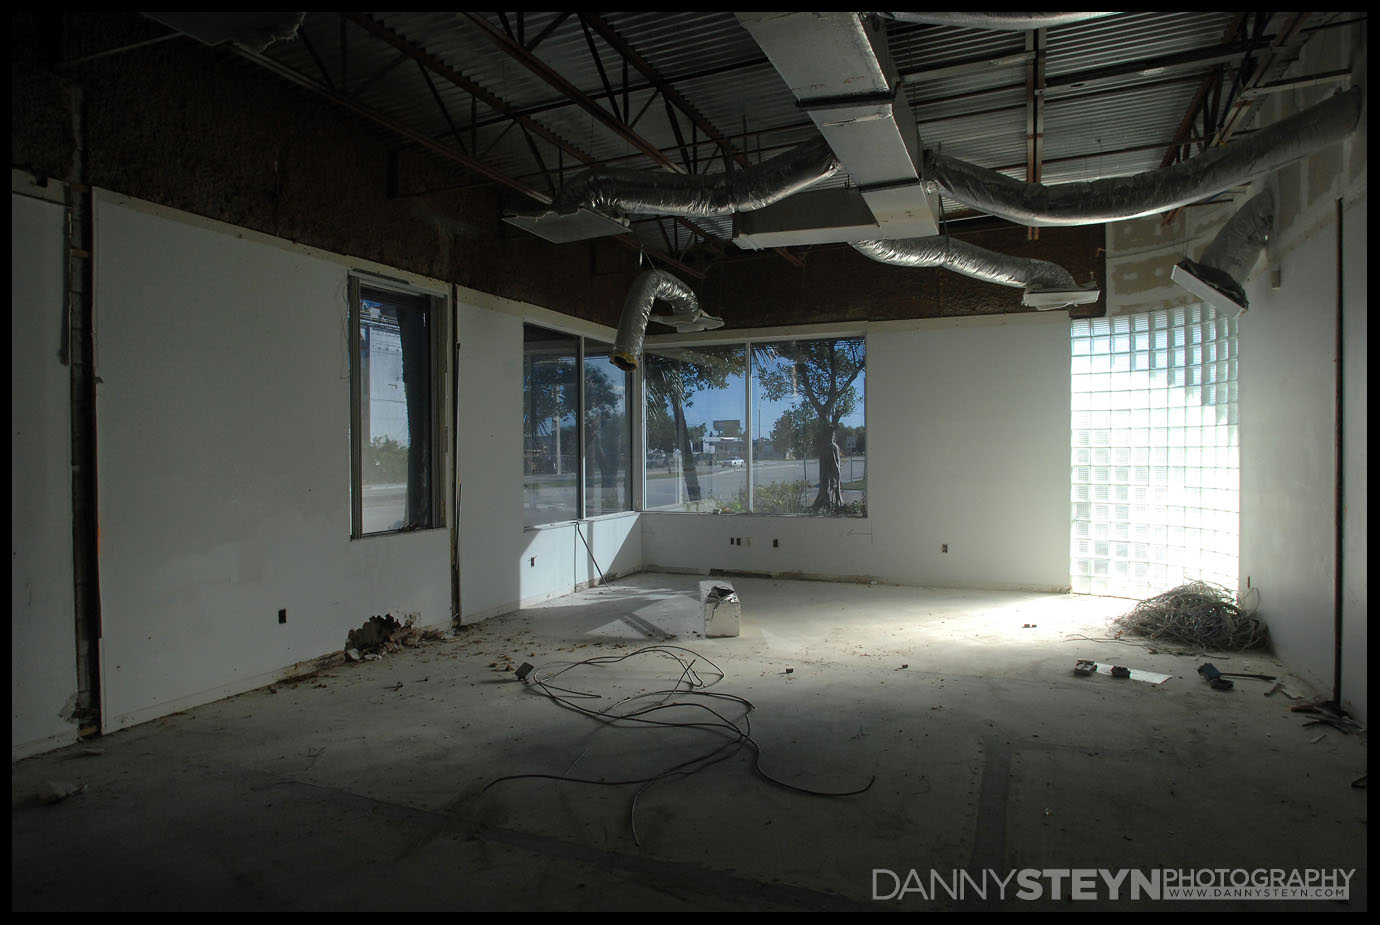
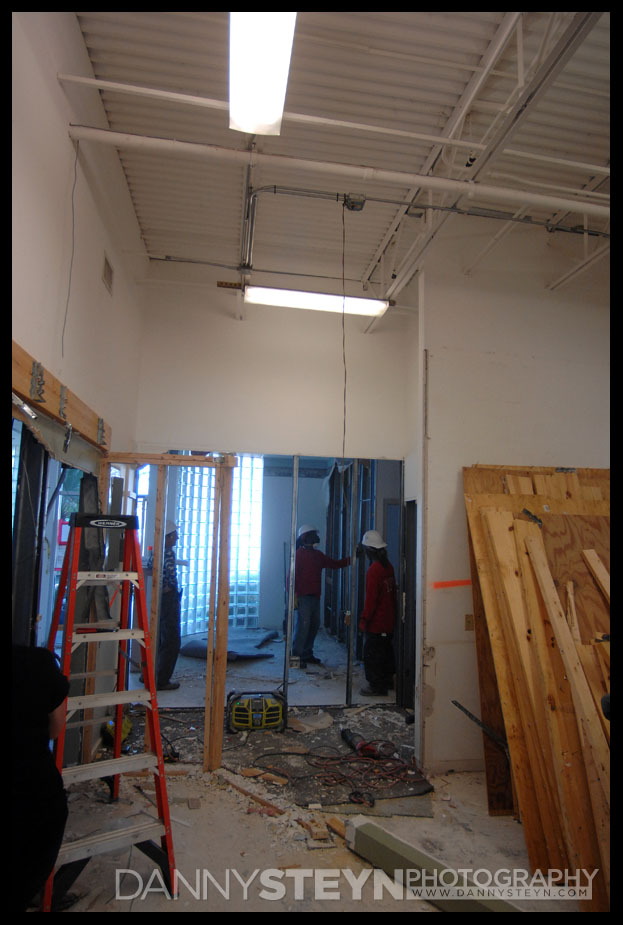
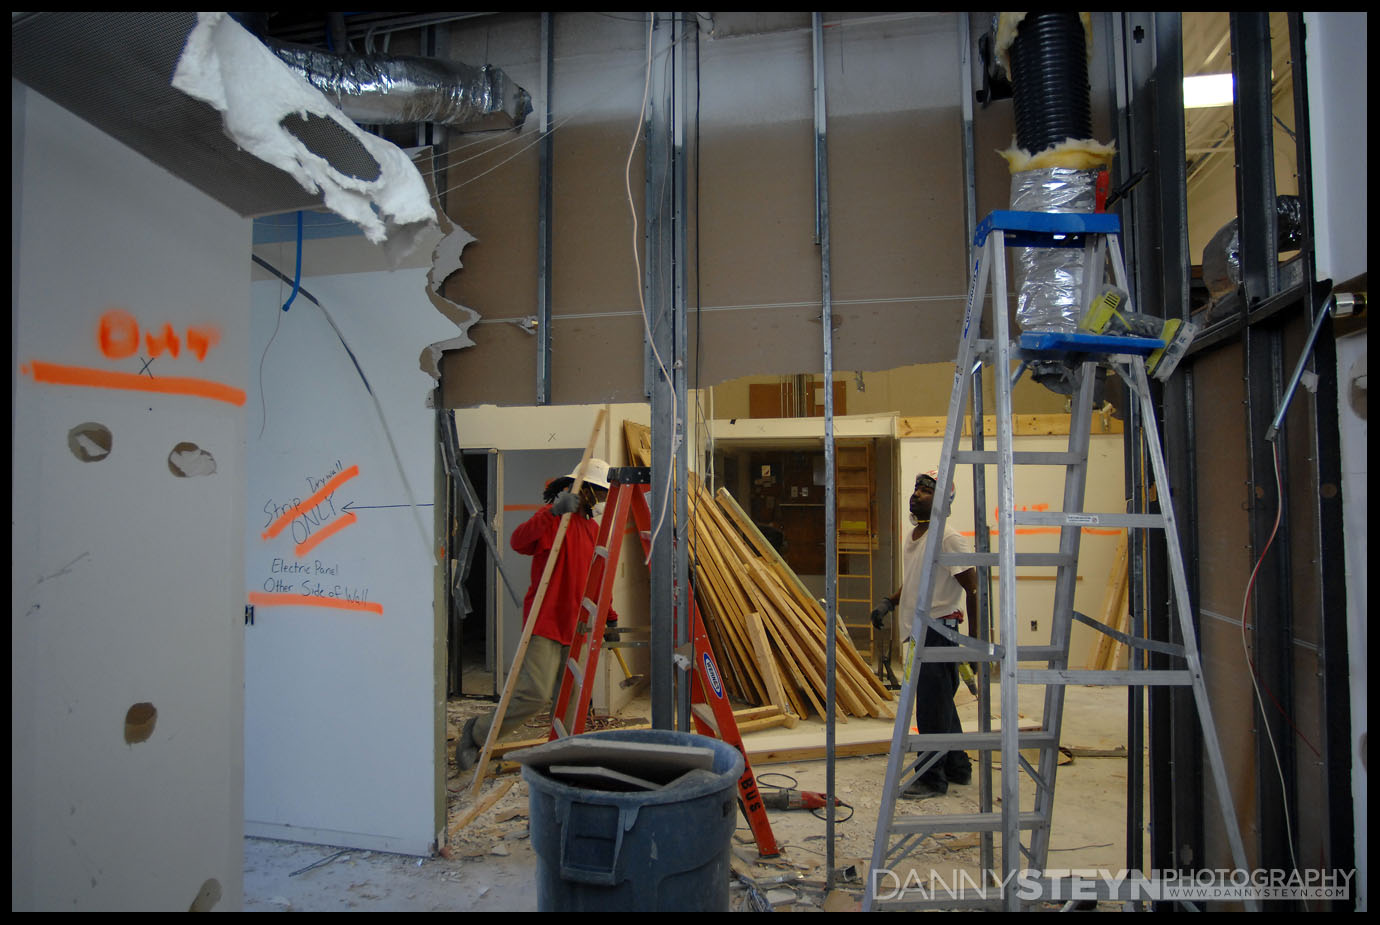
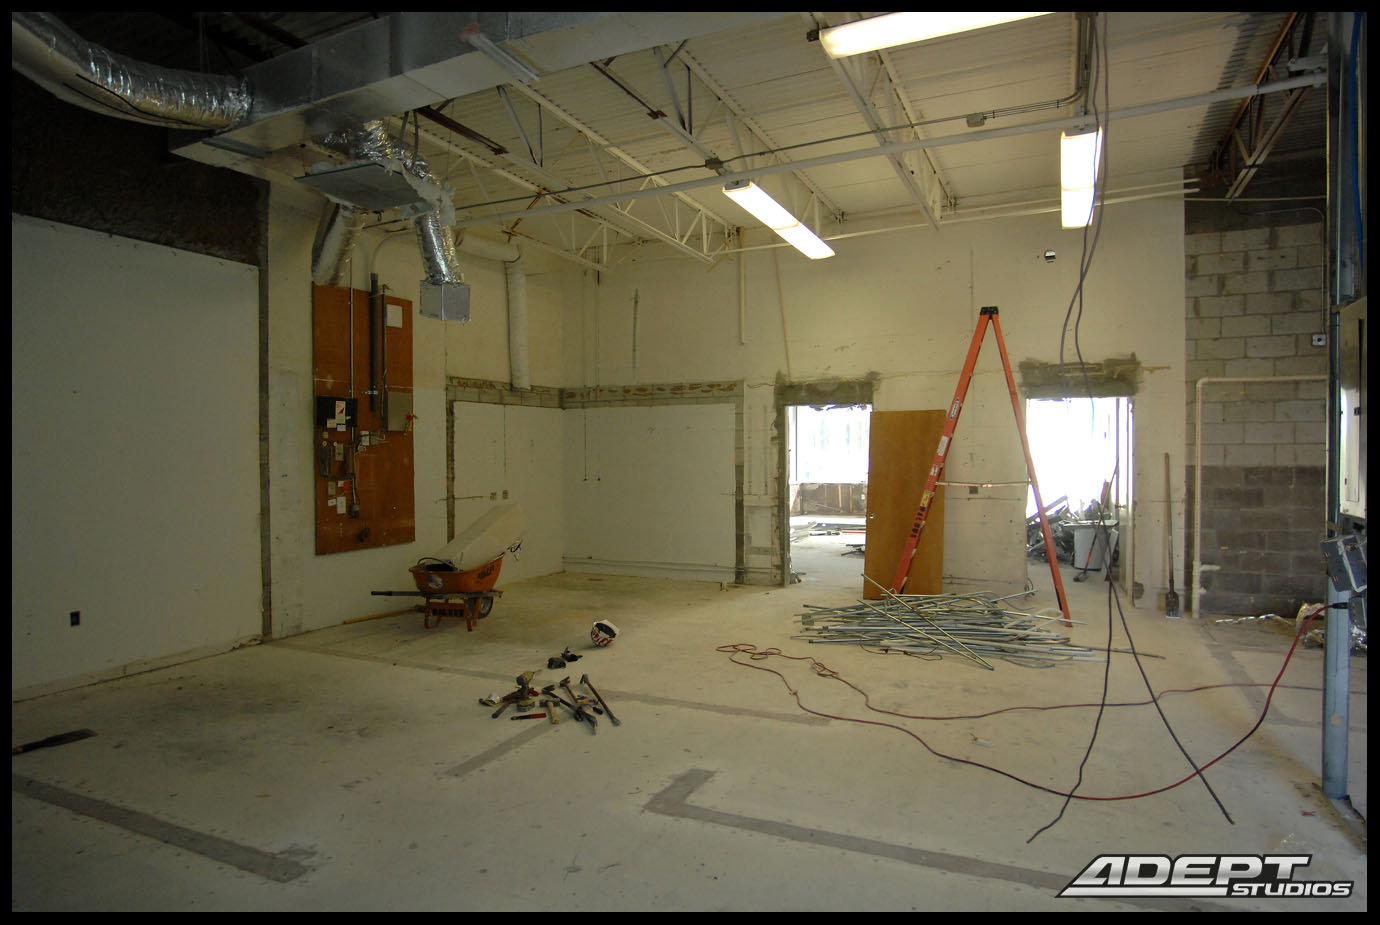
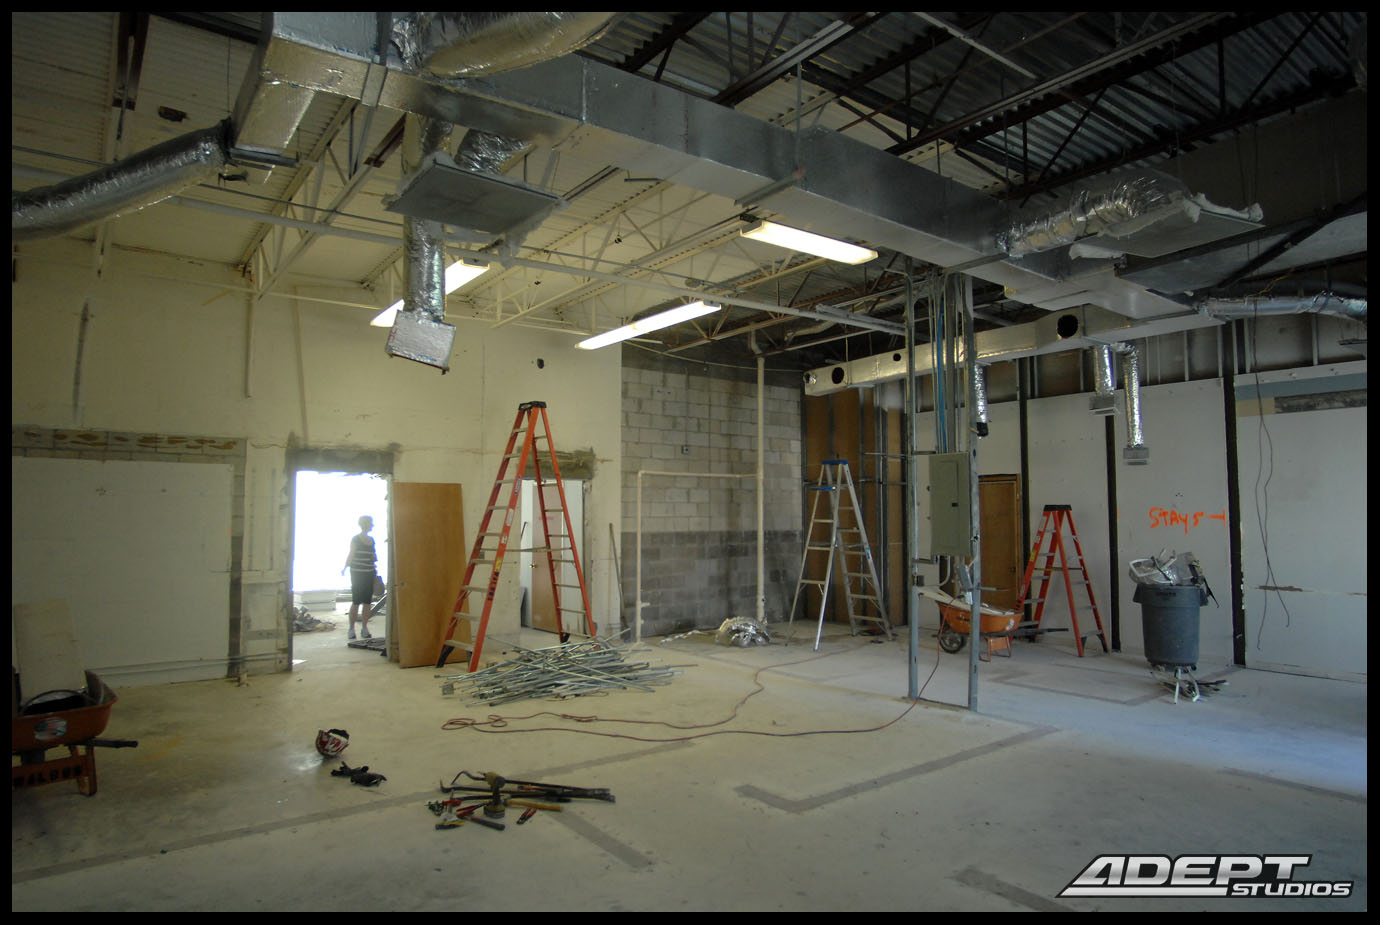
Progress photos from Demo Day 2. Finally the space and potential of the building is being revealed, and the natural light studio area is looking amazing. Exciting to see this materialize as we had envisioned it.
Studio demo – day 2. Photography studio construction project photosStudio demo – day 2. Photography studio construction project photosStudio demo – day 2. Photography studio construction project photosStudio demo – day 2. Photography studio construction project photosStudio demo – day 2. Photography studio construction project photosStudio demo – day 2. Photography studio construction project photos
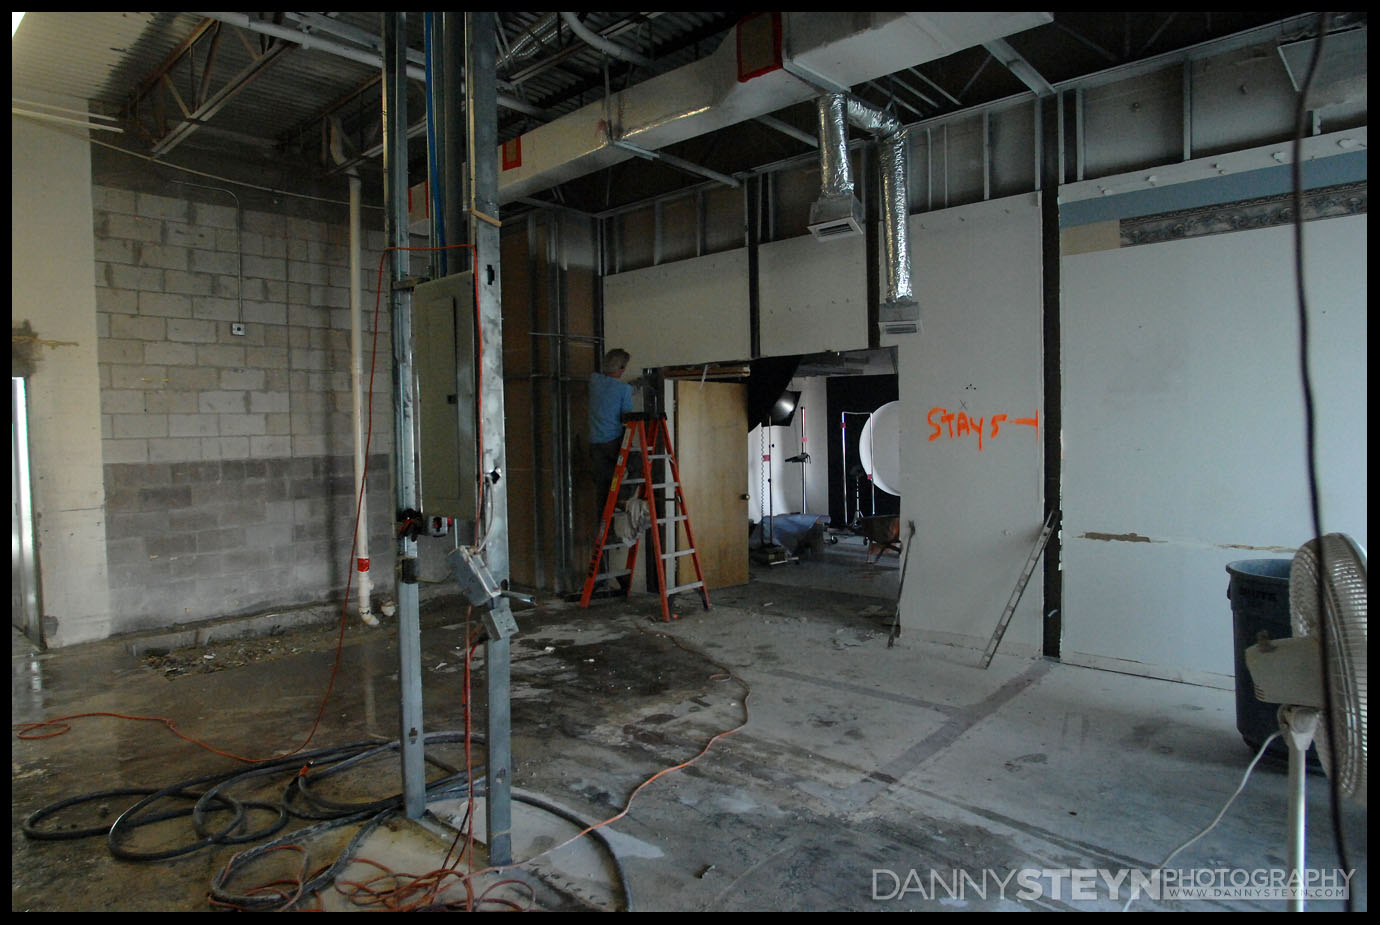
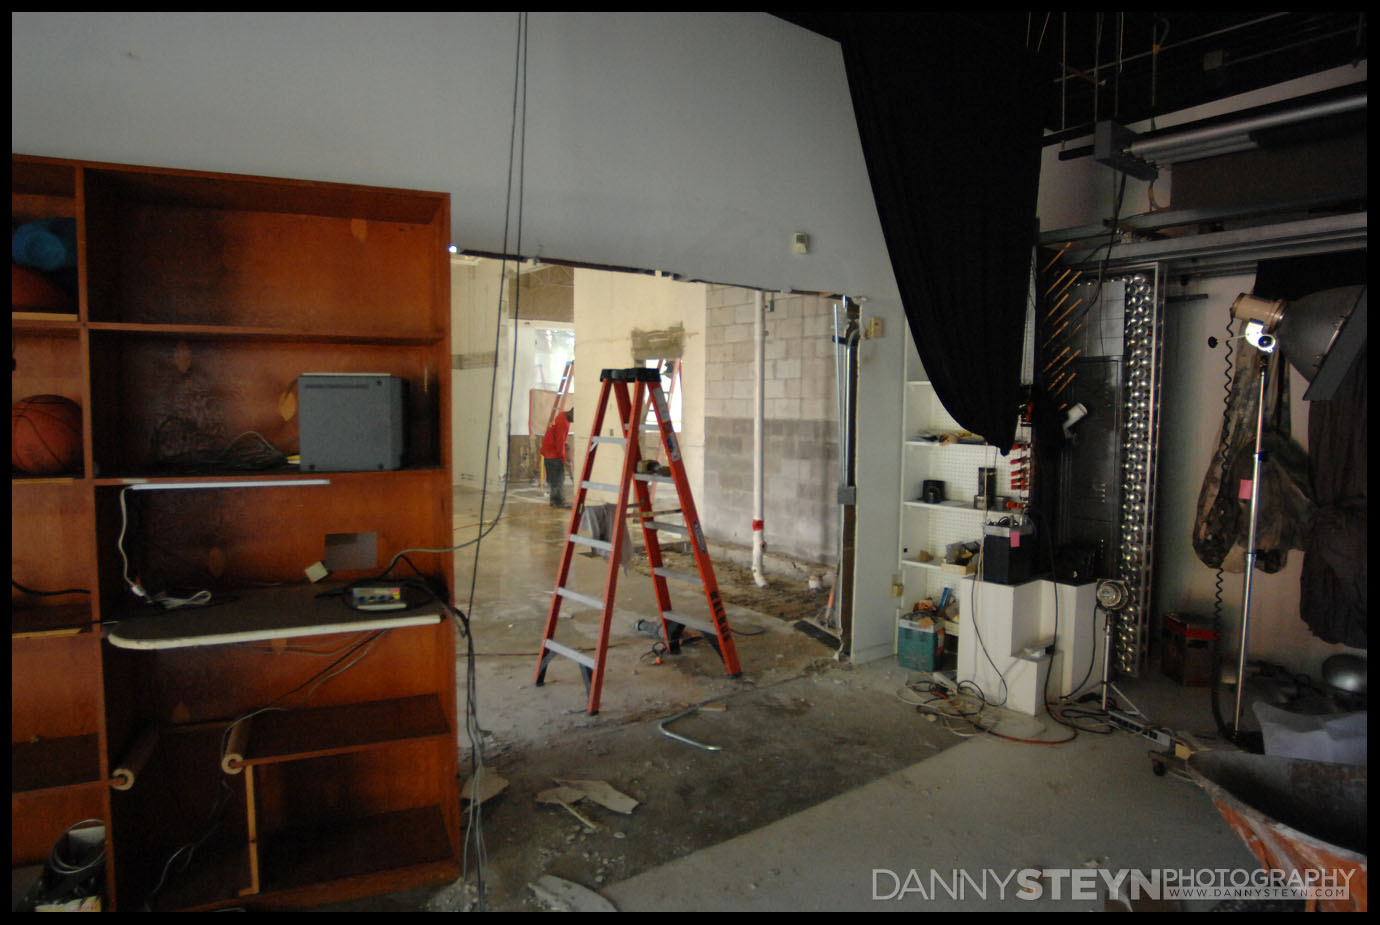
DEMO PROJECT – DAY 3
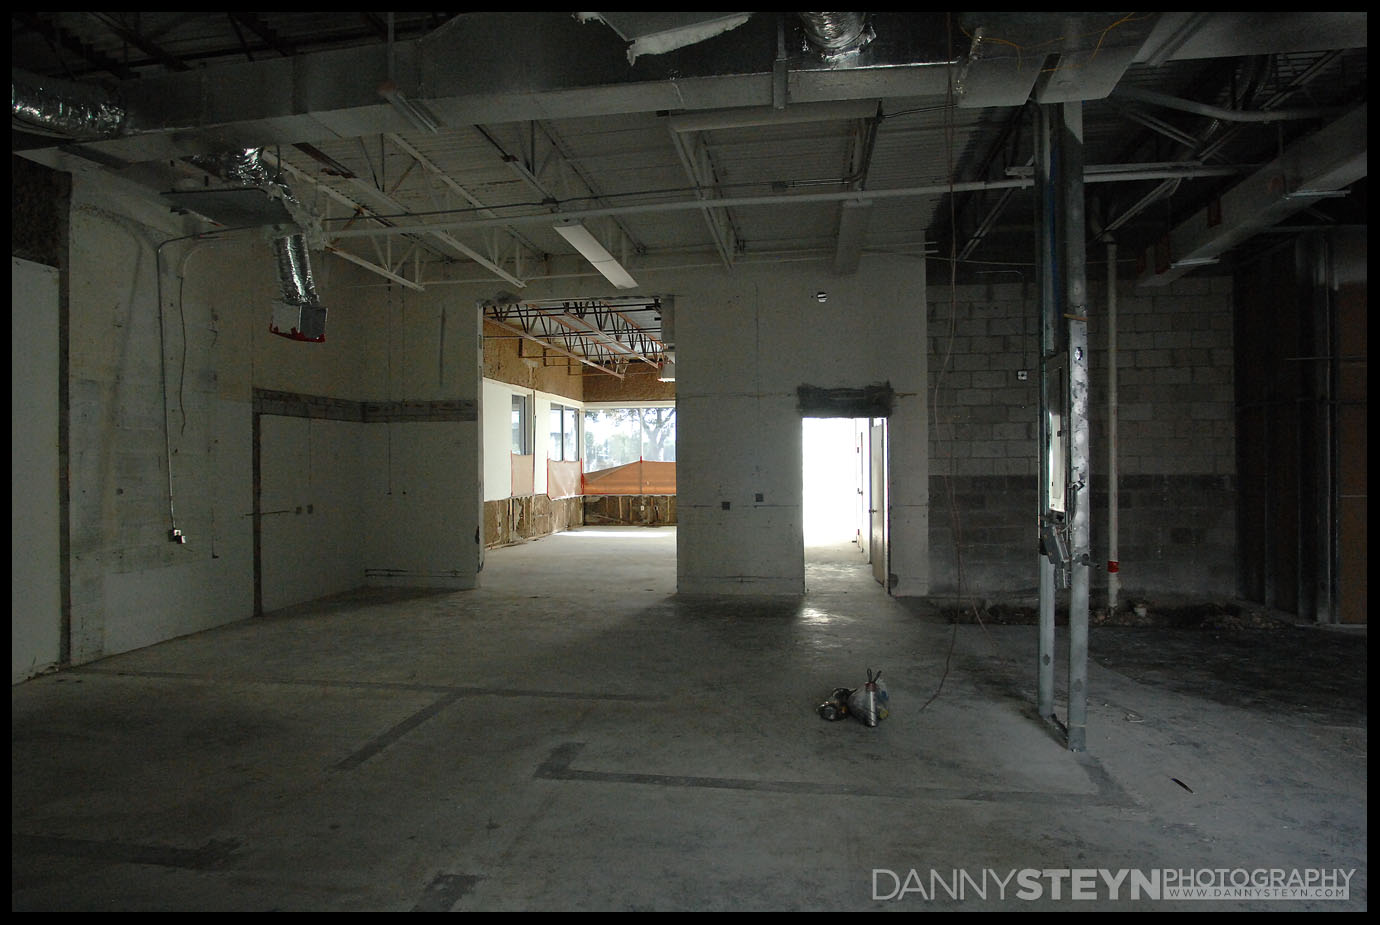
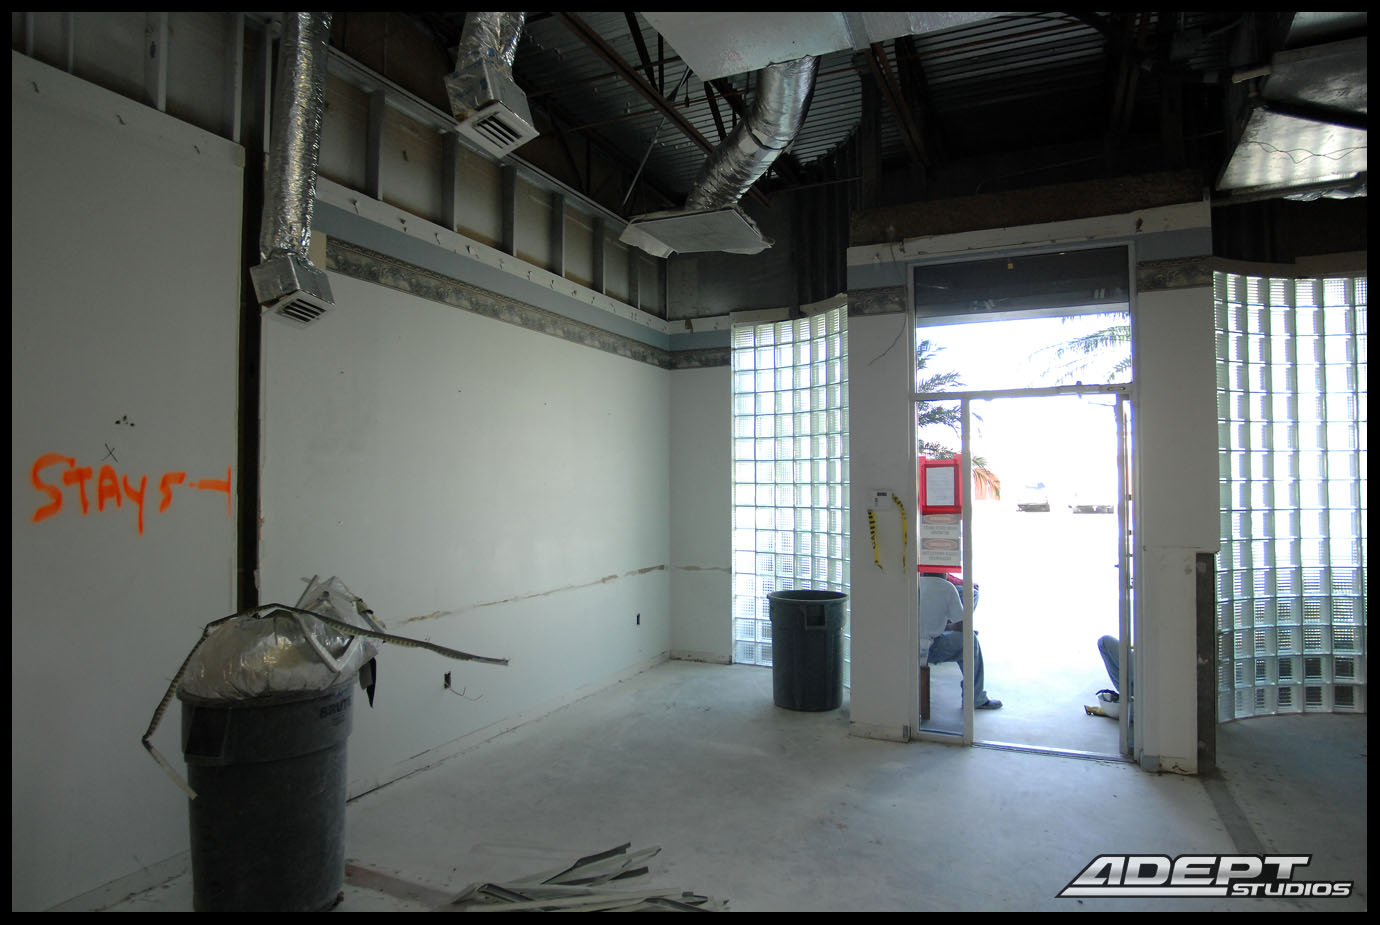
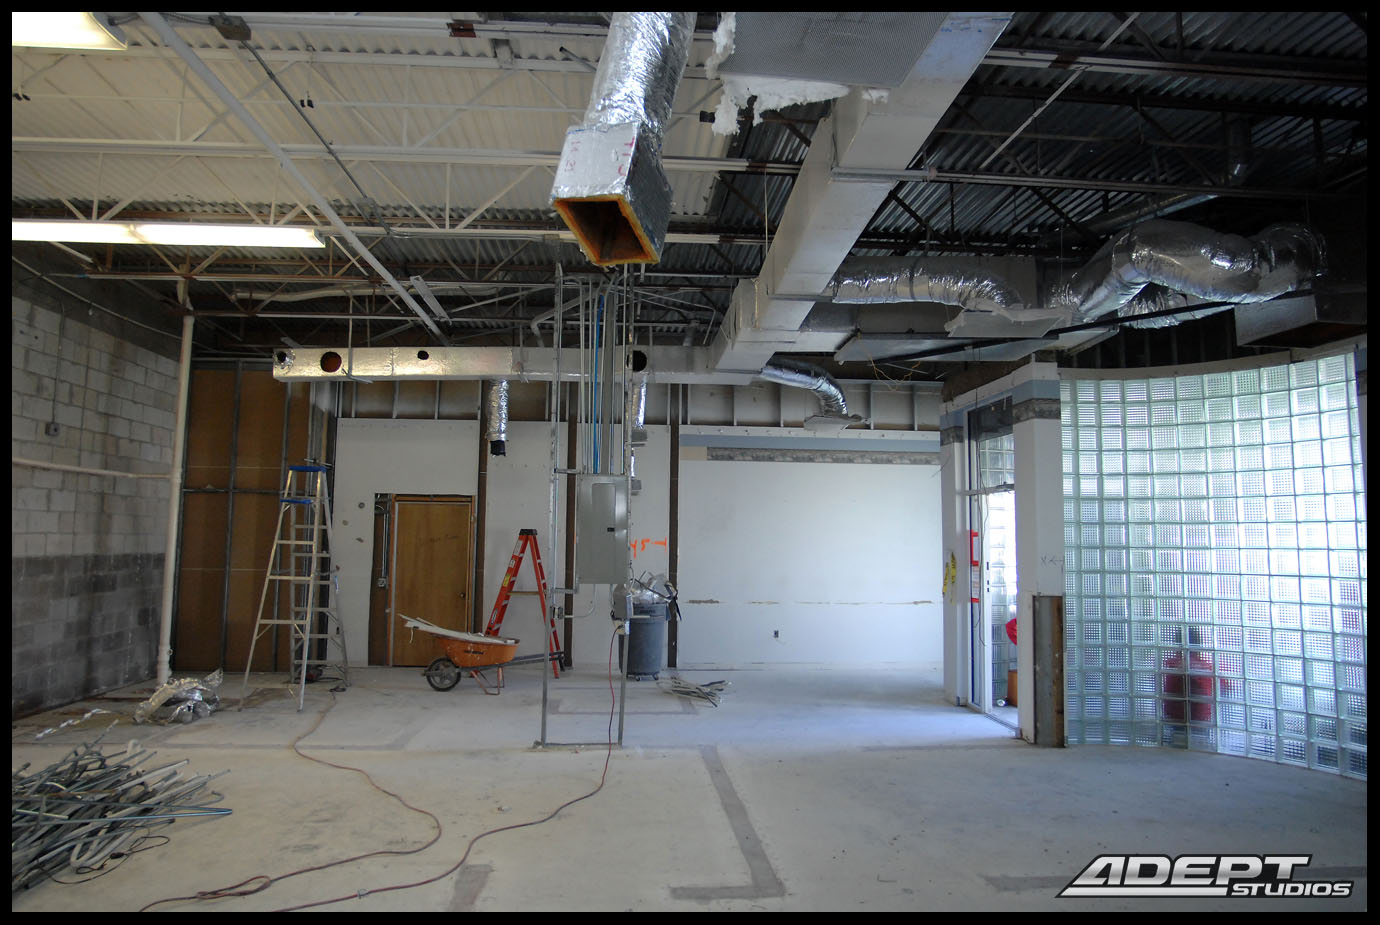
Progress photos from Demo Day 3. No real changes from Day 2 – more detail removal and clean up. Outdoor silver halide retrieval shed is gone!
Studio demo – day 3. Photography studio construction project photosStudio demo – day 3. Photography studio construction project photosStudio demo – day 3. Photography studio construction project photosStudio demo – day 3. Photography studio construction project photos
Of course, when doing the demo, a lot of hidden issues were revealed. Most related to previous work done to the building that would not meet the current building code and would have to be addressed. We discovered holes in the exterior concrete block walls that were allowing ants and even small lizards to get into the block and into the insulation between the block and drywall. Also there was evidence of water damage inside the building and by directing water on the affected areas we narrowed it down to east and north facing windows where the sealing gaskets that were leaking.
Due to the changes in room configuration some of the existing A/C ducting would have to be moved so we are re-looking at the entire AC system and distribution.